The purpose of this article is to guide the user on creating, managing, and publishing courses
How to Create a Course
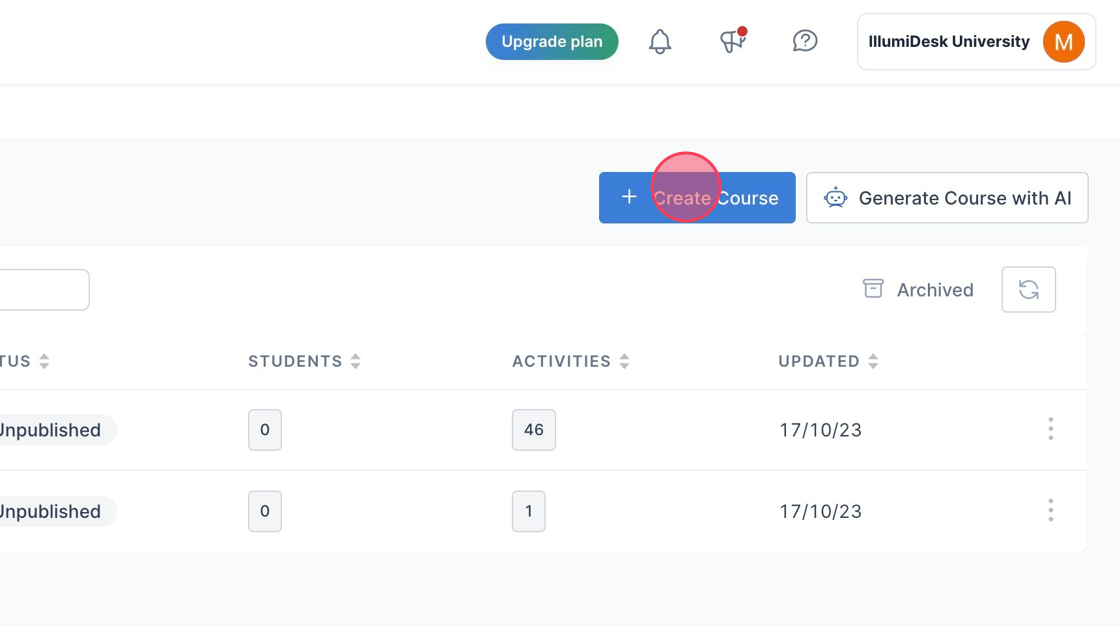
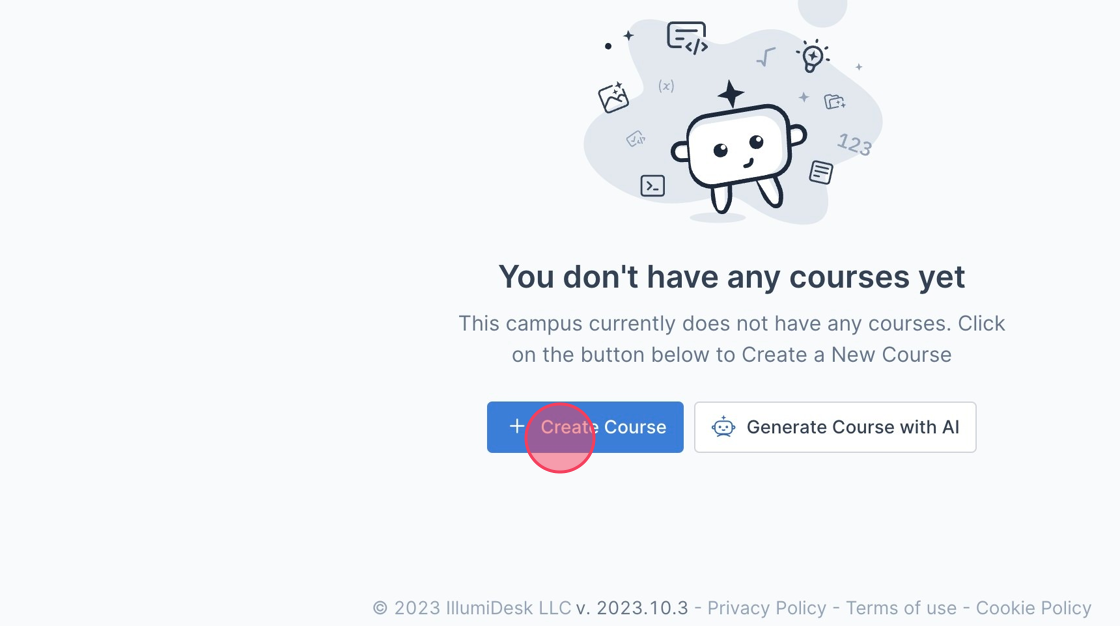
1. Navigate to Campus Homepage
2. Click "Create Course"
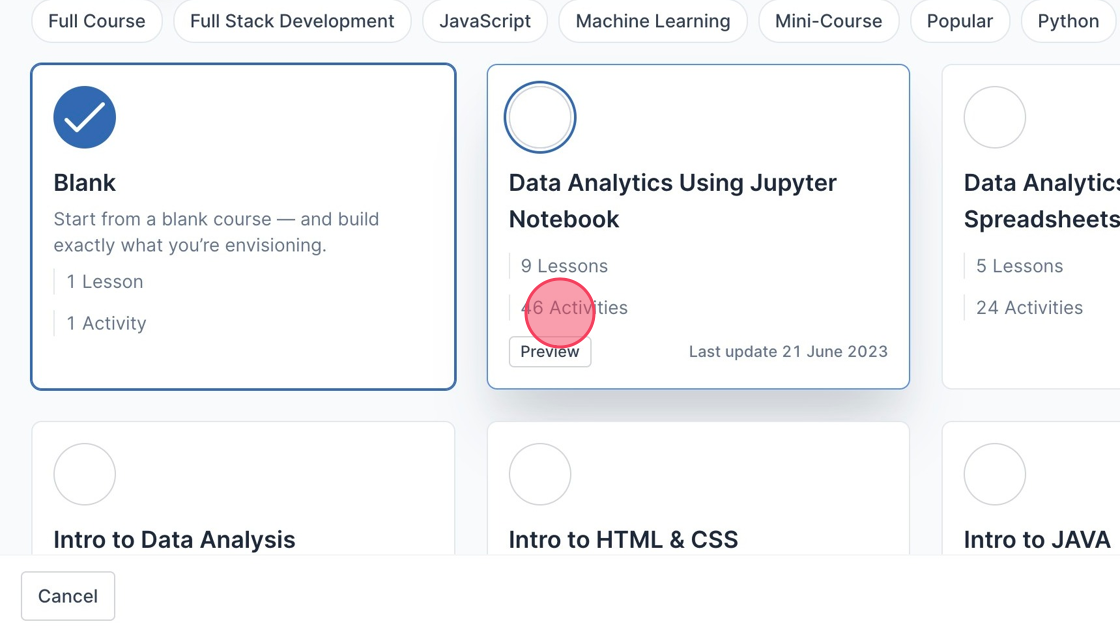
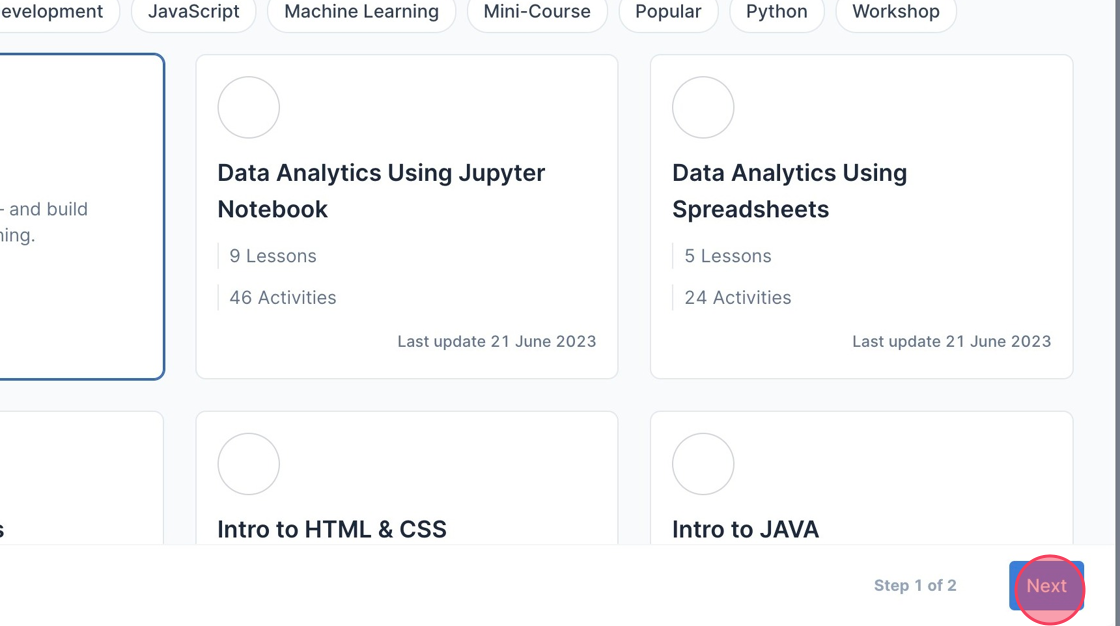
3. Click the template you would like to use
4. Click "Next"

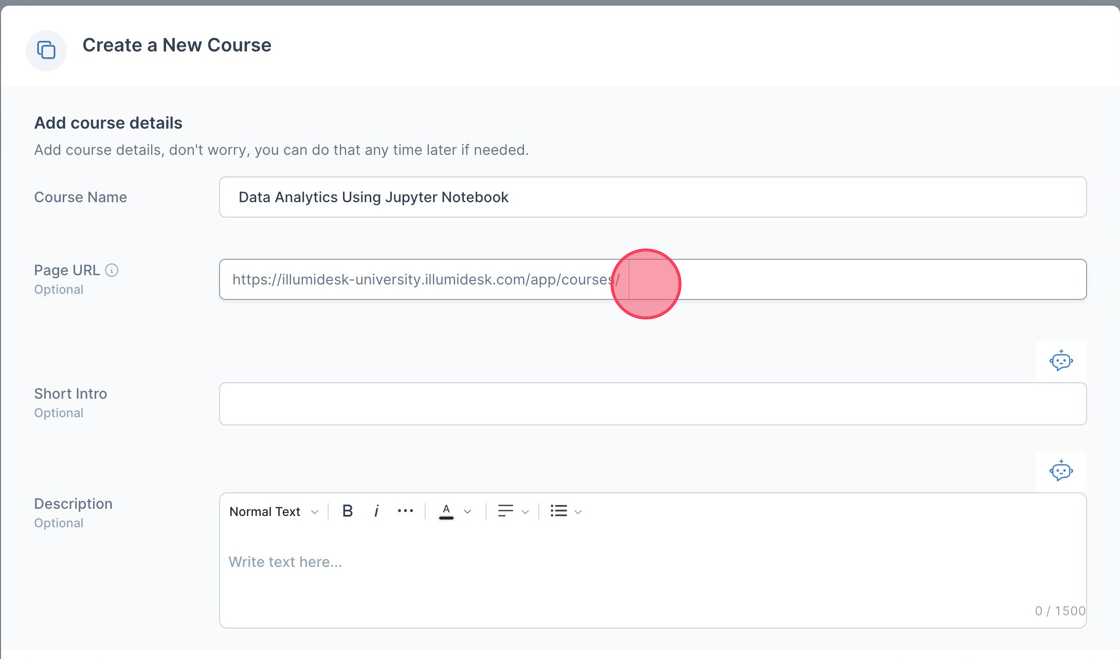
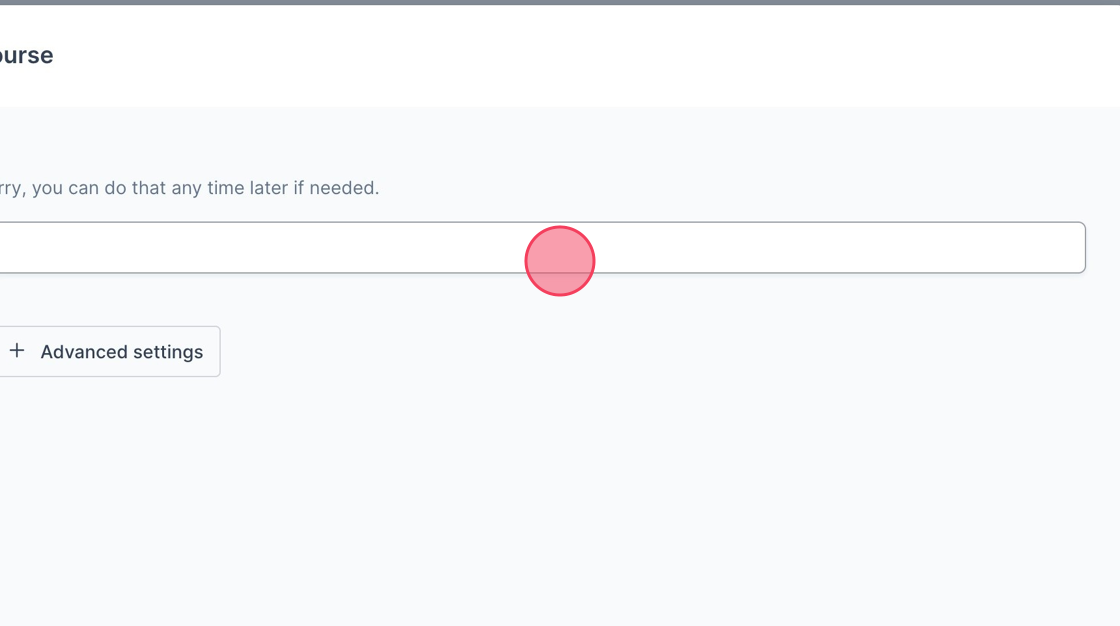
5. Click "Advanced settings"
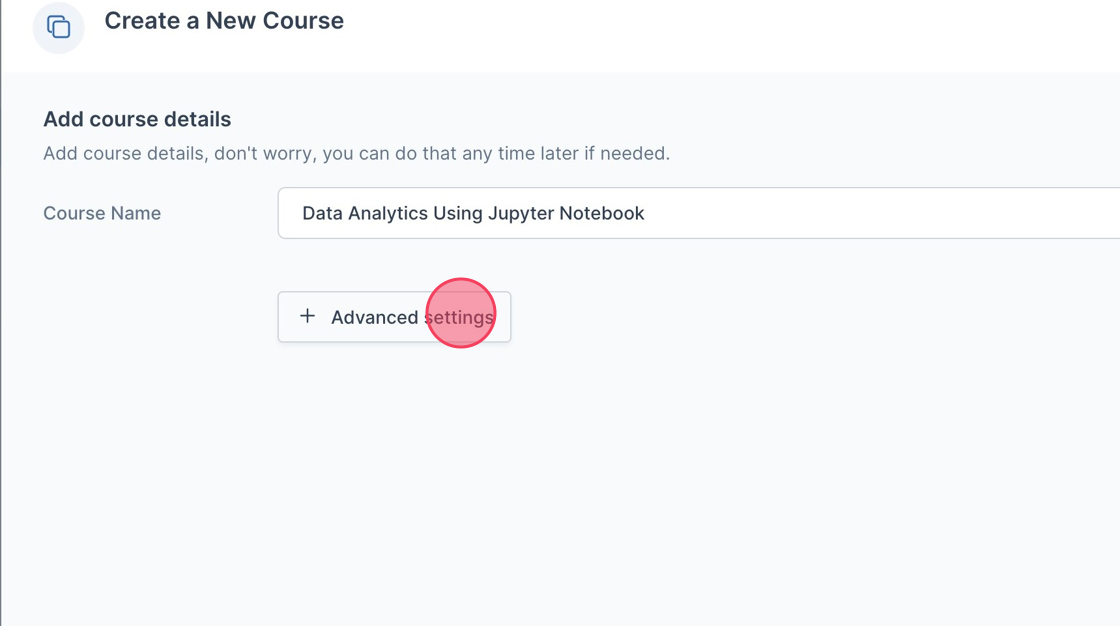
6. Click this text field.
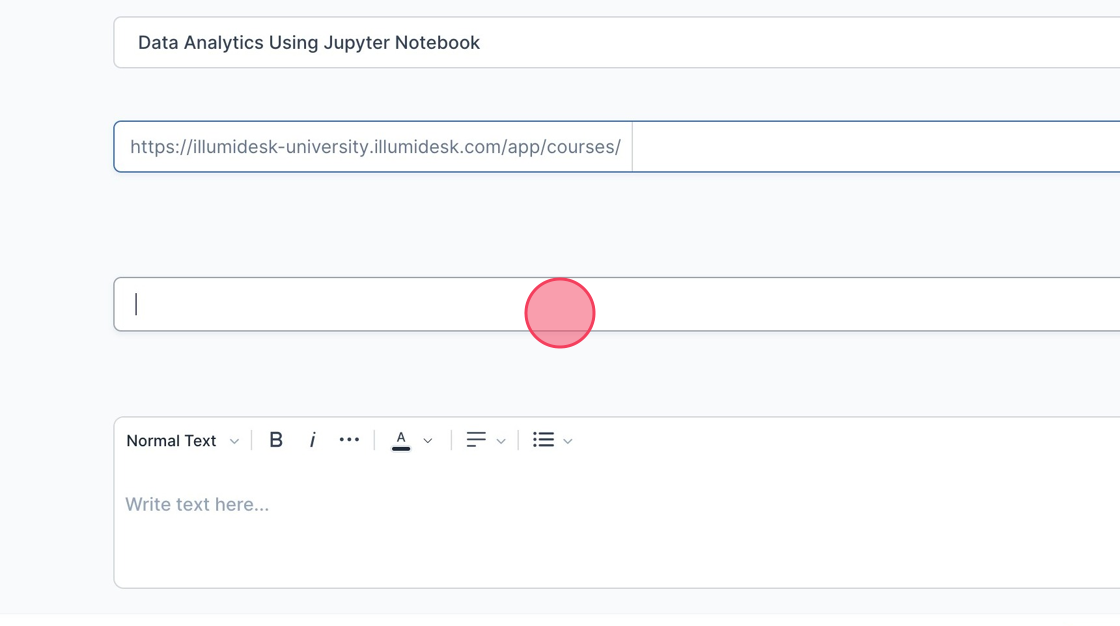
7. Click this field.
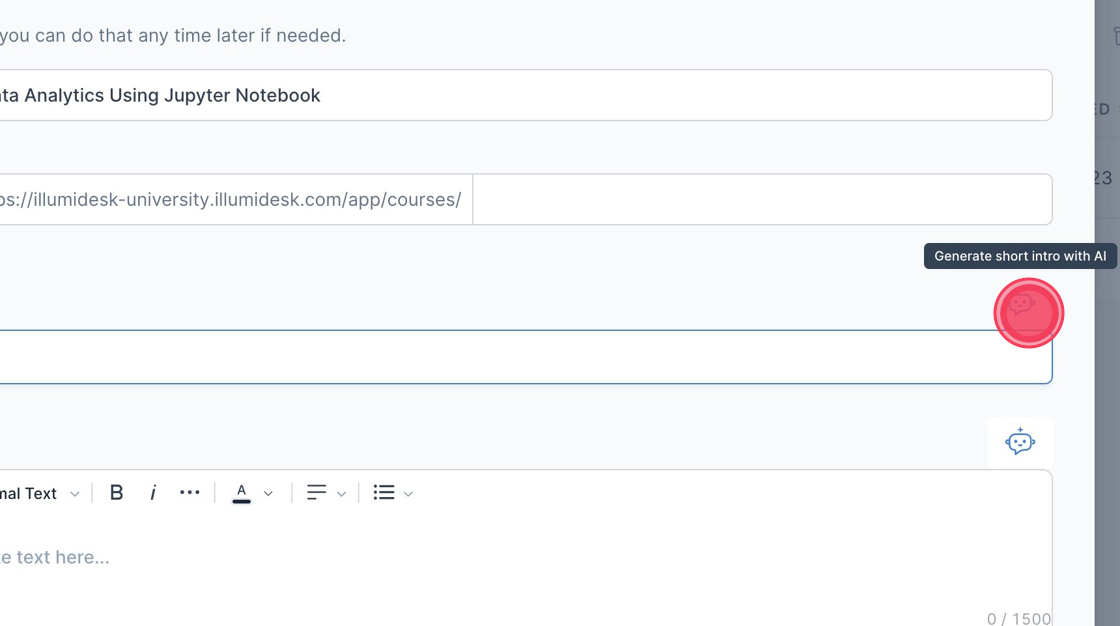
8. Click Robot icon to generate short intro with AI
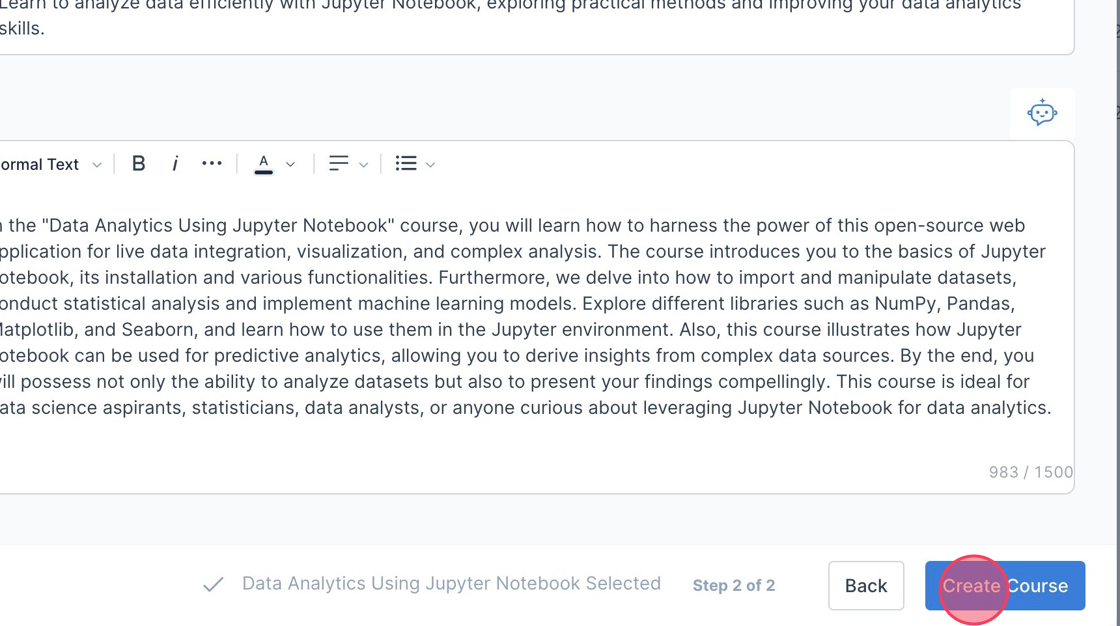
9. Click Robot icon to generate description with AI
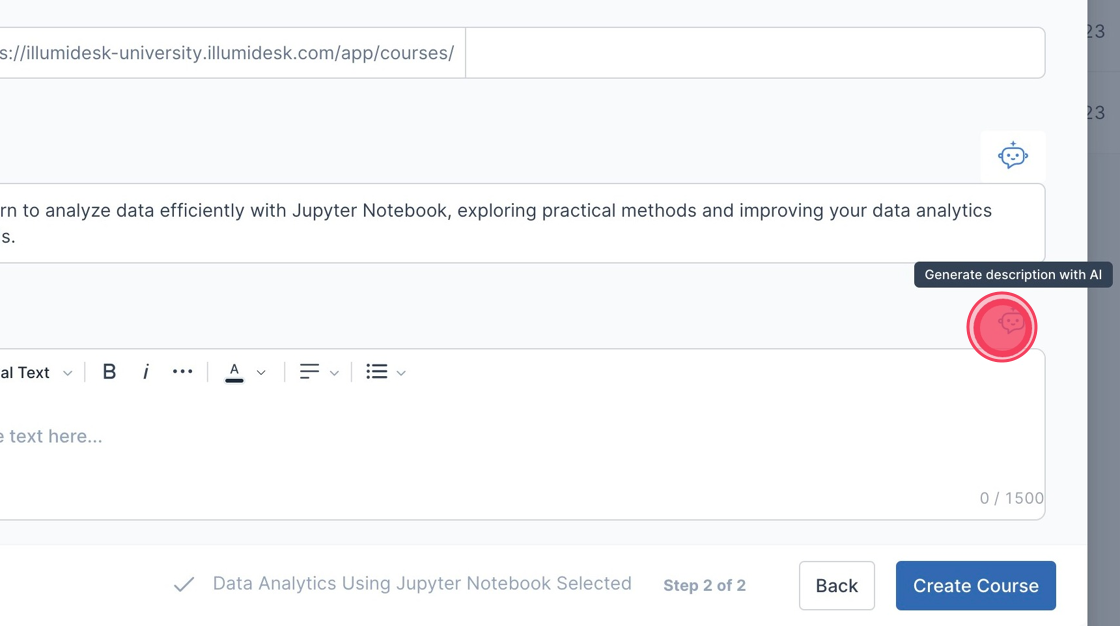
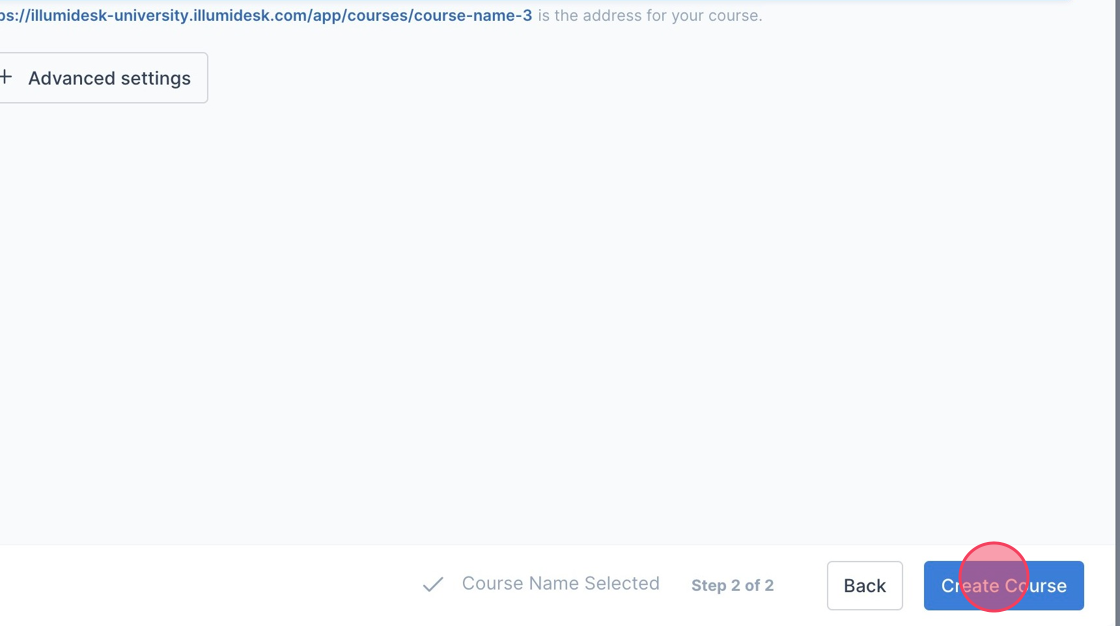
10. Click "Create Course"
11. Click "Overview of Data Analytics"
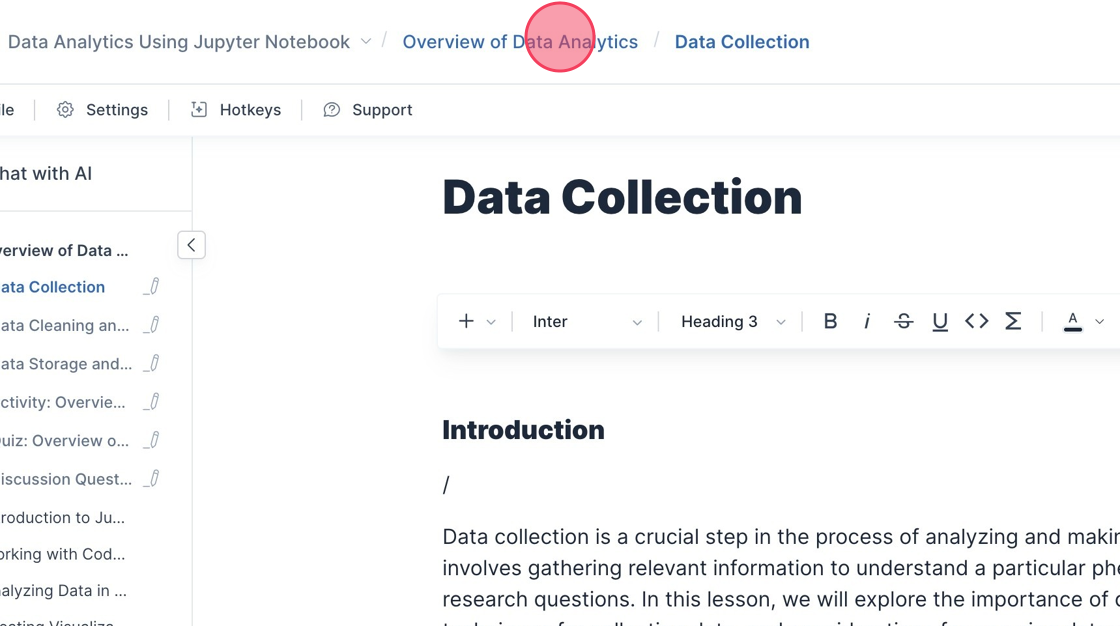
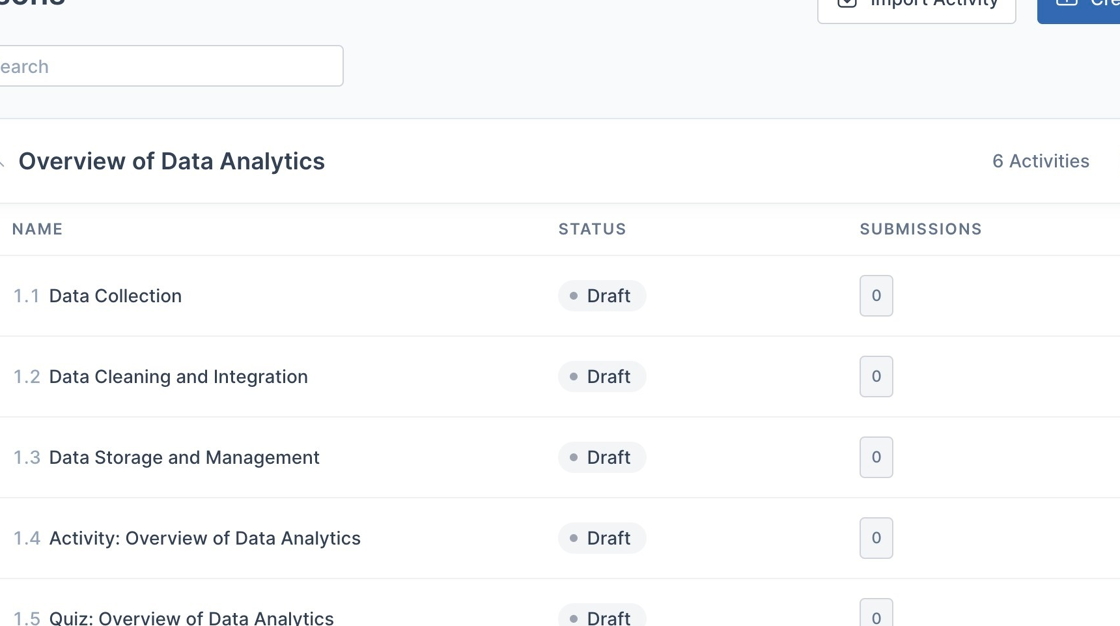
12. You will be taken back to the Lessons list page
Creating a course from Login Page
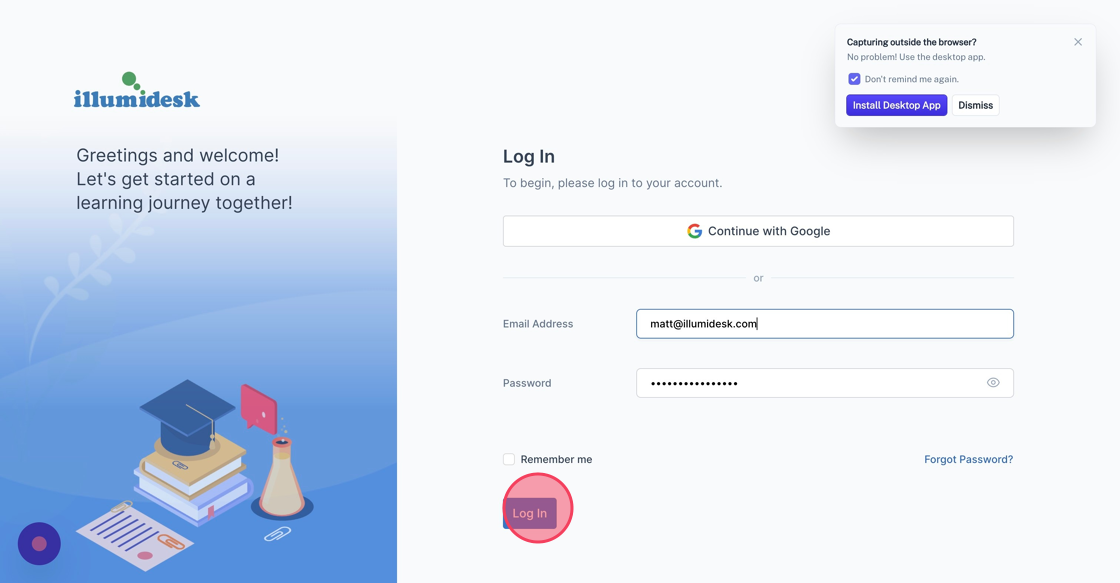
1. Navigate to your Campus login page
2. Fill in your log in details or log in with Google
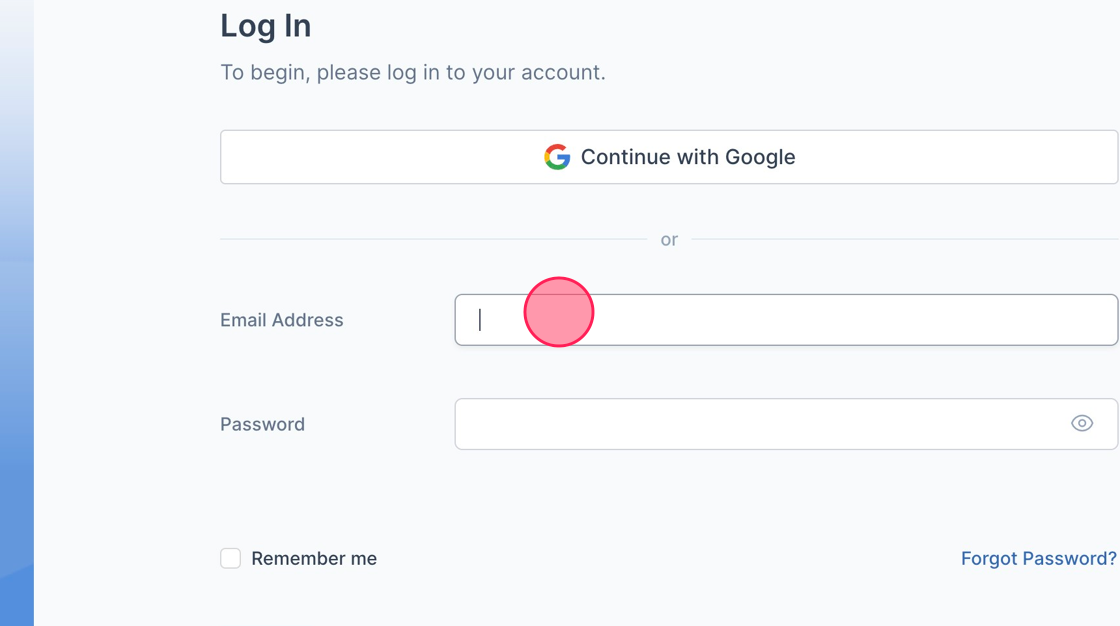
3. Click "Log In"
4. Click "Create Course"
5. The "Blank" template is selected by default
6. Click "Next"
7. Fill in the course name field
8. Click "Create Course"
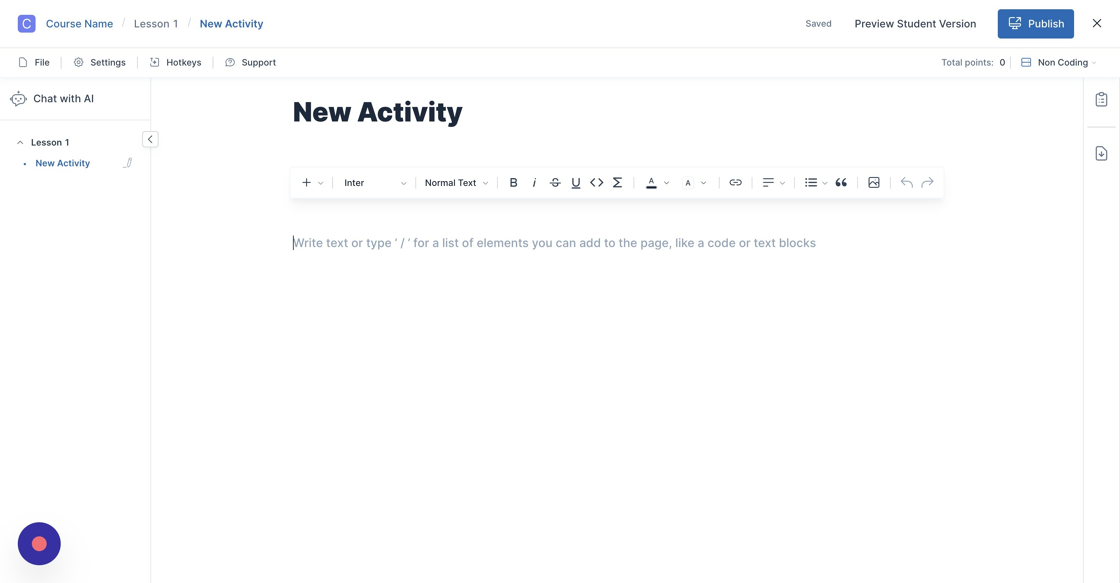
9. You are redirected to the Activity Editor of "Lesson 1" in your new course
Pro template preview
- Navigate to Courses list page
- Click the “+ Create Course” button > Create course modal 1st step is opened
- Hover over any Pro template > "Preview" button is displayed
- Click on the "Preview" button > Course preview modal is displayed
- Click on any activity displayed on Course preview modal > Activity preview is displayed in activity editor
How to generate a Course with AI?
Note: Course generating with AI is not available for Free subscription
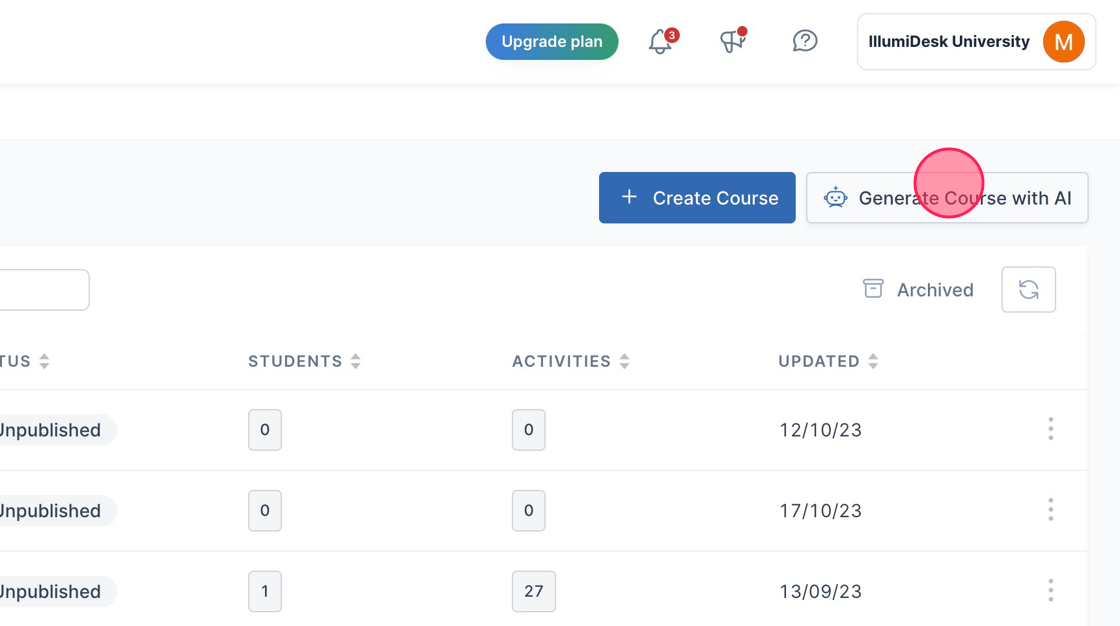
1. Navigate to Course list homepage
2. Click "Generate Course with AI"
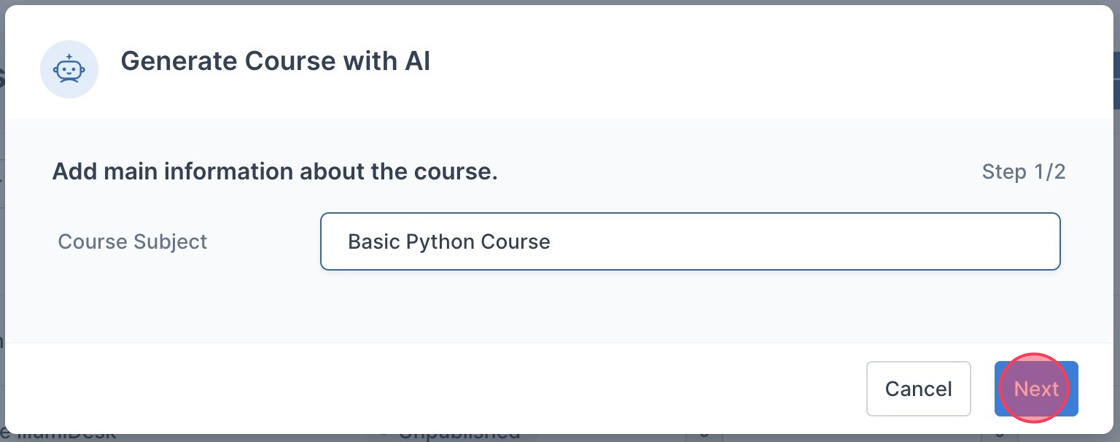
3. Fill in the Course Subject field
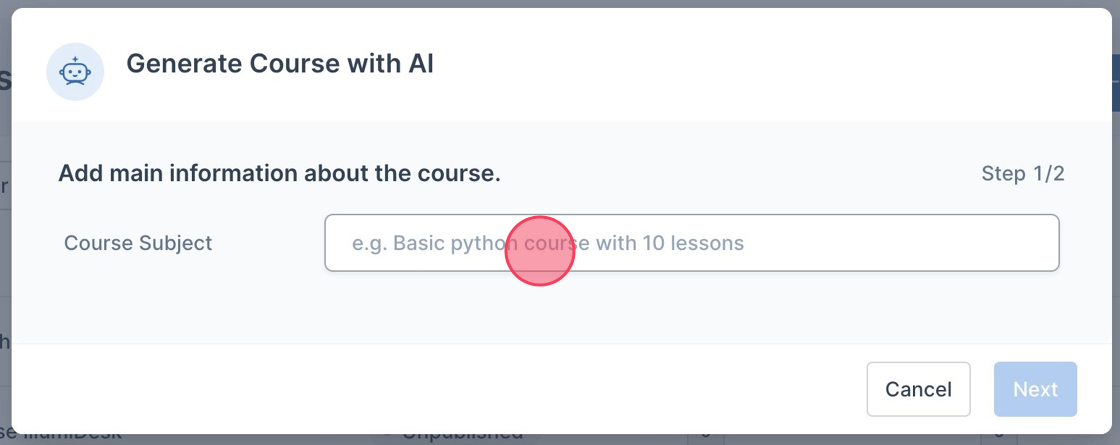
4. Click "Next"
5. You can choose to upload files from the Data Sources in your Campus File Manager
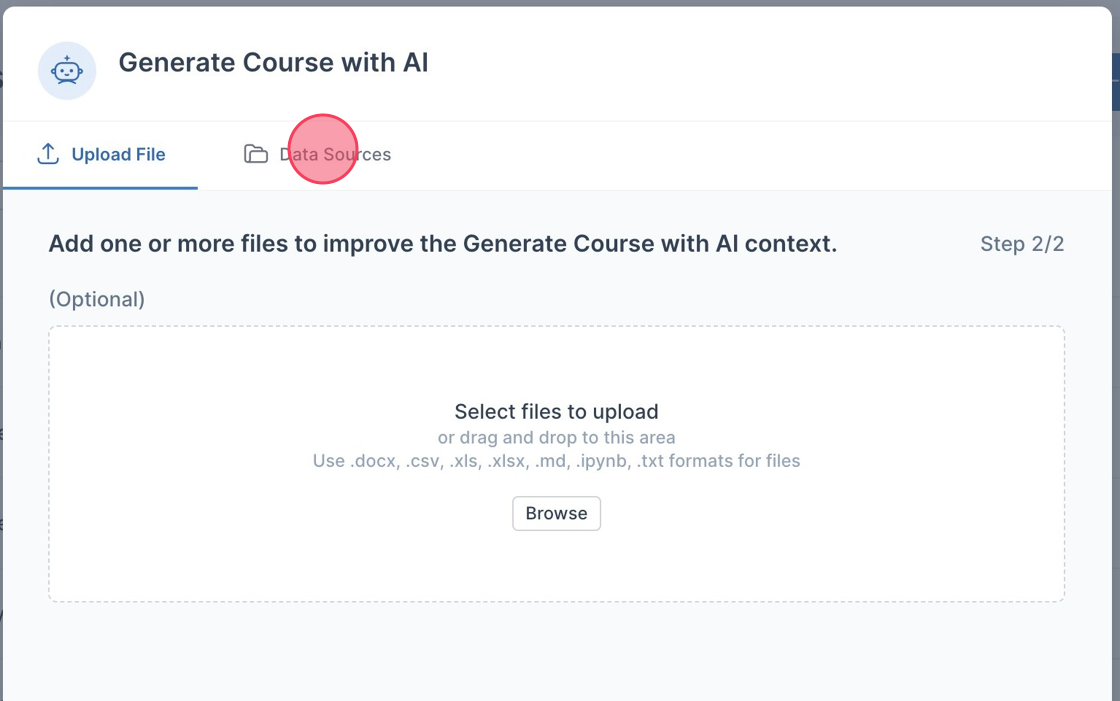
6. Choose Upload File to upload documents from your local device

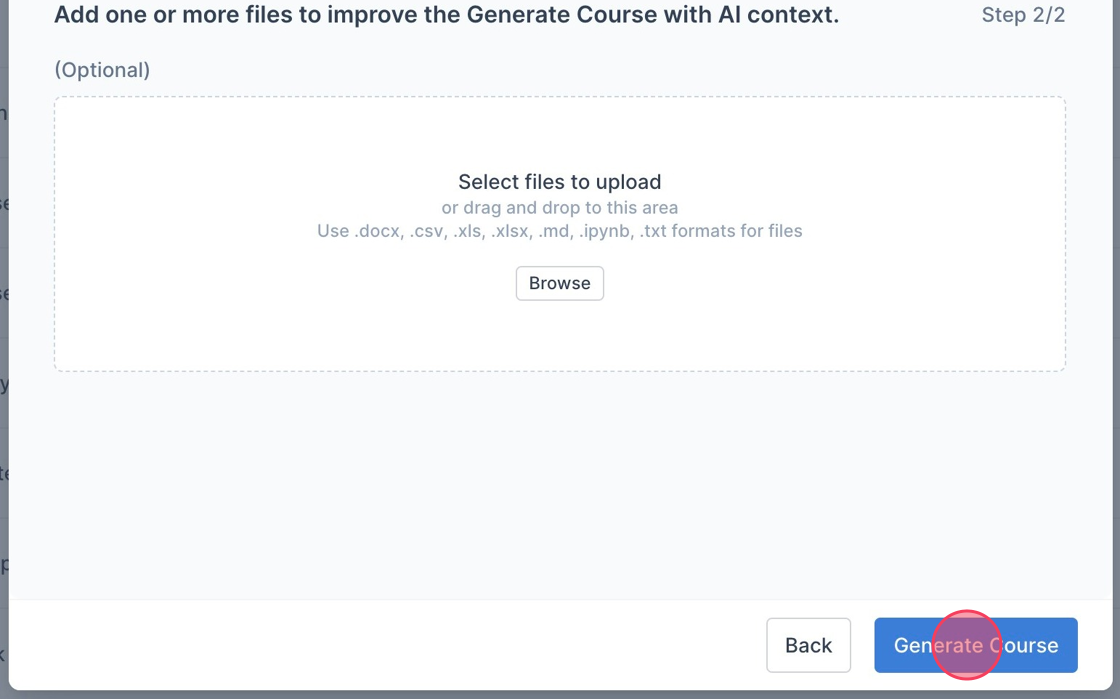
7. Click "Generate Course"
8. Click "Close"
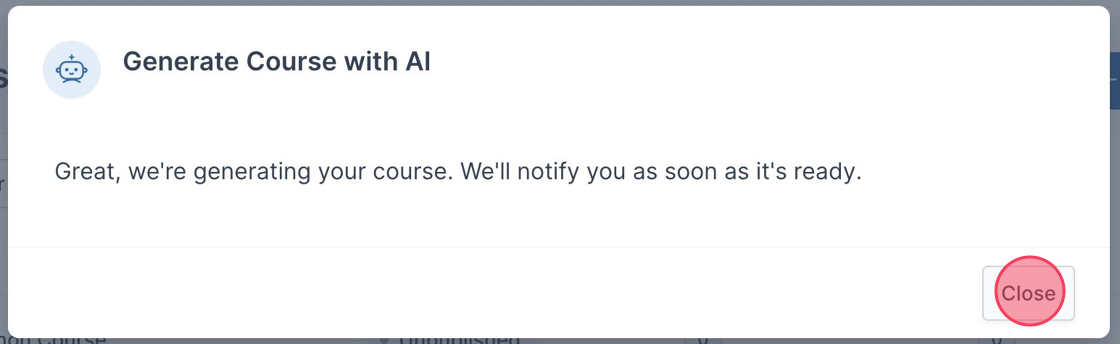
9. Your New Course will appear on the Course list page
How to Edit and Save Changes in IllumiDesk Course
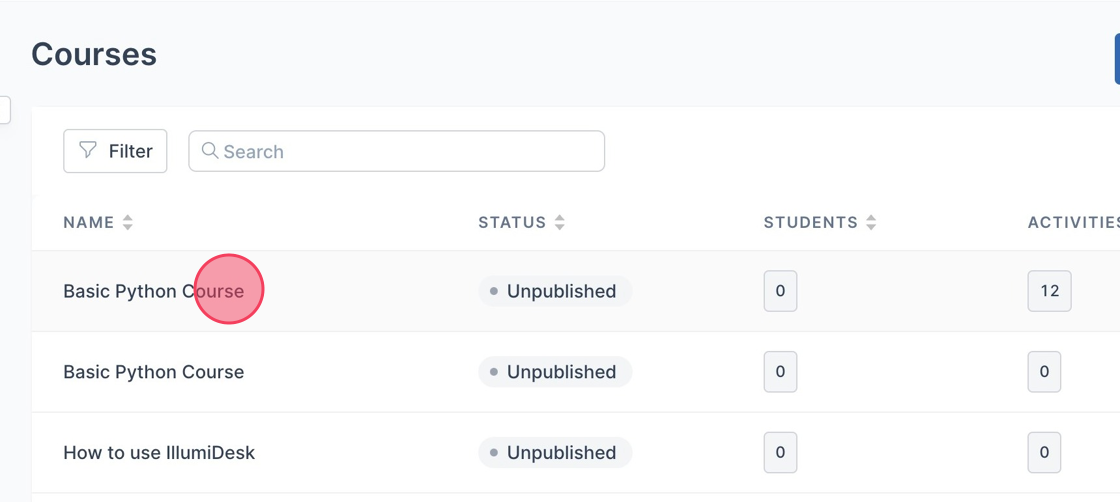
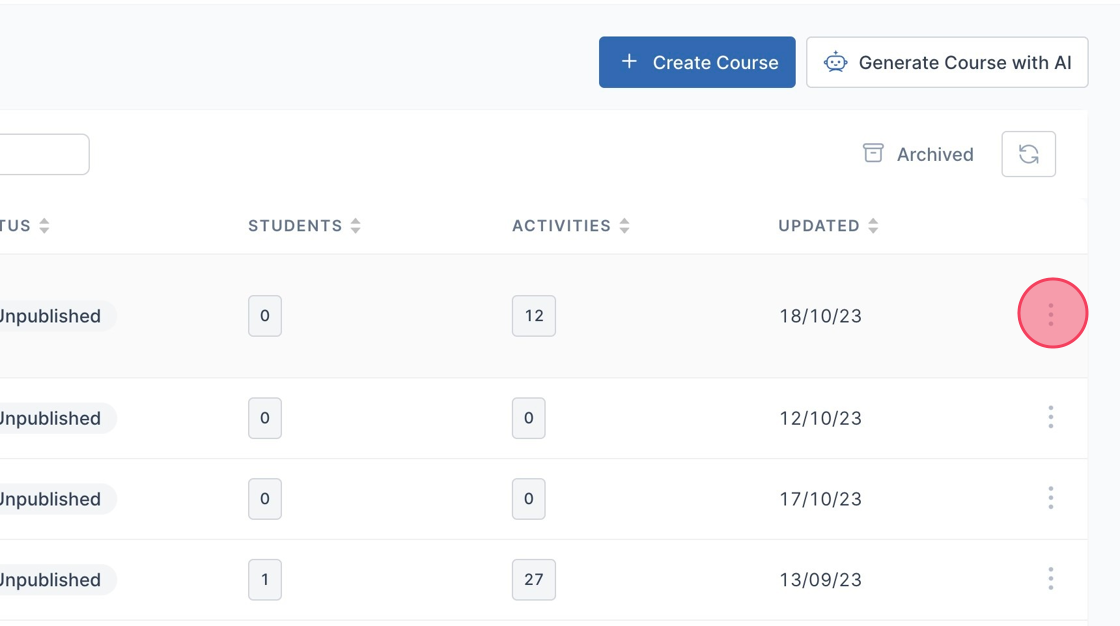
1. Navigate to your Course List page
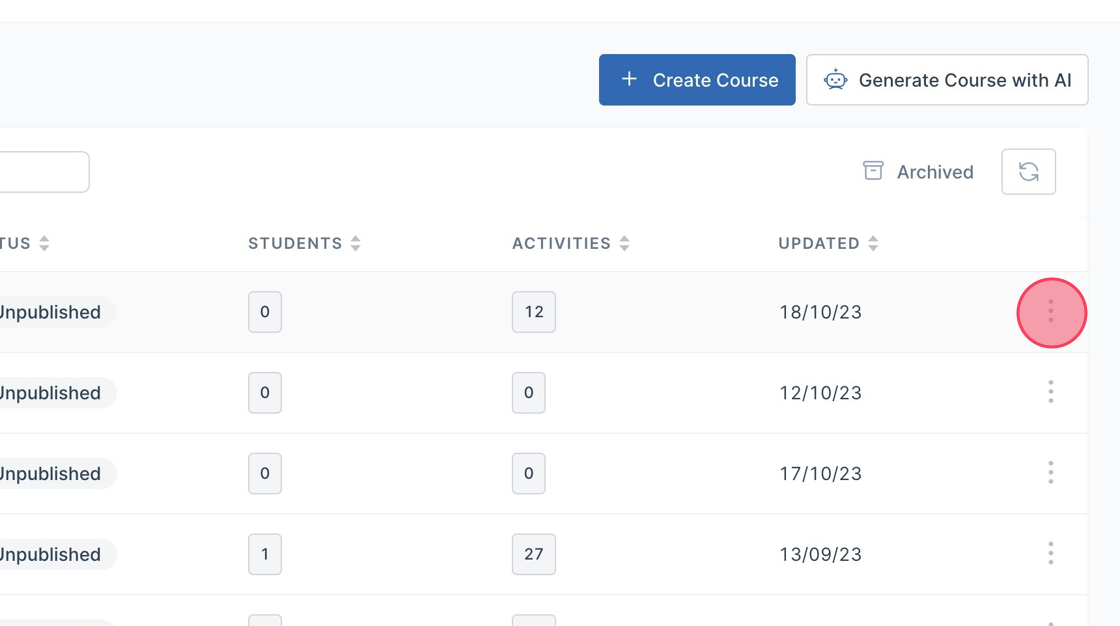
2. Click the 3 dot menu on the right side of the screen next to the course you want to edit
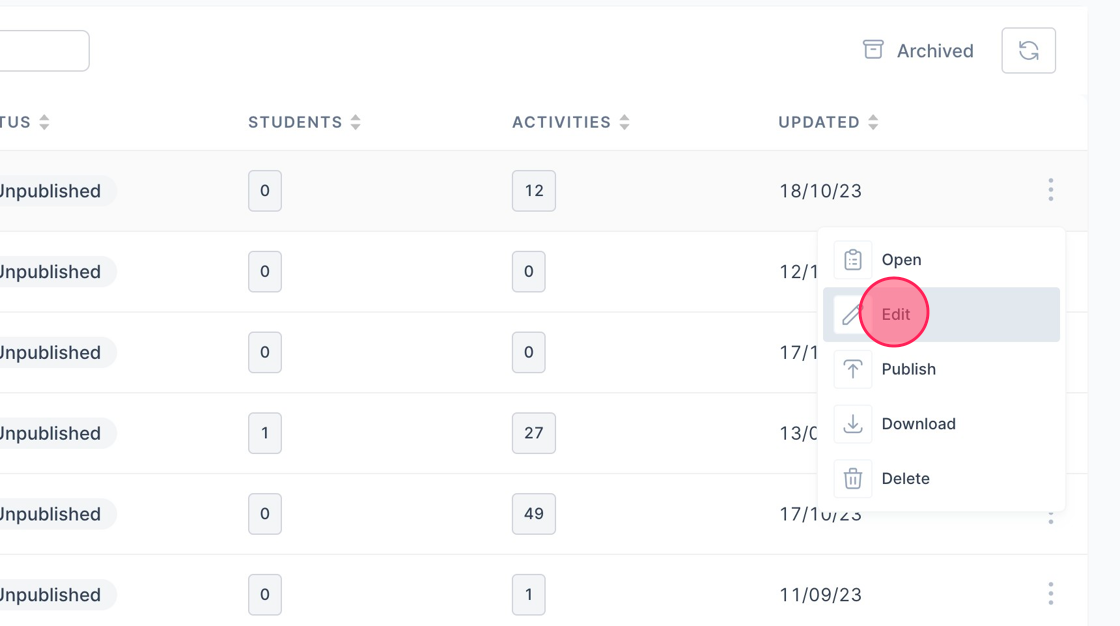
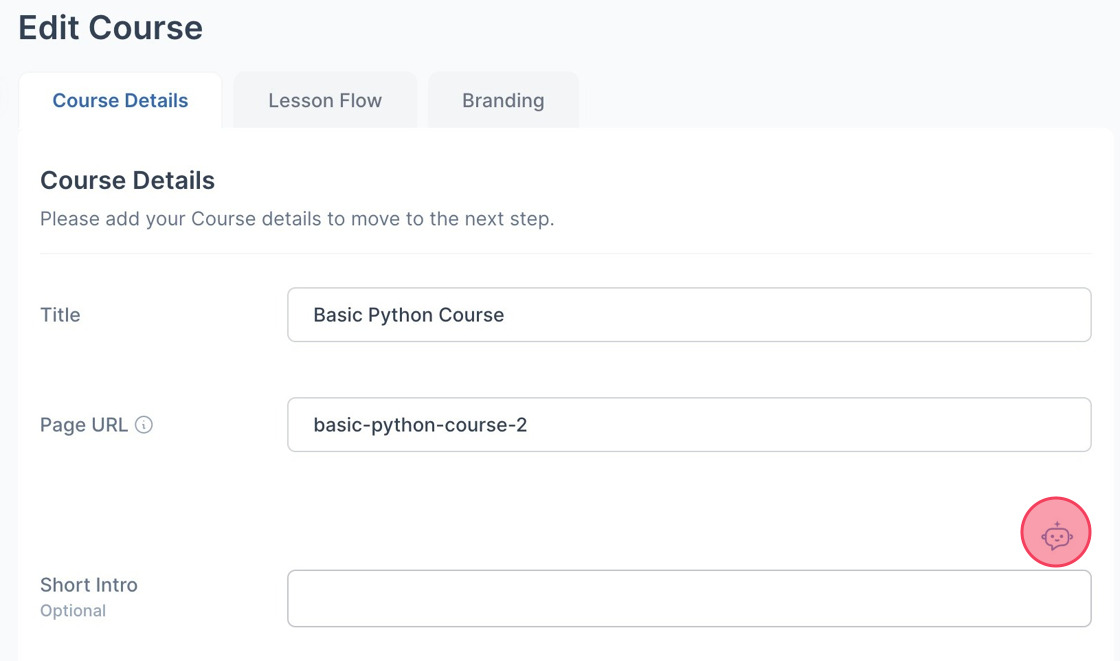
3. Click "Edit"
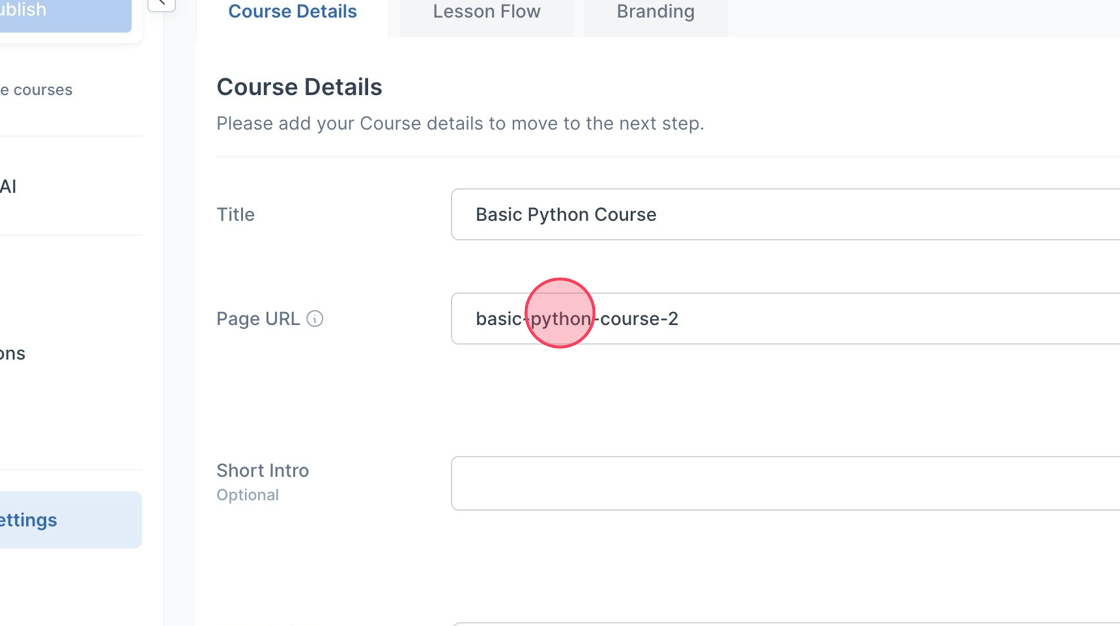
4. Change the "Title"

5. Change the "Page URL"
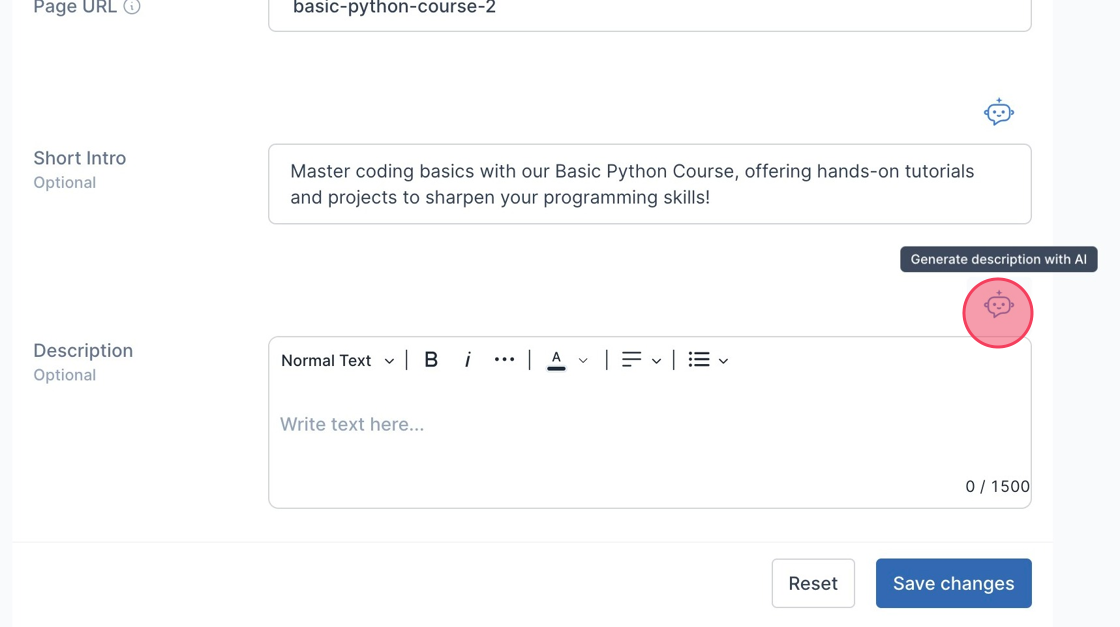
6. Click the Robot icon above the Short Intro to generate a short intro with AI
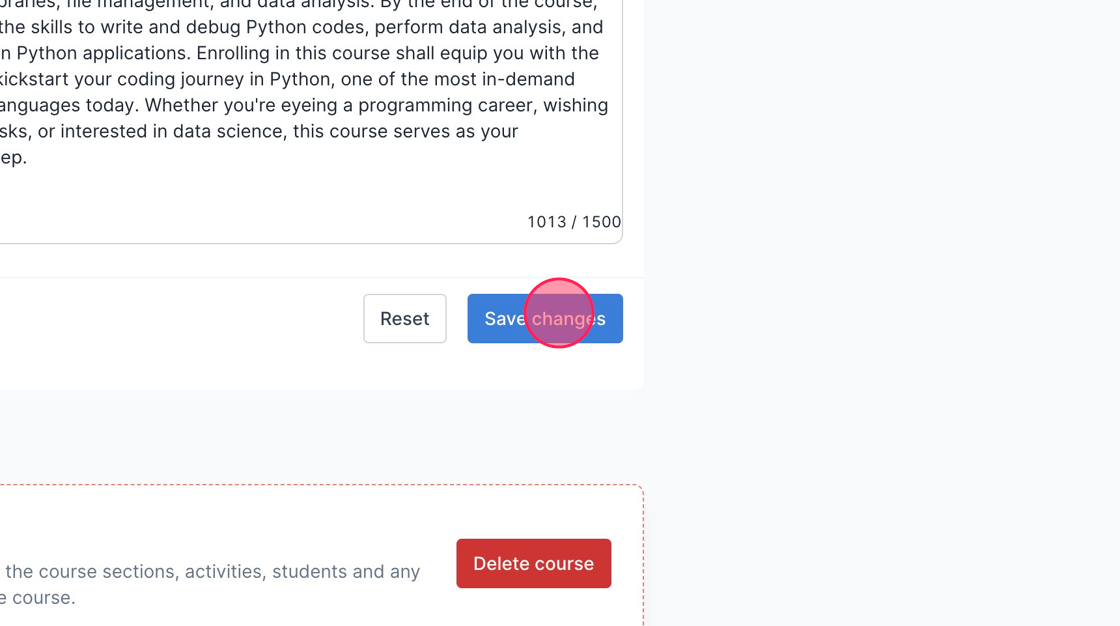
7. Click the Robot icon above the Description to generate a description with AI
8. Click "Save changes"
How to Publish and Unpublish a Course
Note: course can be published if at least one activity in the course is published
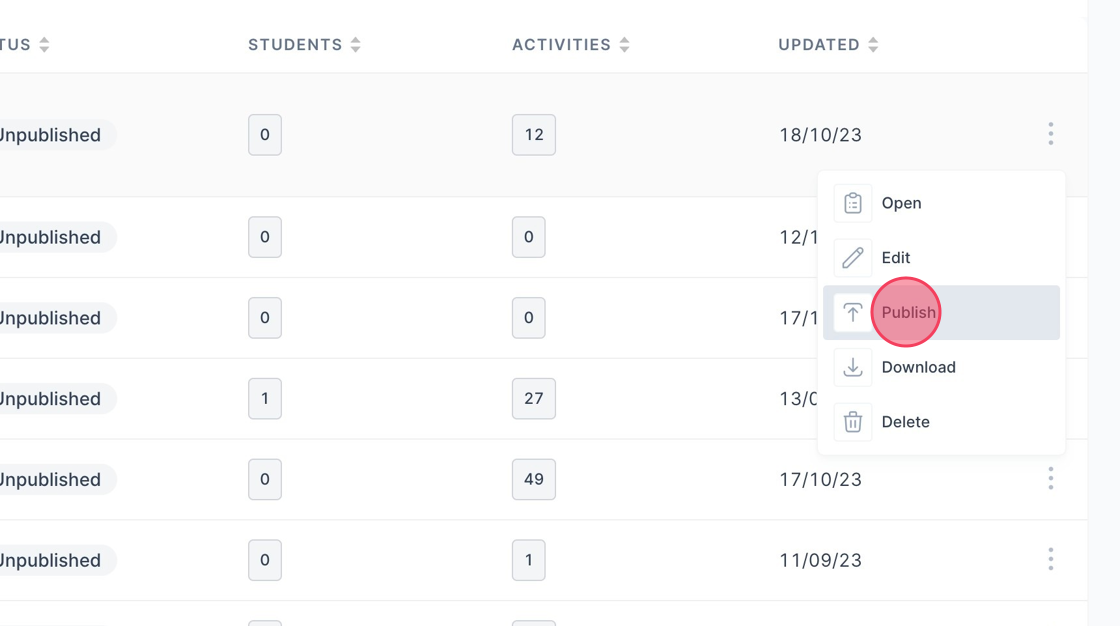
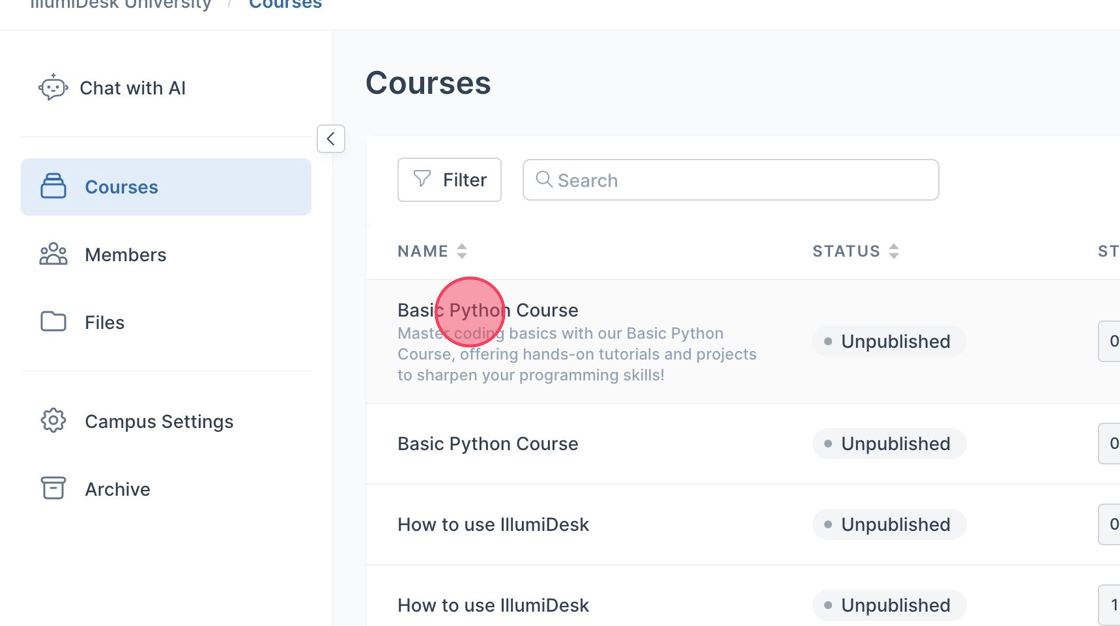
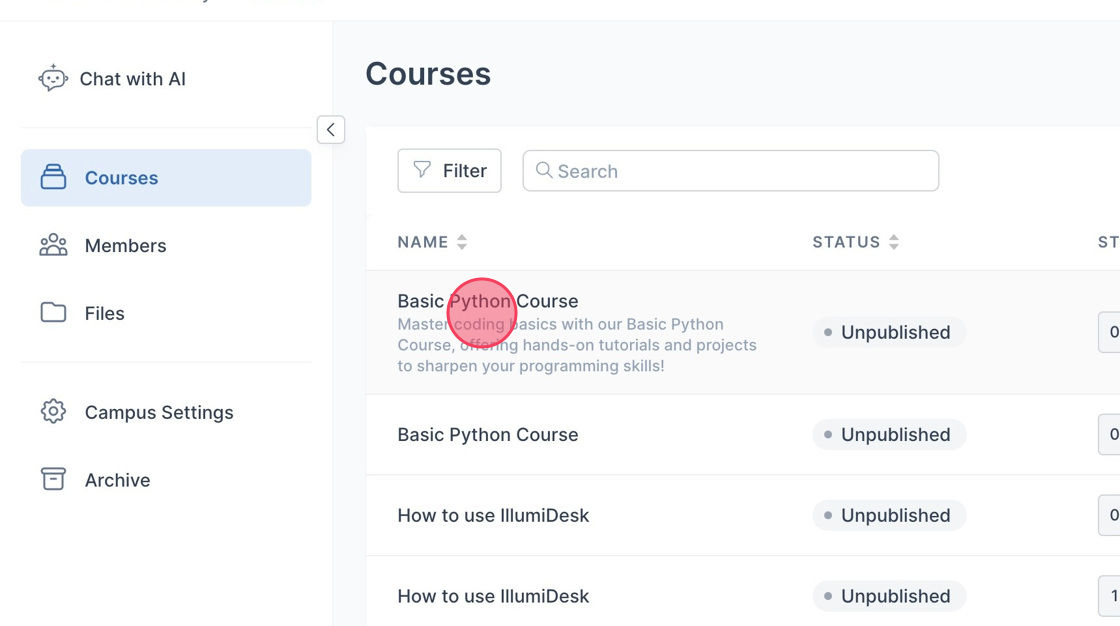
1. Navigate to your Course List page
2. Click the 3 dot menu on the right side of the screen next to the course you want to publish
3. Click "Publish"
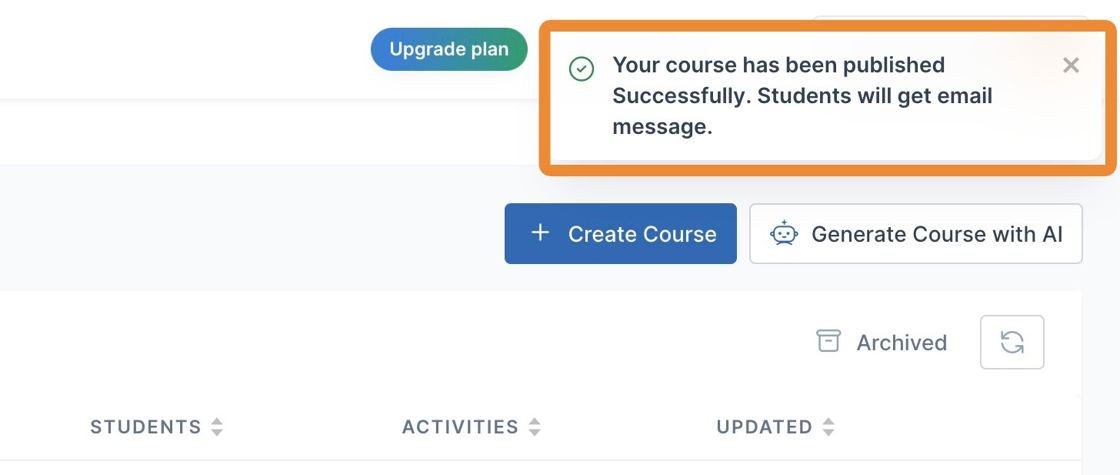
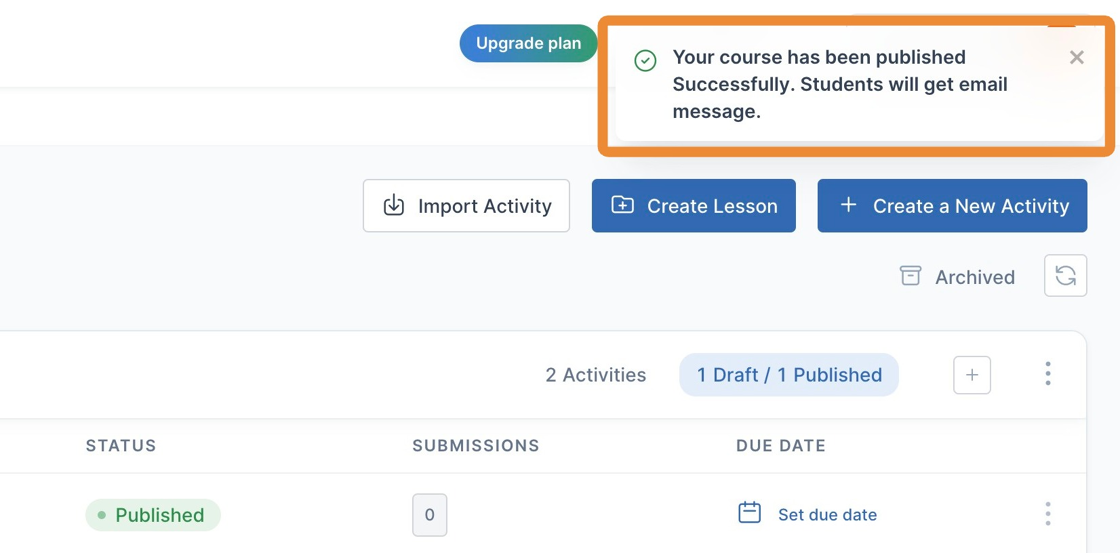
4. A toast message is displayed saying "Your course has been published Successfully. Students will get email message."
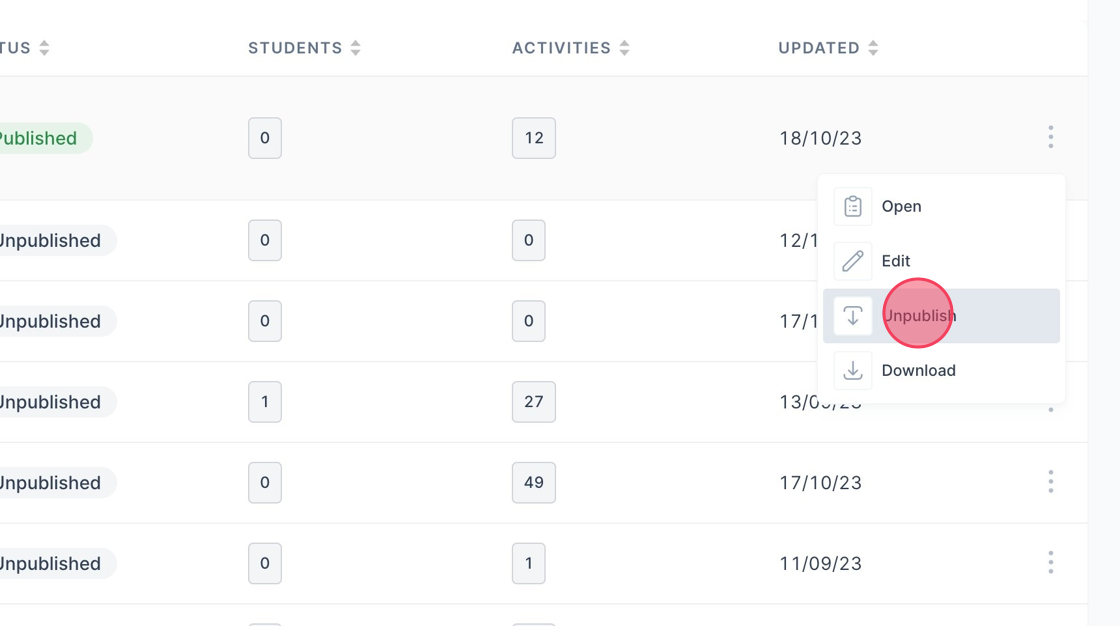
5. The menu option to "Publish" a course is changed to "Unpublish"
6. Click "Unpublish" to unpublish the course
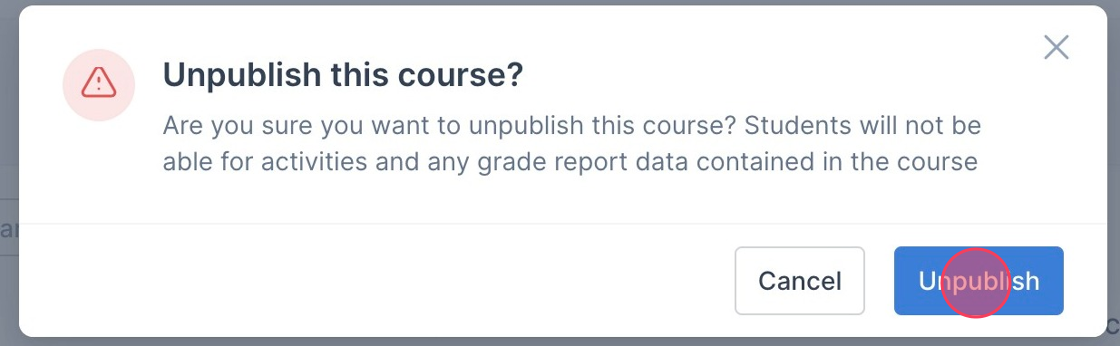
7. Click "Unpublish"
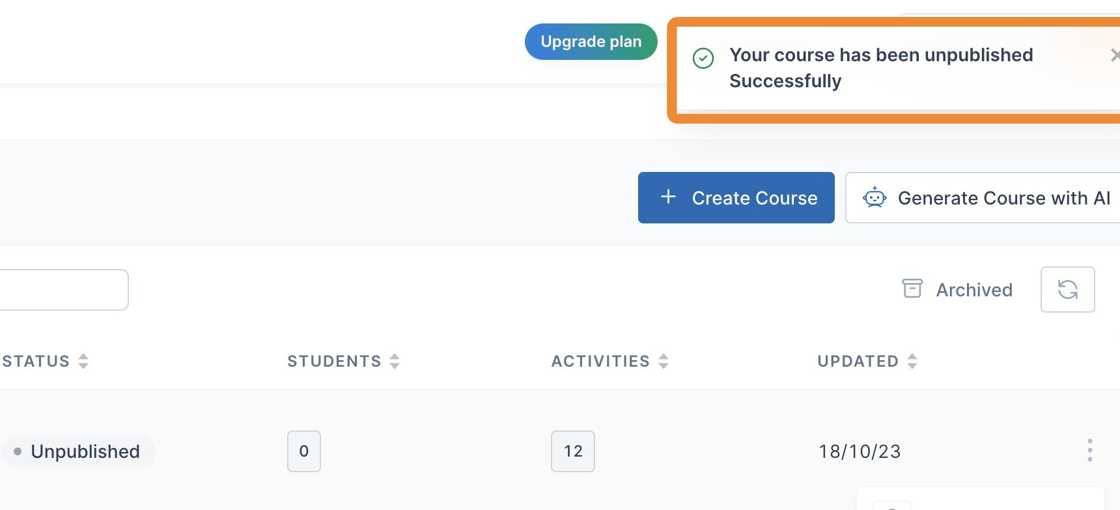
8. Click "Your course has been unpublished Successfully"
9. To Publish a course from the course homepage click on the course you want to publish
10. Click "Publish" located in the left column of the page under your Course Title

11. A toast message is displayed saying "Your course has been published Successfully. Students will get email message."
How to Access and Open a Course on IllumiDesk
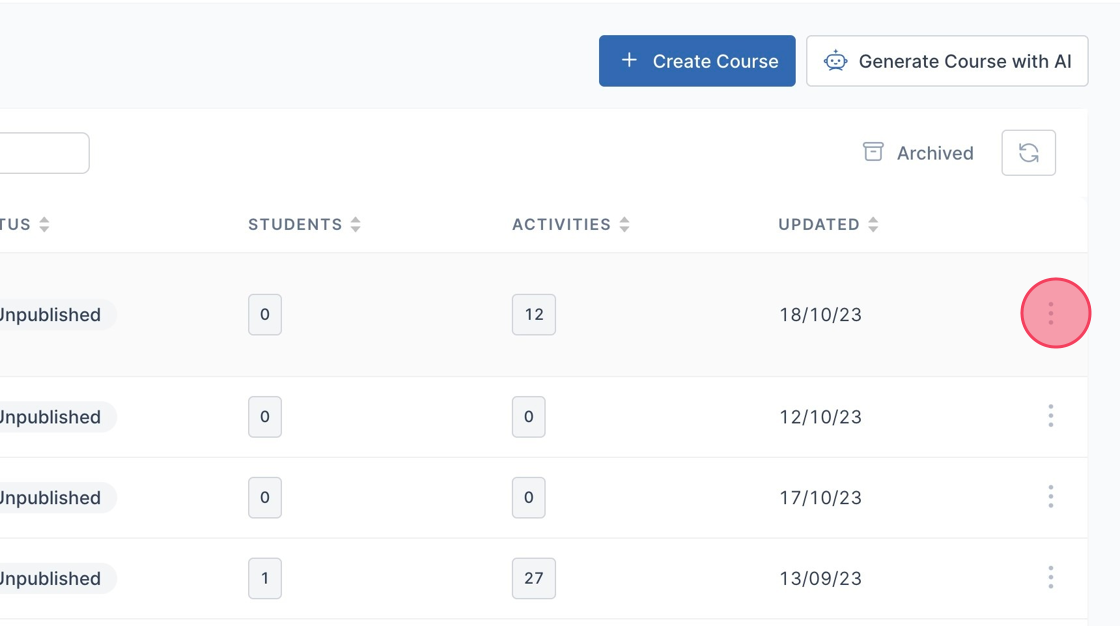
1. Navigate to Course List page
2. You can open the course by clicking on the course
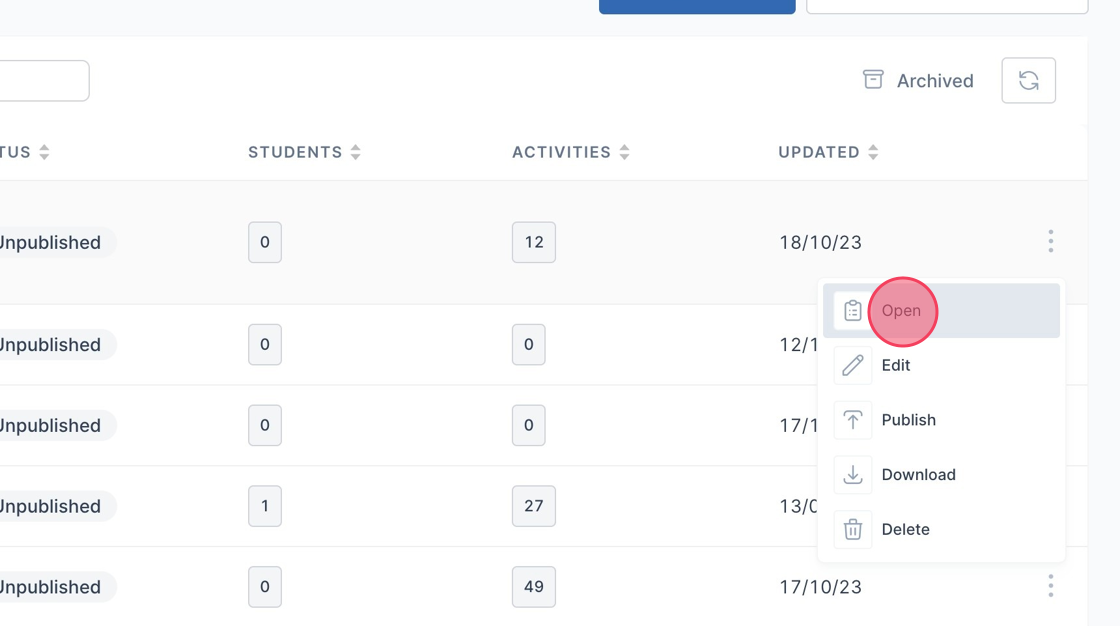
3. You can also click on the 3 dot menu to open the dropdown
4. Click "Open"
Accessing Course Details
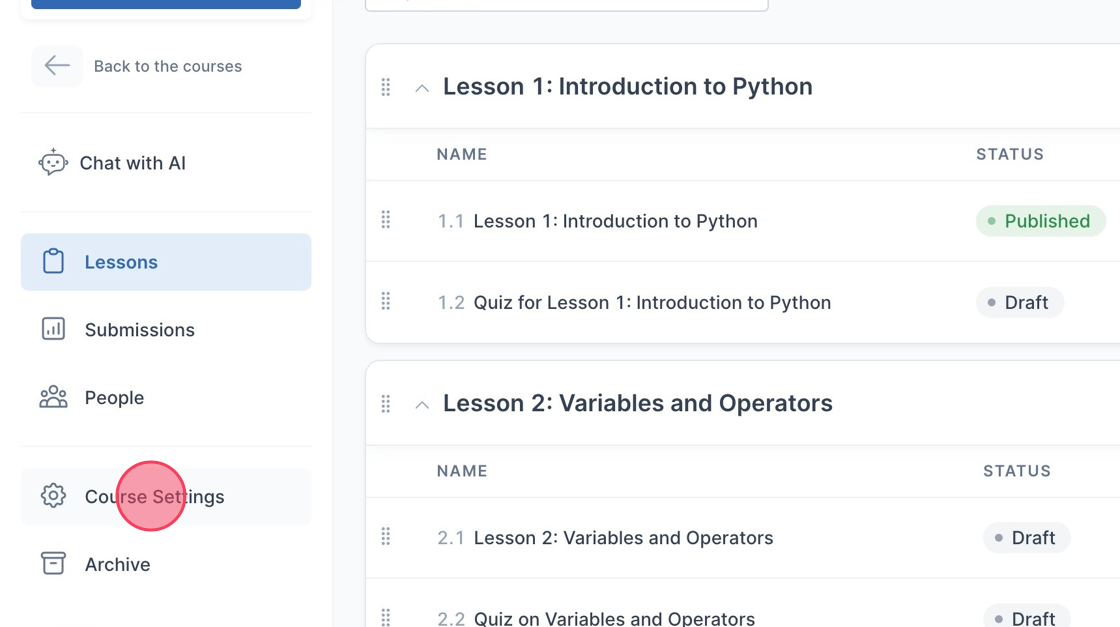
1. Navigate to the Course that you want to see the Course Details for
2. Click "Course Settings"
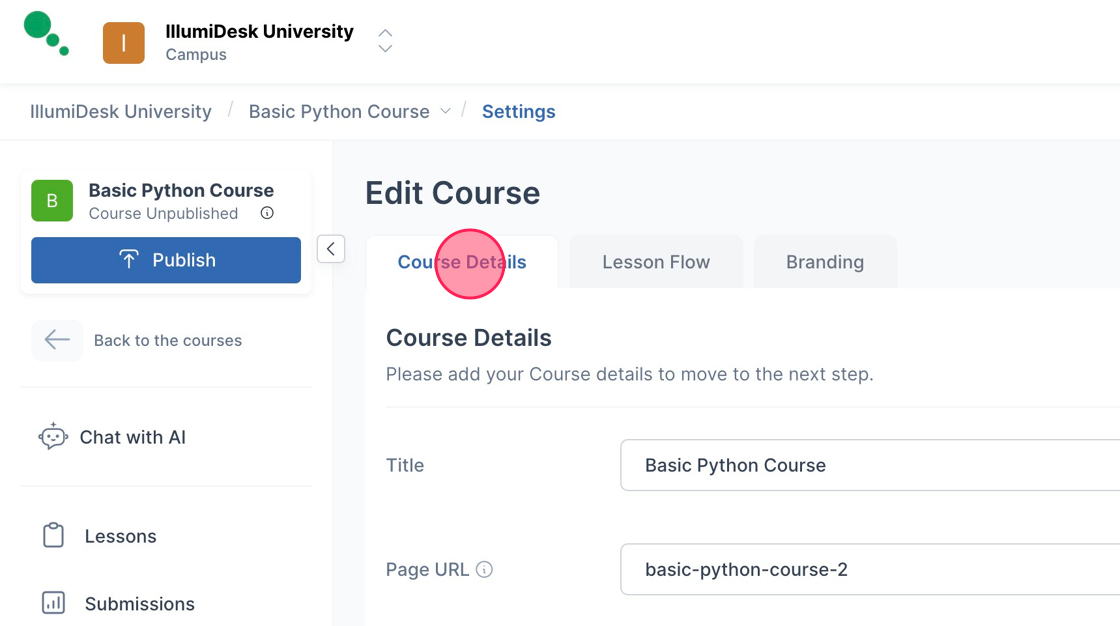
3. Click "Course Details"
Delete and Restore a Course in IllumiDesk Platform
1. Navigate to your Course List page
2. Click the 3 dot menu next to the course you want to delete
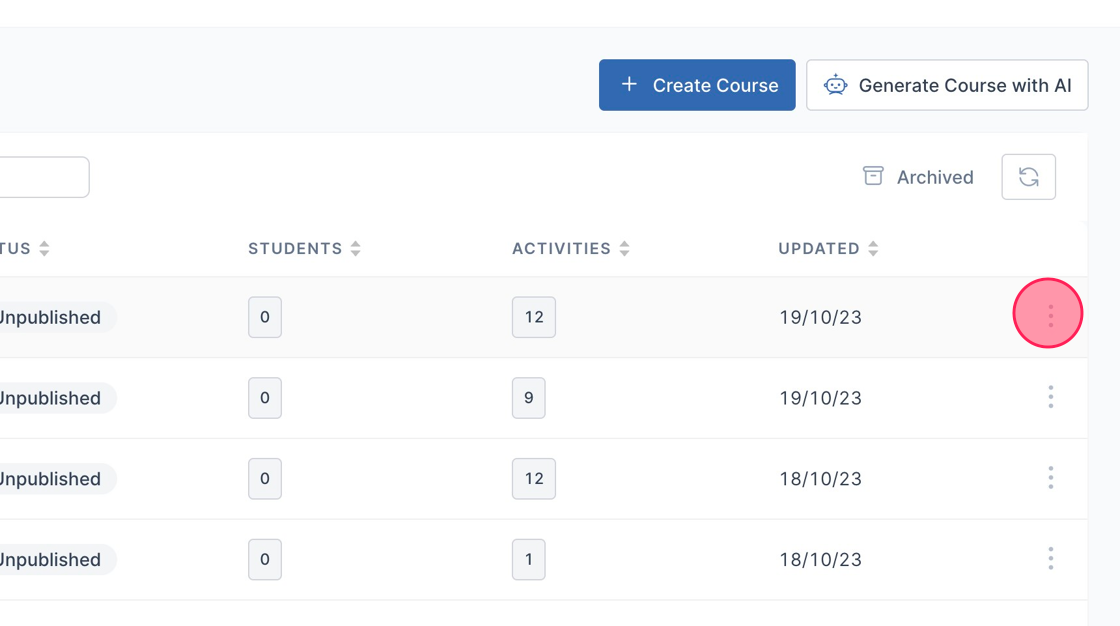
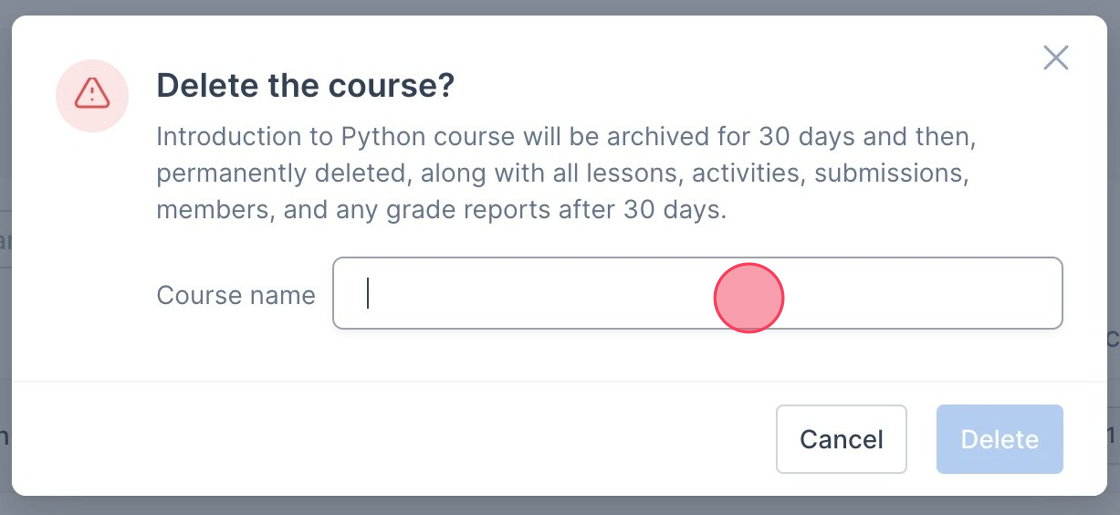
3. Click "Delete"

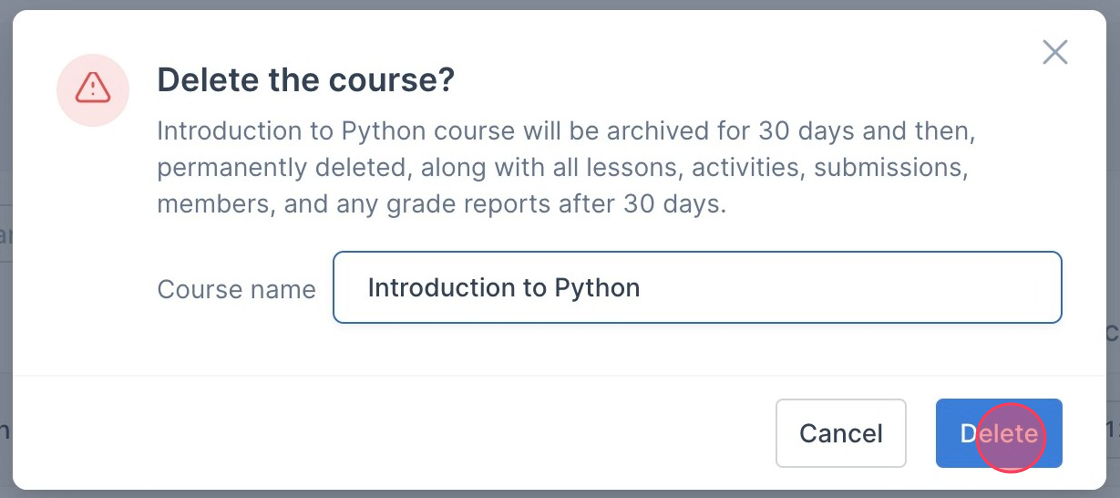
4. Fill in the Course Name field with the course name
5. Click "Delete"
6. A toast message is displayed saying "Course removed successfully"
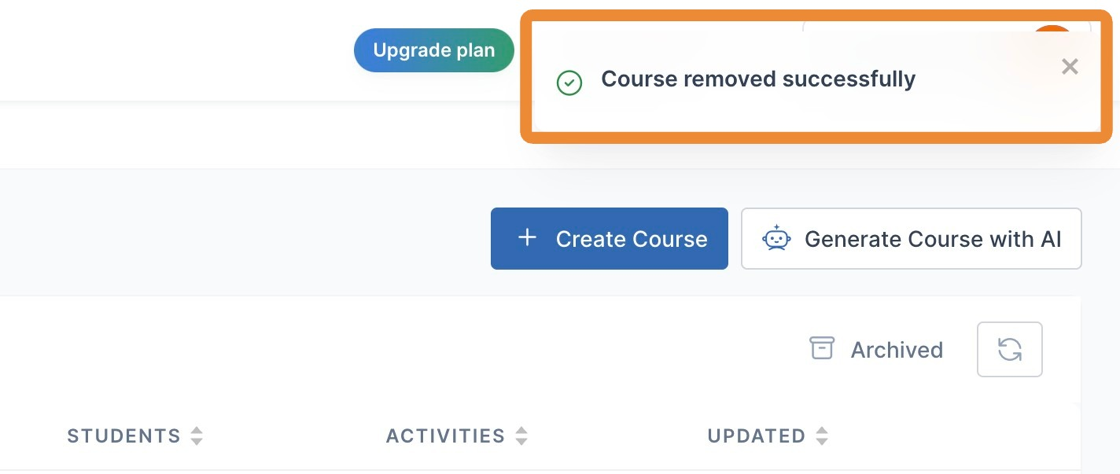
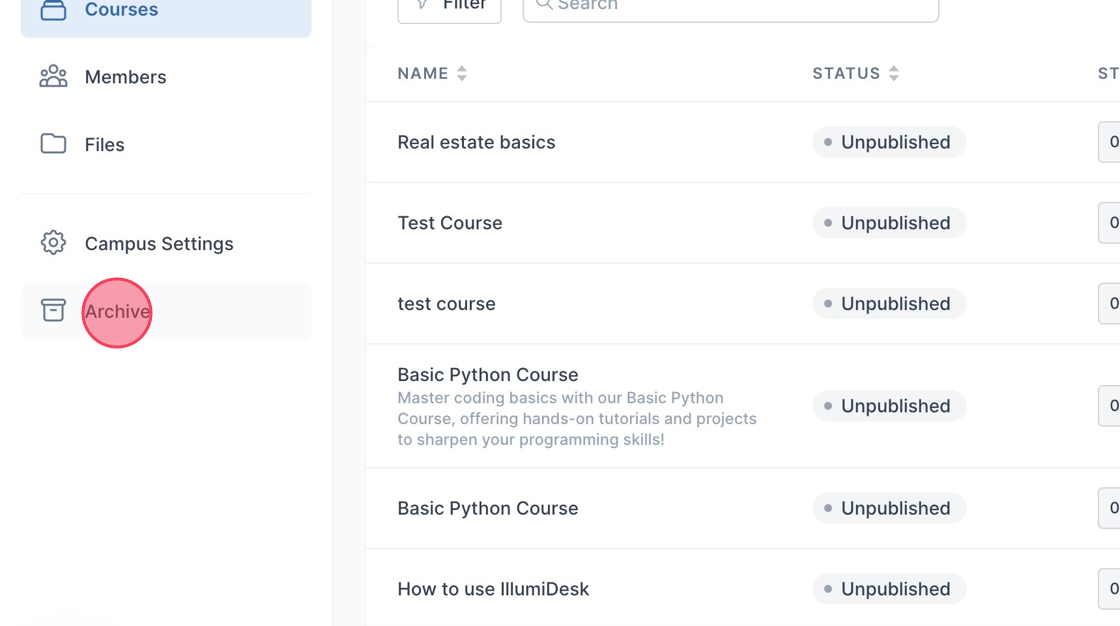
7. The deleted course is moved to the Archive for 30 days
8. Click "Archive"
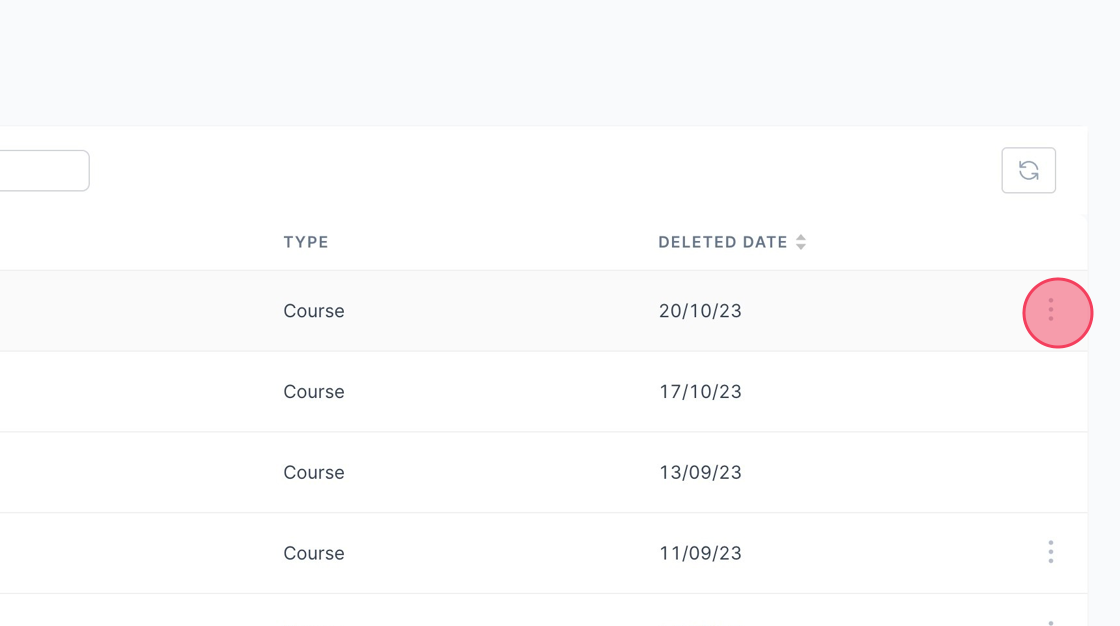
9. To Restore the course click the 3 dot menu next to the course you want to restore
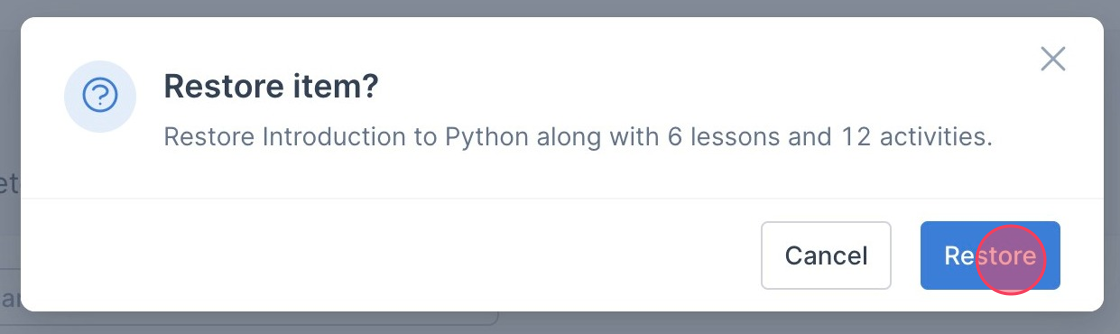
10. Click "Restore"
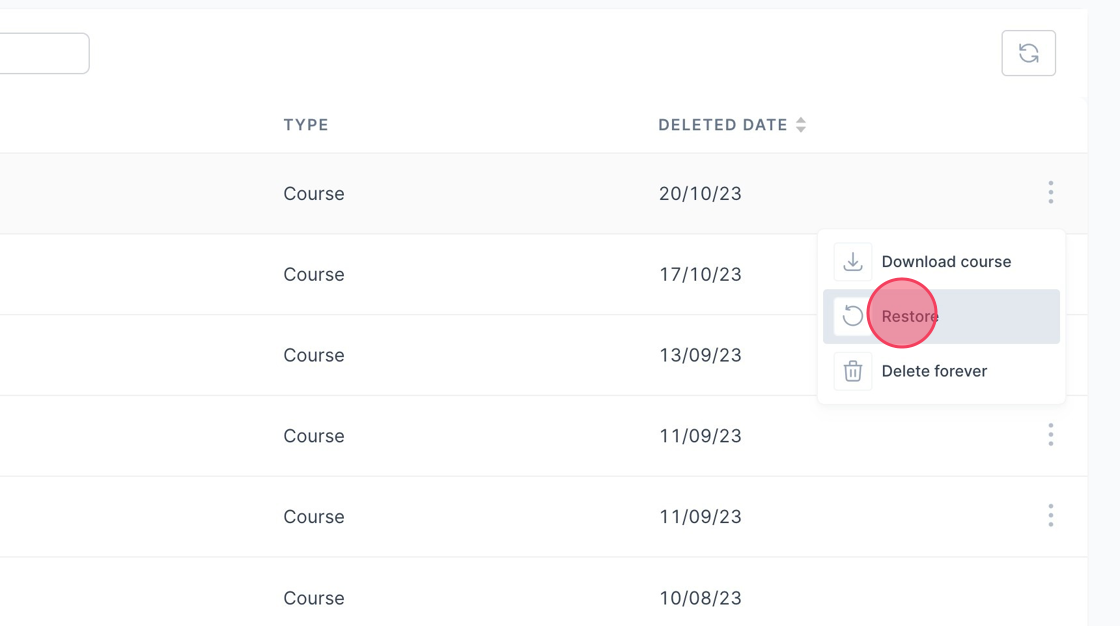
11. Click "Restore"