Uncover the power of IllumiDesk's new Context Manager feature with this guide.
IllumiDesk Context Manager Step-by-Step Guide
Files supported by Context Manager:
- Plain text (.txt)
- Markdown (.md)
- HyperText Markup Language (.html)
- Microsoft Word document (.doc/.docx)
- Comma-separated values (.csv)
- Microsoft Excel spreadsheet (.xls/.xlsx)
- Portable Document Format (.pdf)
1. Log in to your IllumiDesk account.
2. You will be directed to your Campus Homepage.
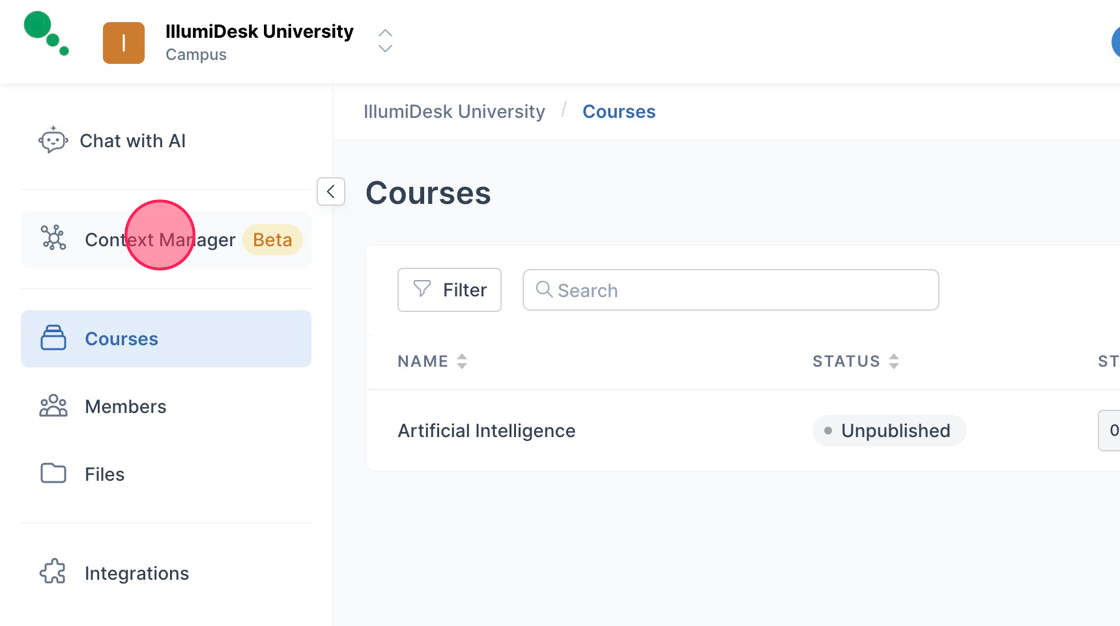
3. The Context Manager Beta feature now appears as an option in the left menu.
4. Click Context Manager to begin creating your Context.
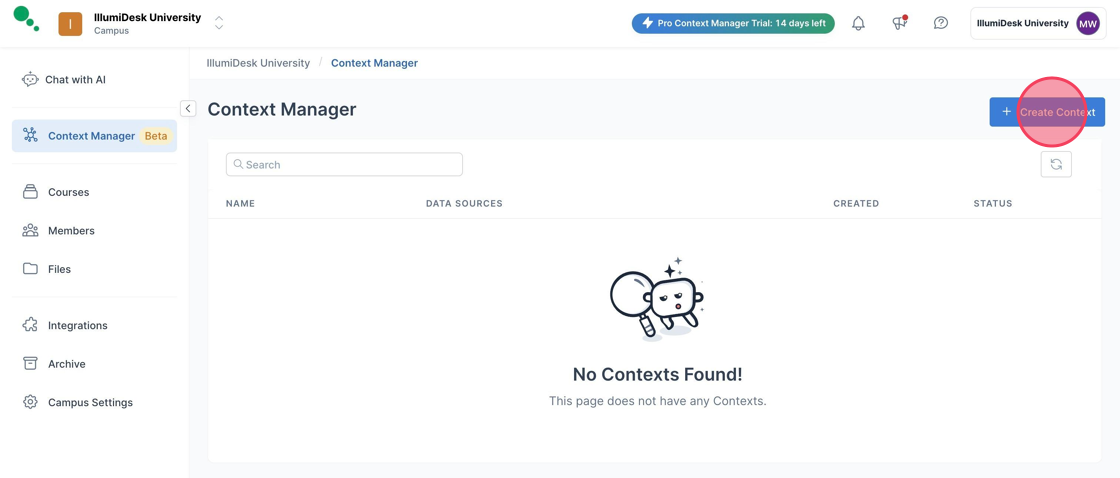
5. Click "Create Context" on the write side of the screen to display the Context Manager Wizard.
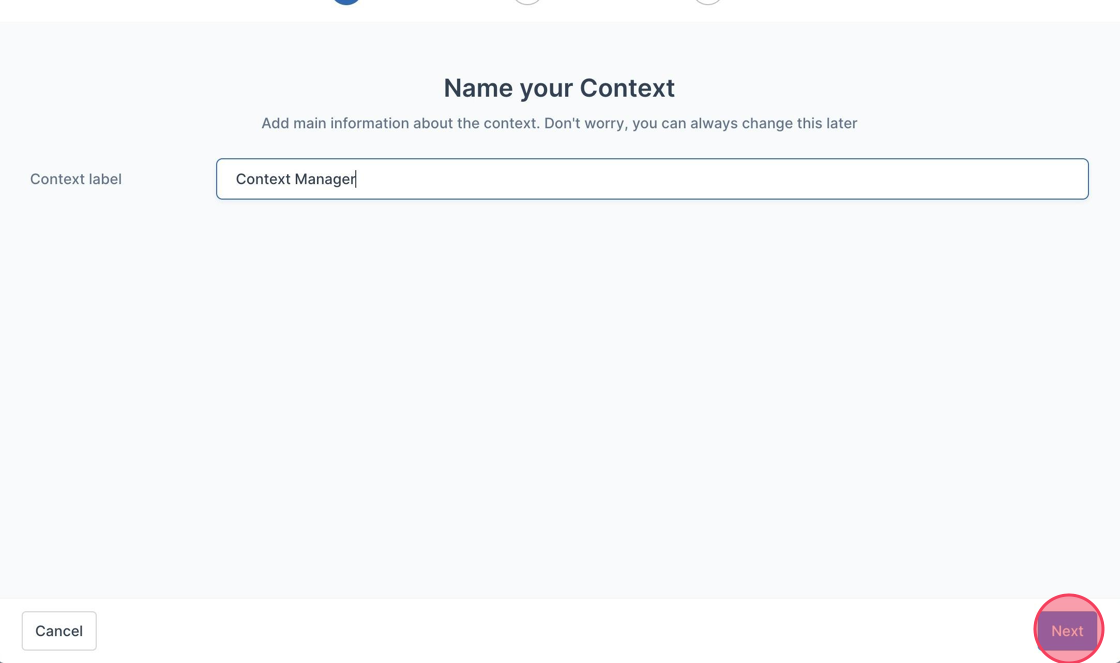
6. In the first step of the Wizard, input your Context Label Title in the text field.
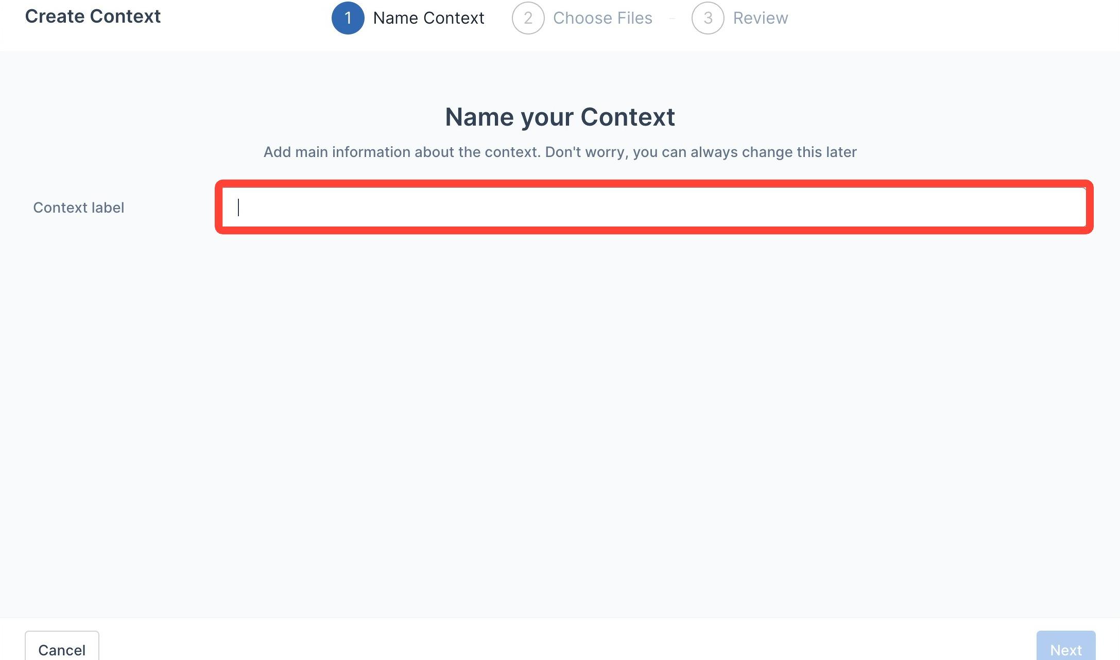
7. Click "Next" once you have given the Context a title.
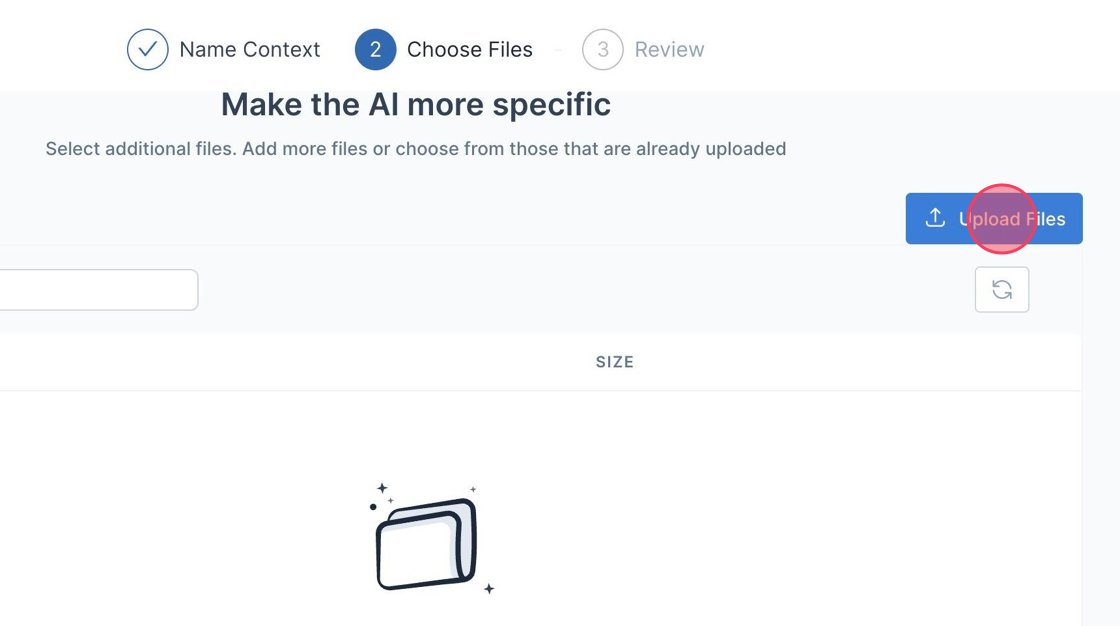
8. In the second step of the Wizard, click "Upload Files" to begin importing files.
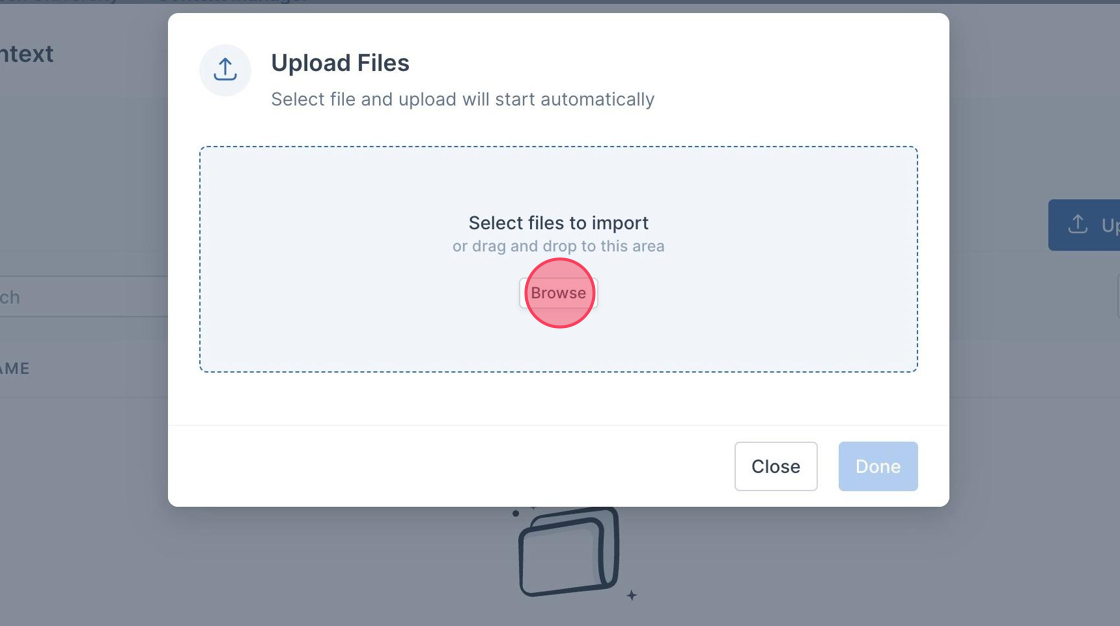
9. Click "Browse" from the Upload Files modal to open your local device storage and choose the files you would like to upload.
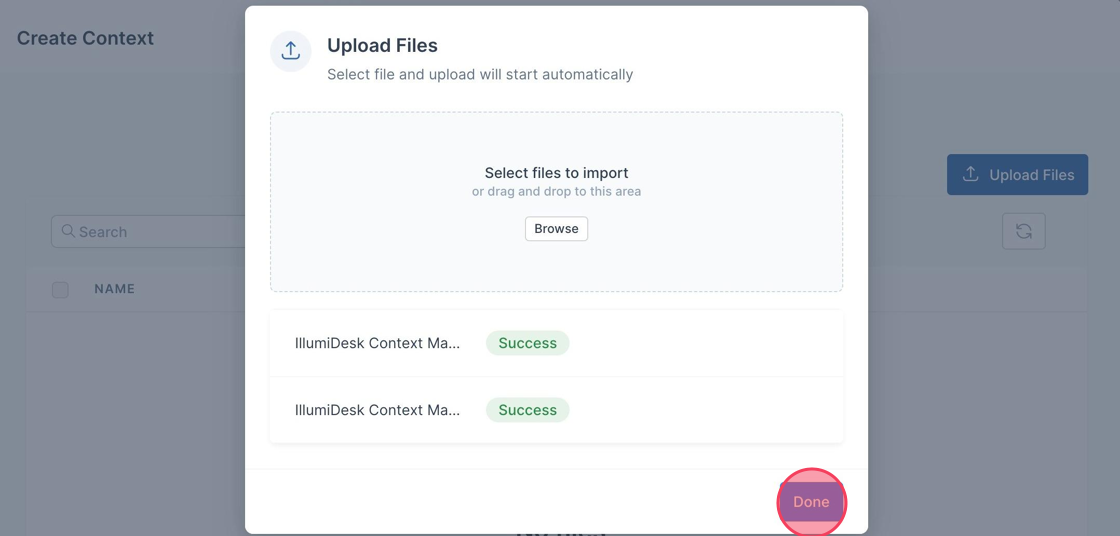
10. The files now appear in the Upload Files modal.
- A green "Success" notification is shown next to successfully imported files.
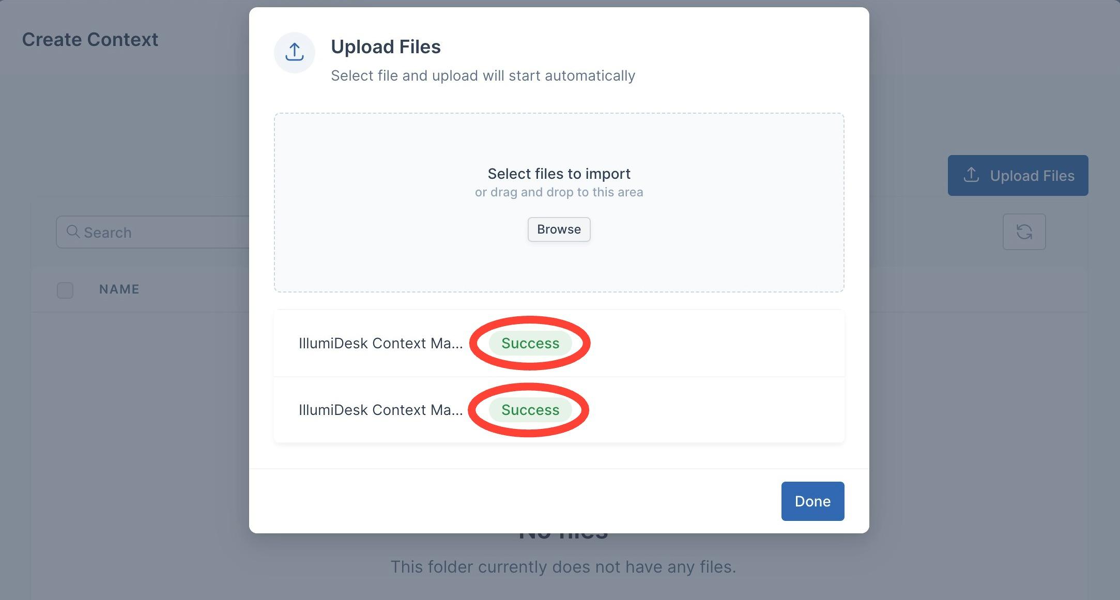
11. Once they have been successfully uploaded, click "Done".
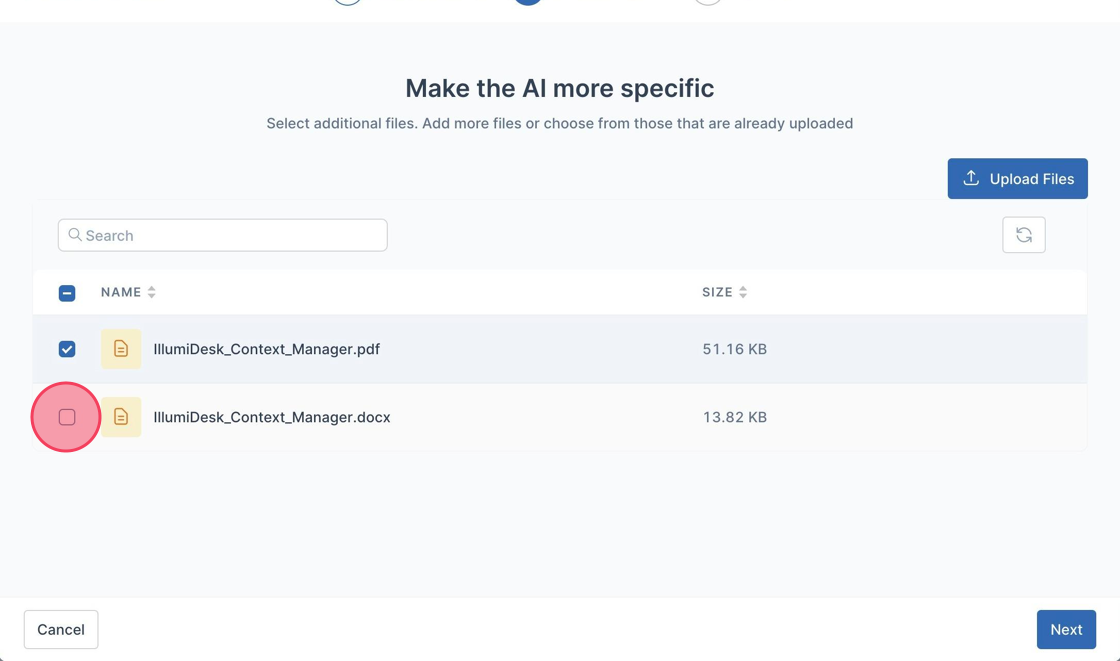
12. To finish the last part of the "Choose Files" section, select the files you want to use in the Context by clicking the checkbox next to each file.
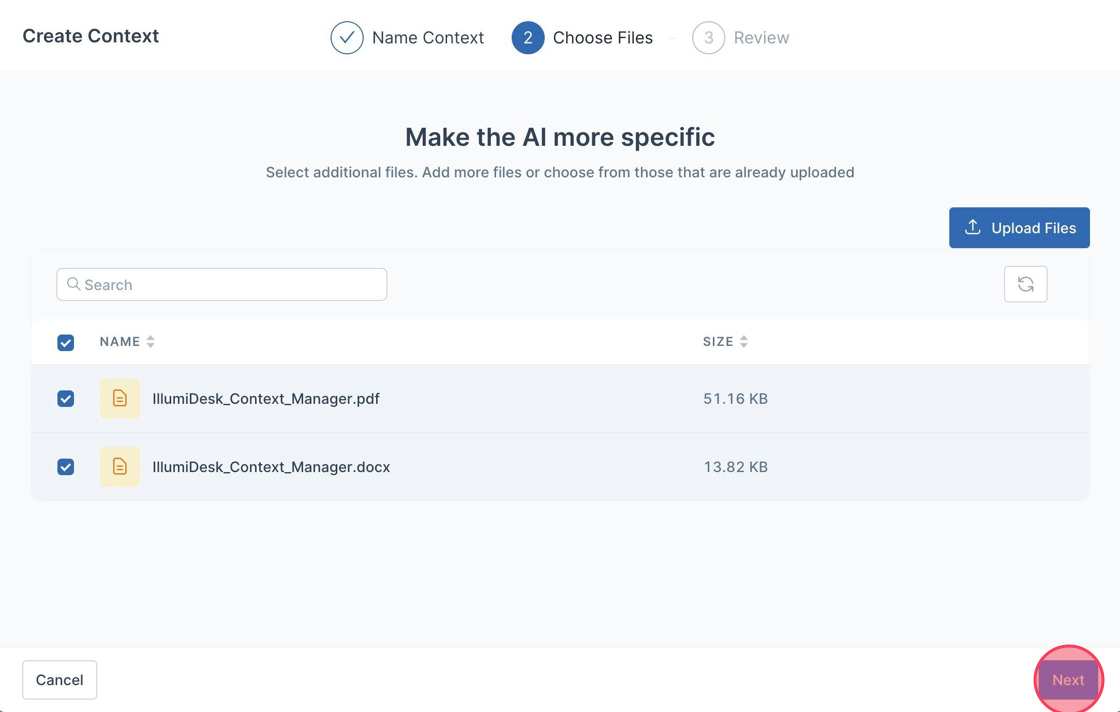
13. Once you have selected all the files you want to use, click "Next".
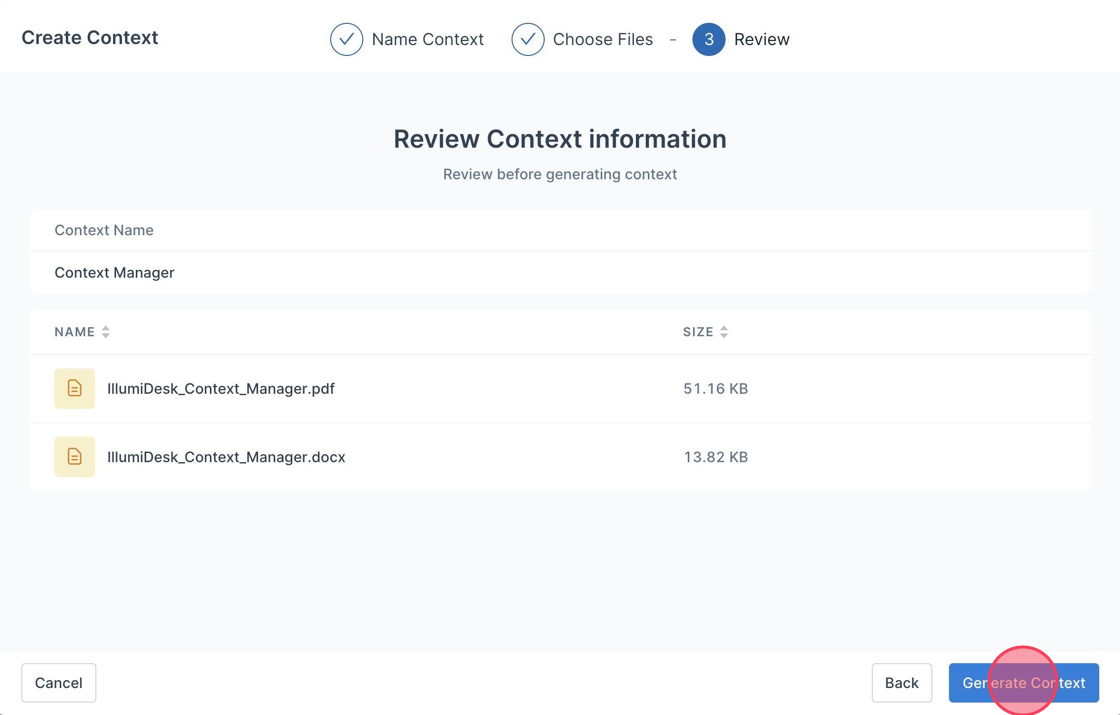
14. In the third step of the Wizard, review that the files you have selected are correct for the Context Label and select "Generate Course".
15. A toast message is displayed saying "Excellent, your context is currently being built!" within the Context Manager Wizard.
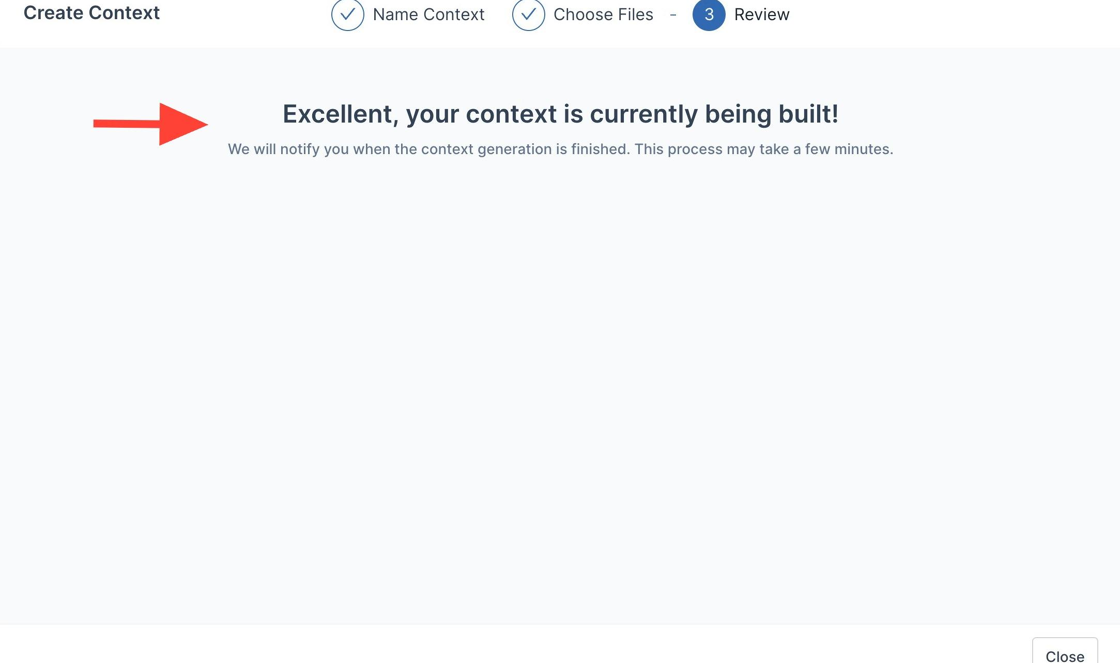
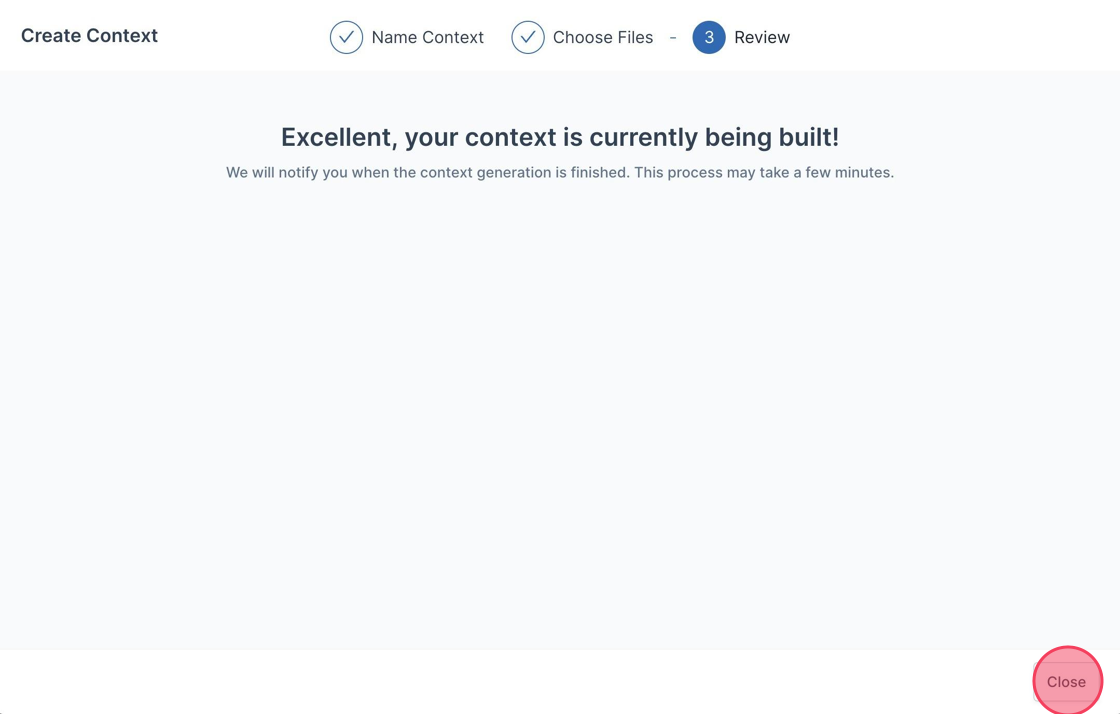
16. Click "Close" to exit out of the Context Manager Wizard.
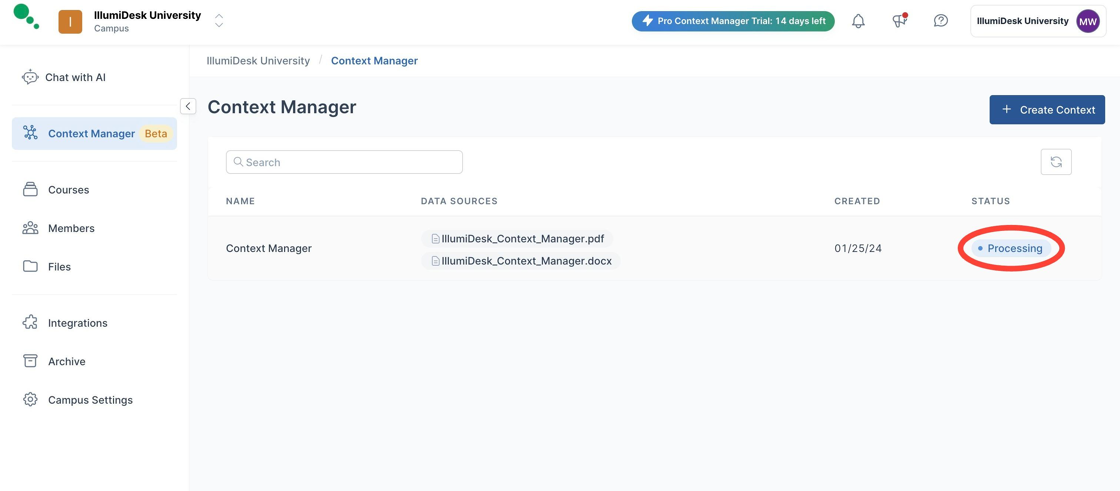
17. The status of "Processing" highlighted in blue now appears in the Status section of the Context Manager.
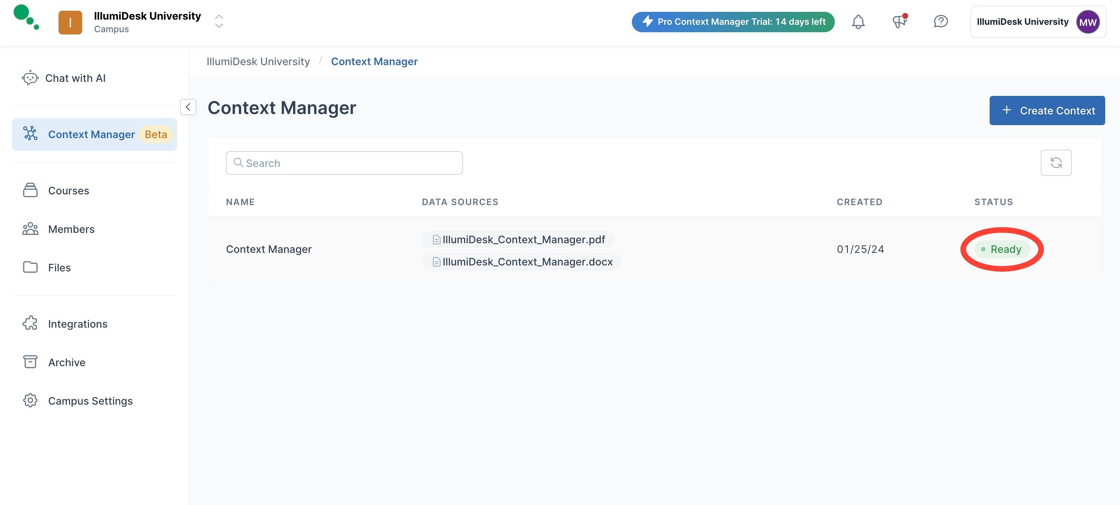
18. Once your Context is ready to be used for a course the Status section of the Context Manager will change to "Ready" highlighted in green.
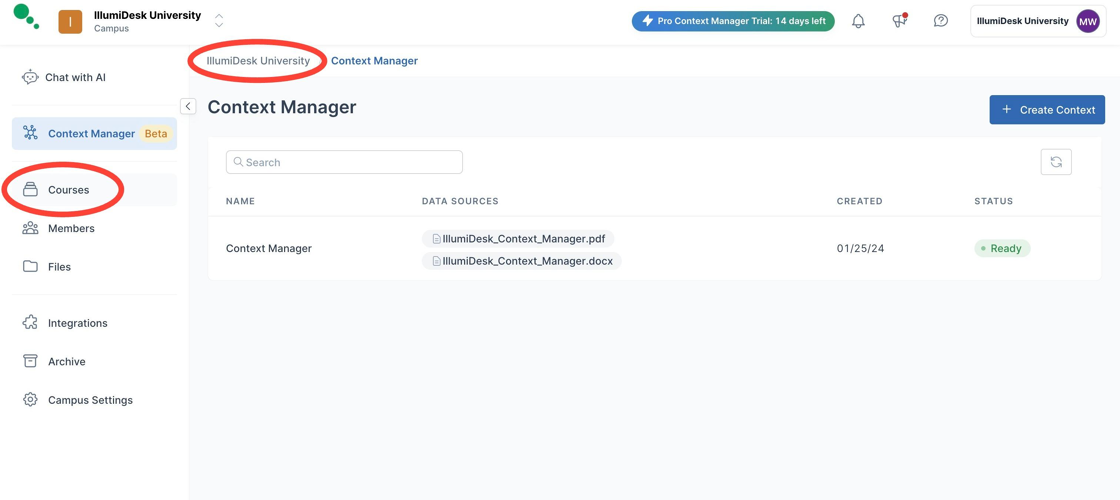
19. Navigate back to your Campus Homepage to begin using your new Context.
- Click on the Title of your Campus at the top of the page or by selecting "Courses" from the left menu.
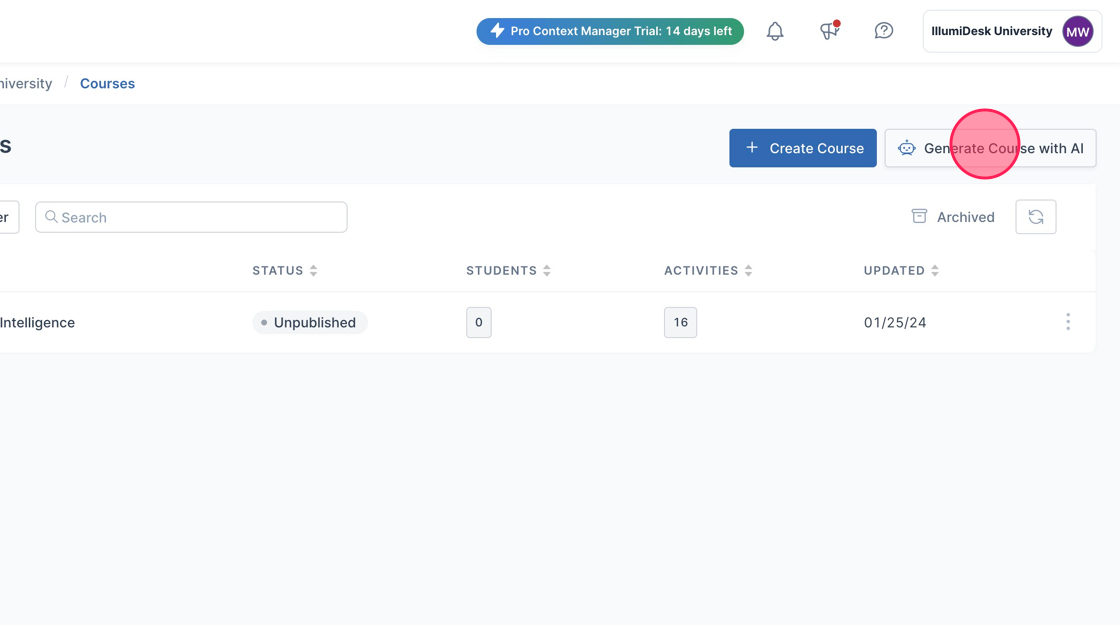
20. From the Campus Homepage, click "Generate Course with AI" to open the Course Creation Wizard with Context Manager.
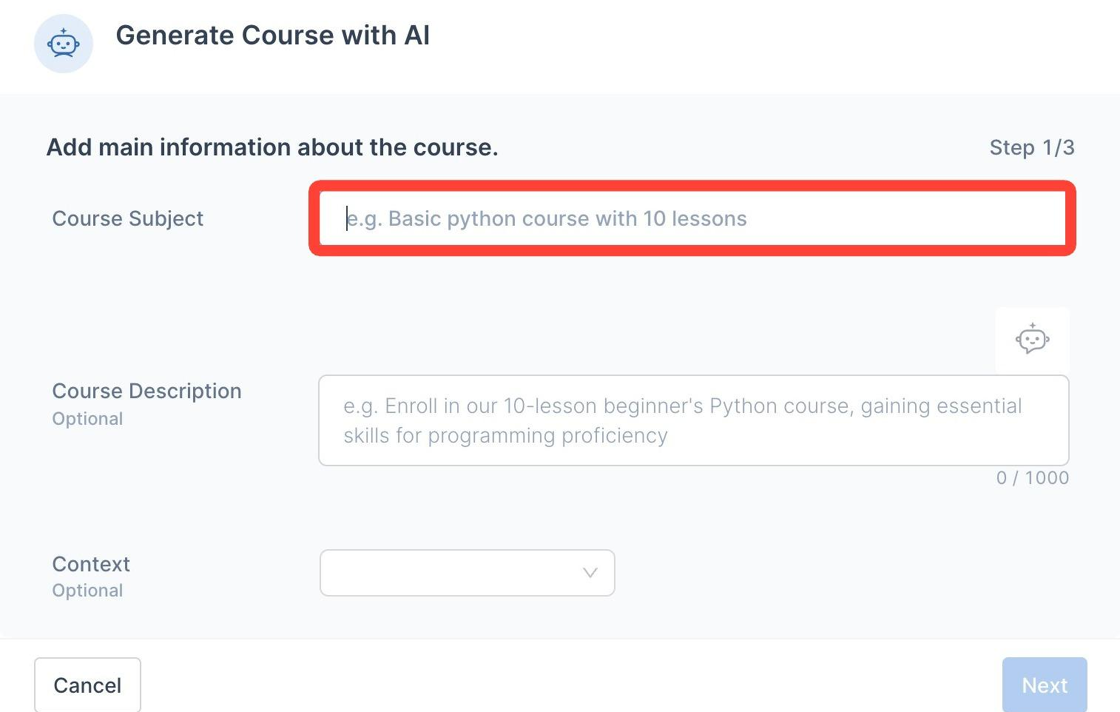
21. Input the Course Subject for the course in the "Course Subject" field.
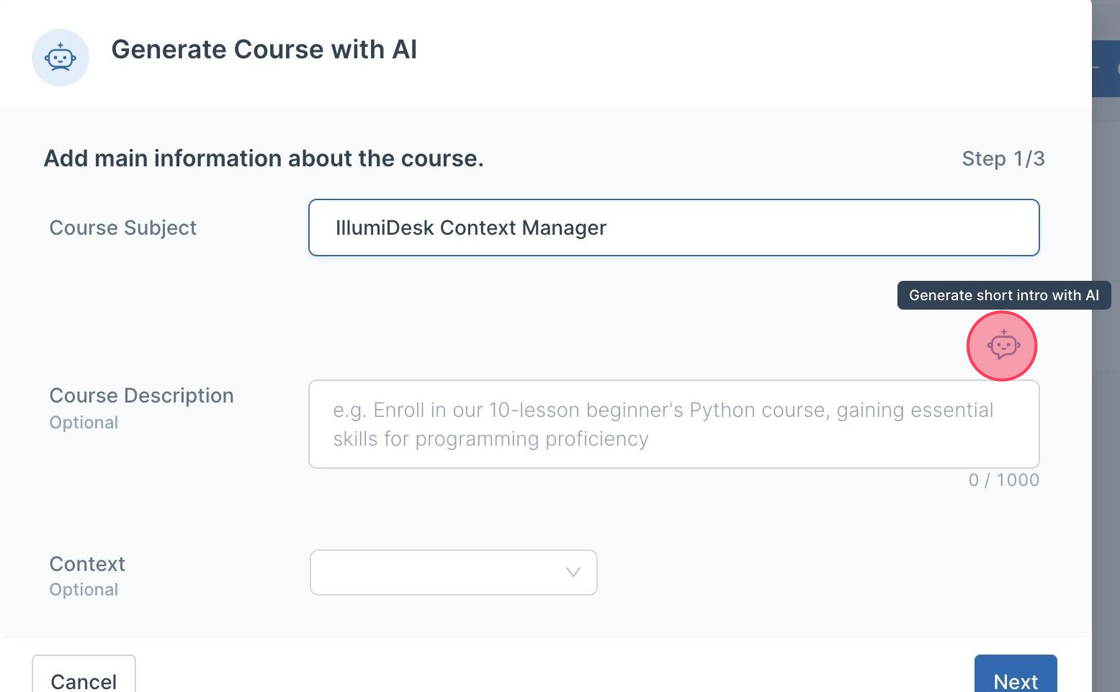
22. In the "Course Description" field you can either manually type the course description or click the "Generate short intro with AI" icon to write a description with A.I.
23. Choose the Context you would like to use for the course by selecting the dropdown option and choosing the context you would like to use.
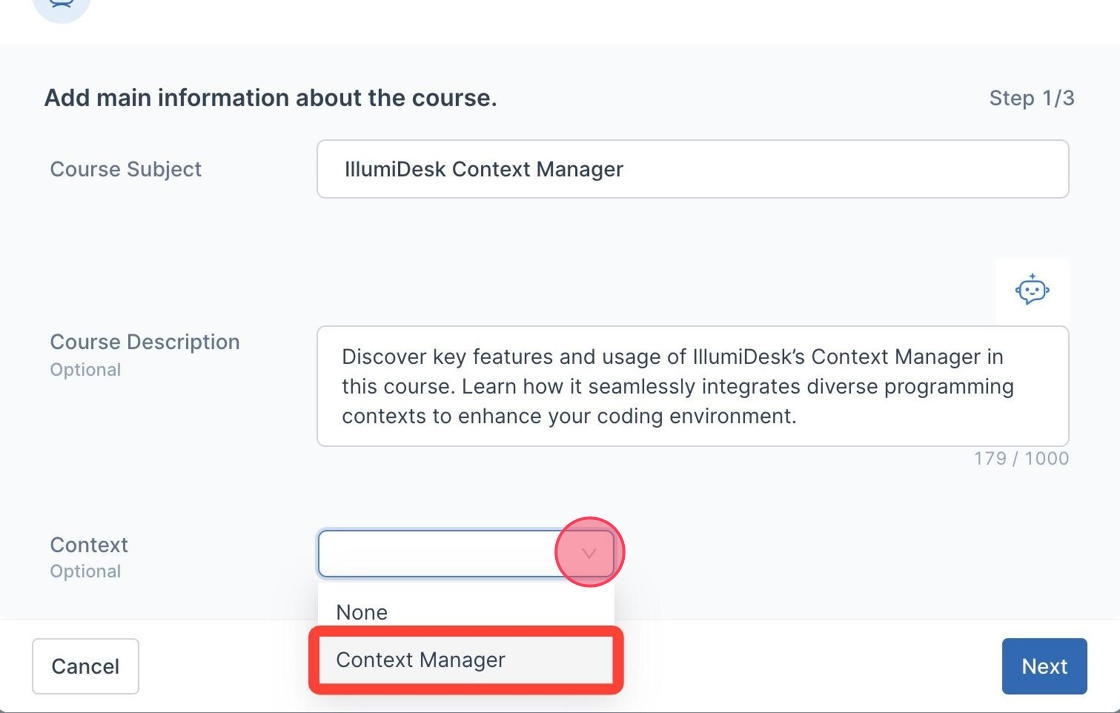
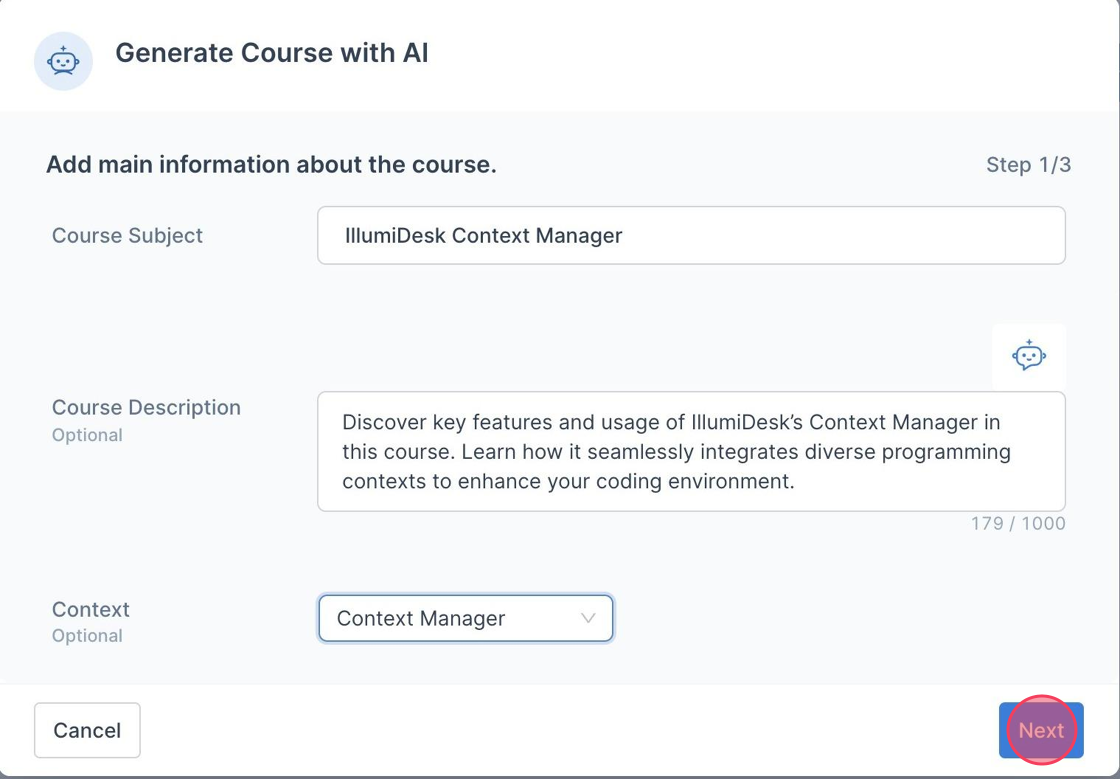
24. Once selected, click "Next" to begin creating your Lesson topics.
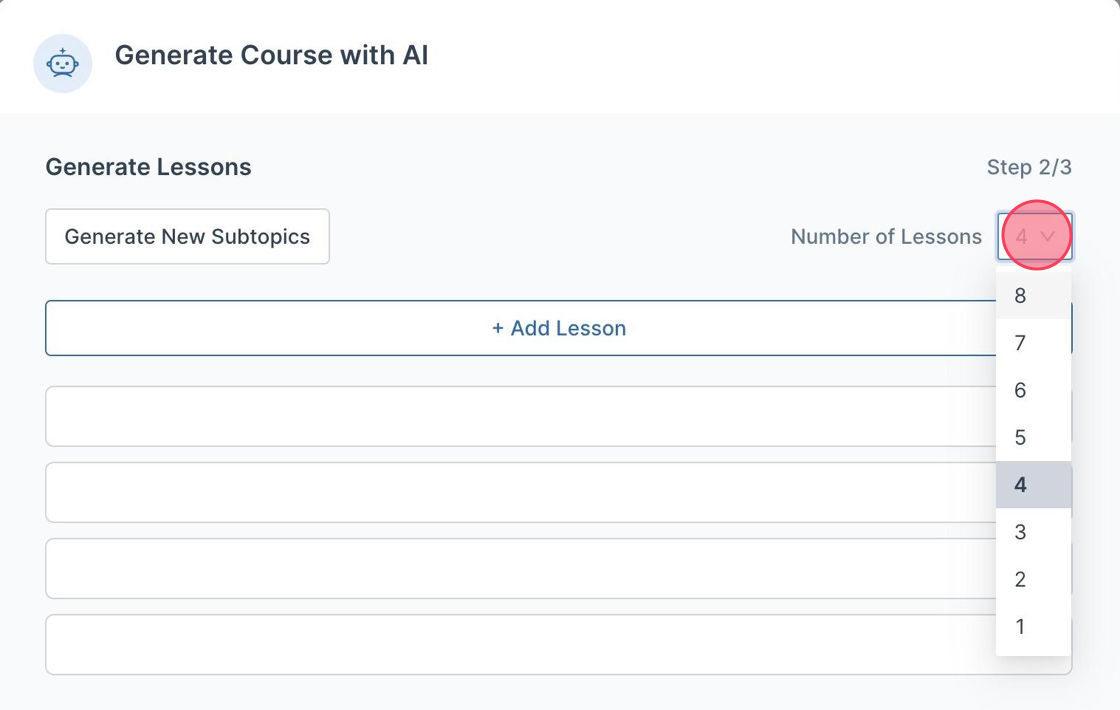
25. Choose the number of Lessons you would like to create by selecting the "Number of Lessons" dropdown.
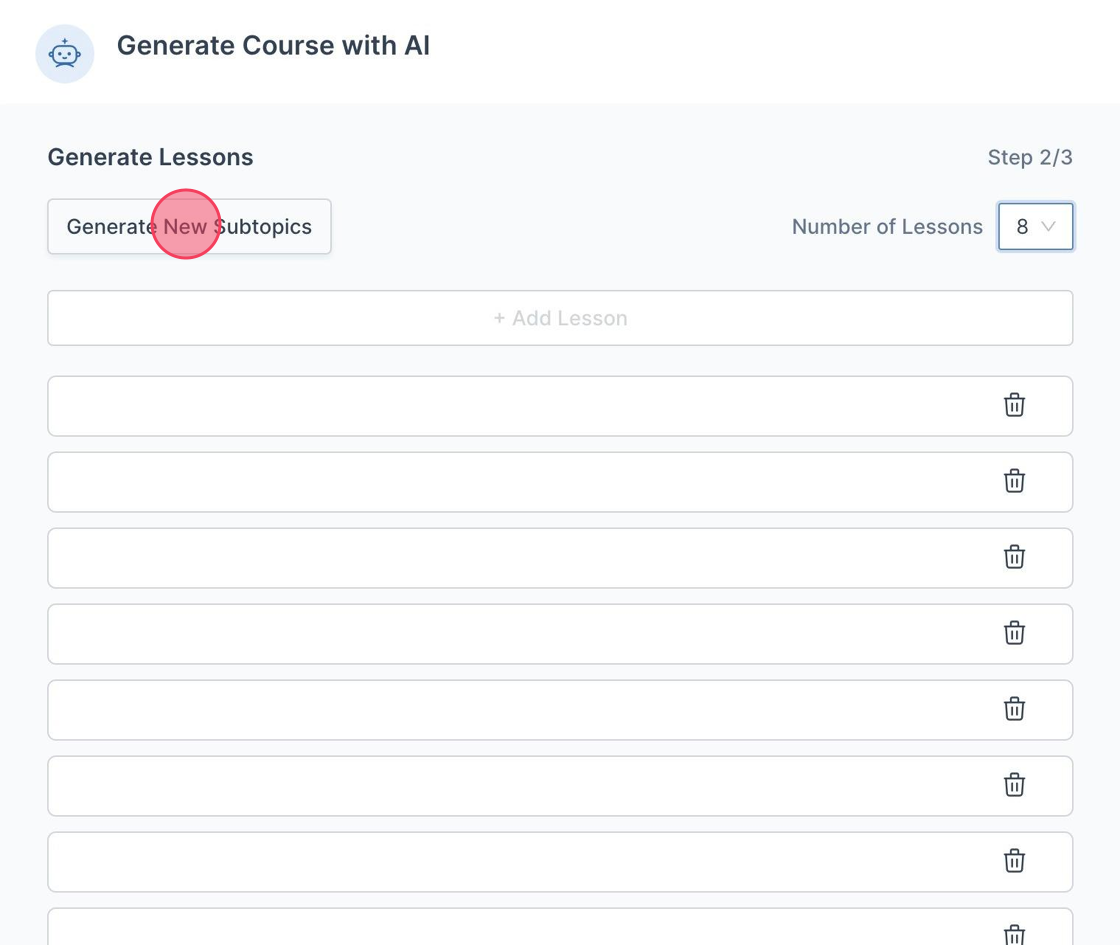
- Note: A.I. Generated courses support up to 8 lessons and Subtopics in the Wizard cannot be left blank. By default, if the number of lessons in the Wizard is 0, it will automatically create 8 lessons.
26. To generate Subtopics with A.I., click "Generate New Subtopics".
27. Once you have created your Subtopics manually or created them with A.I. click "Next".
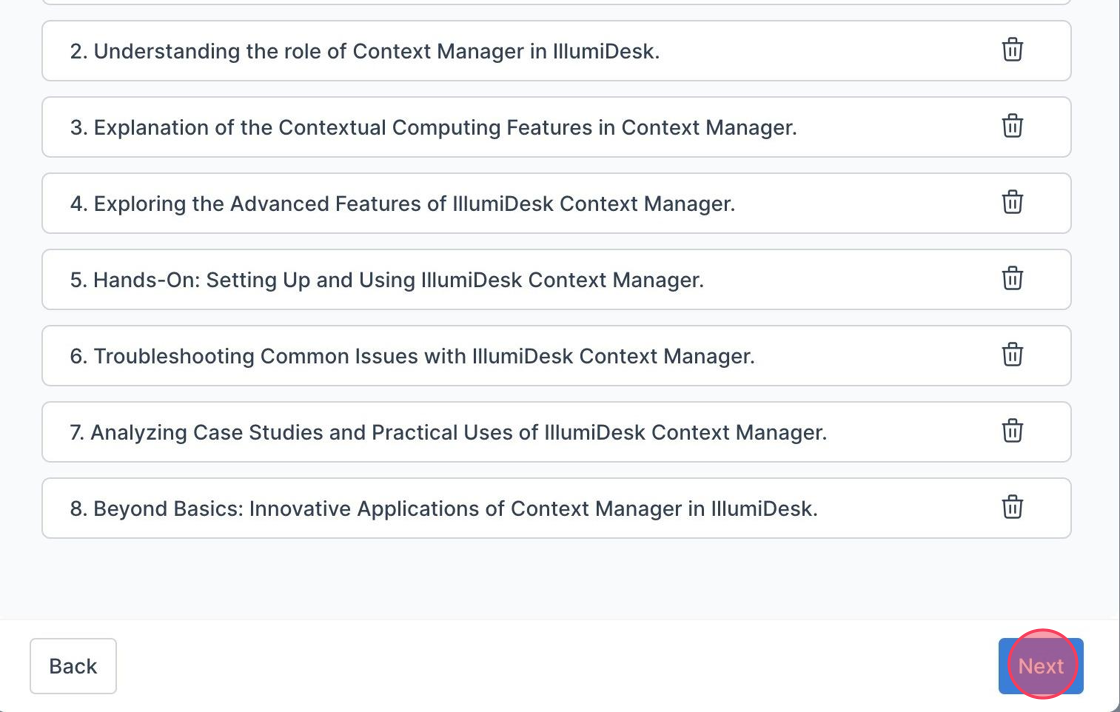
28. Finish creating your course with A.I. and Context Manager by clicking "Generate Course".
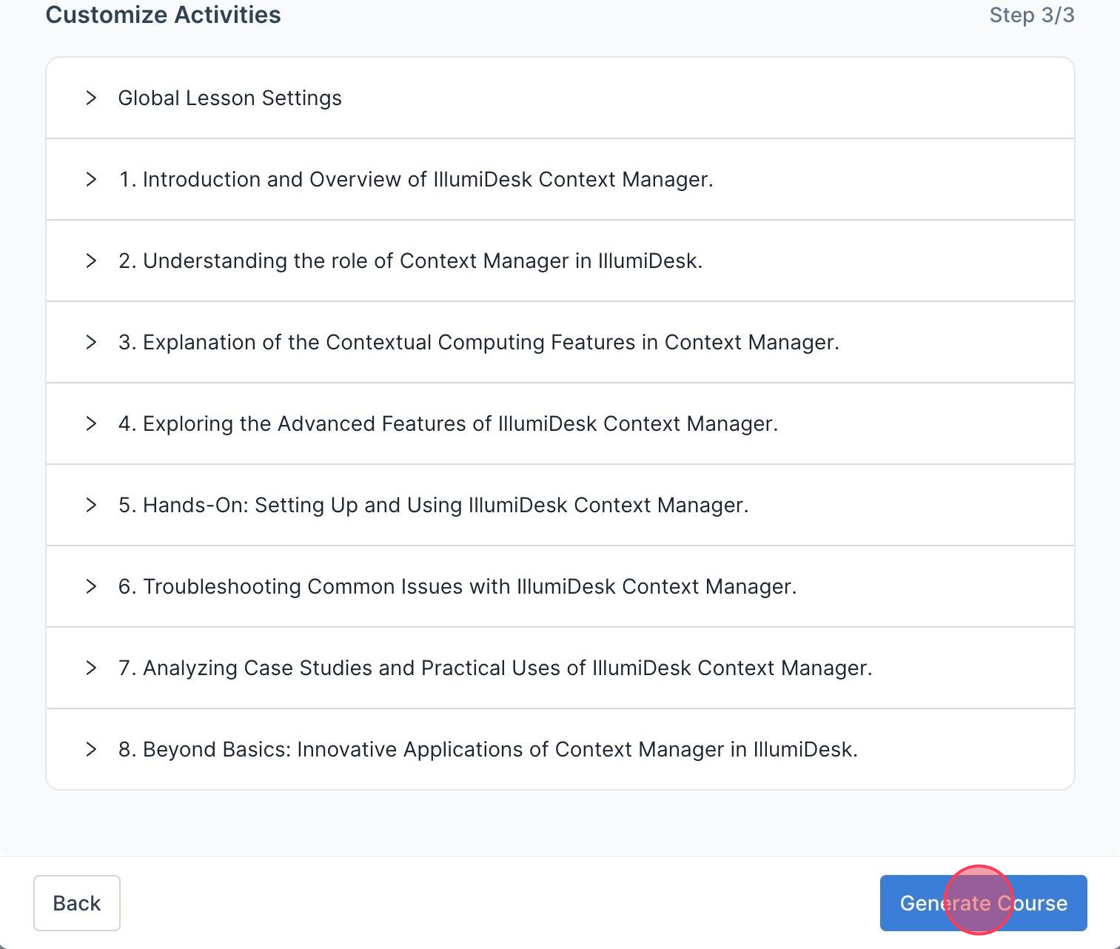
29. A message is displayed in the Wizard saying "Great, we're generating your course. We'll notify you as soon as it's ready."
- Click "Close" to exit out of the Generate Course Wizard.

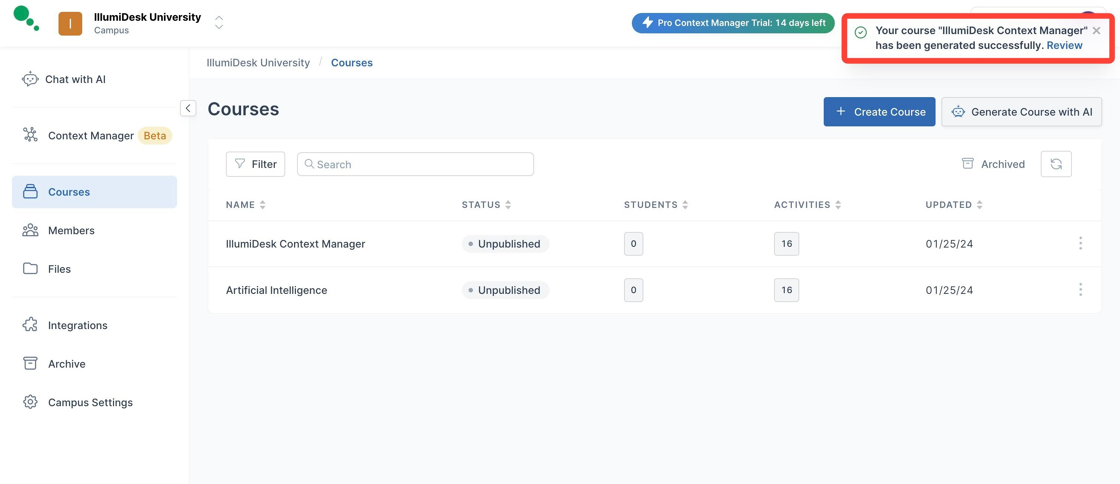
30. Once your course has been created, a toast message is displayed saying "Your course has been generated successfully."
- Open your course by clicking on the blue "Review" option in the message.
31. You can also select the course from your Campus Homepage.
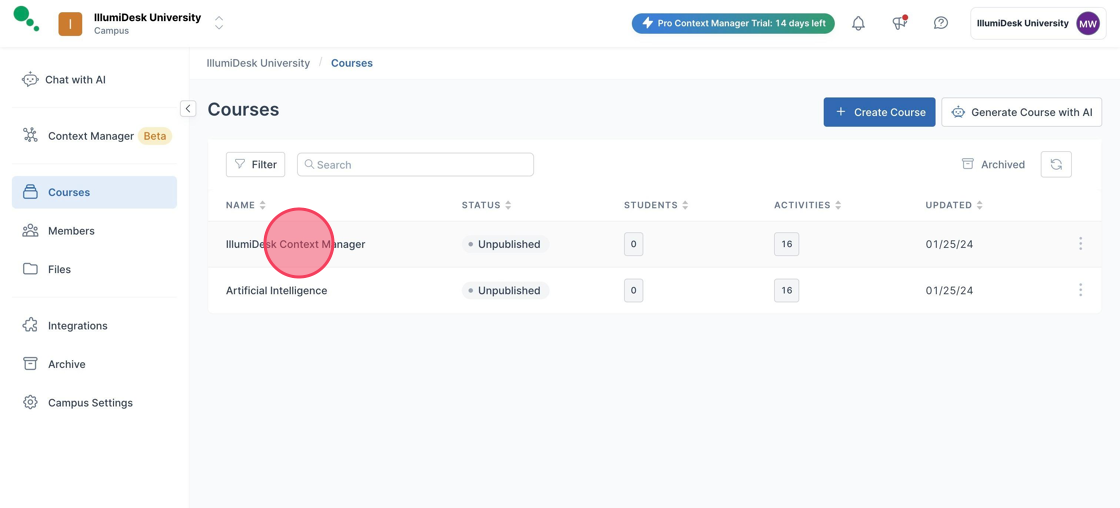
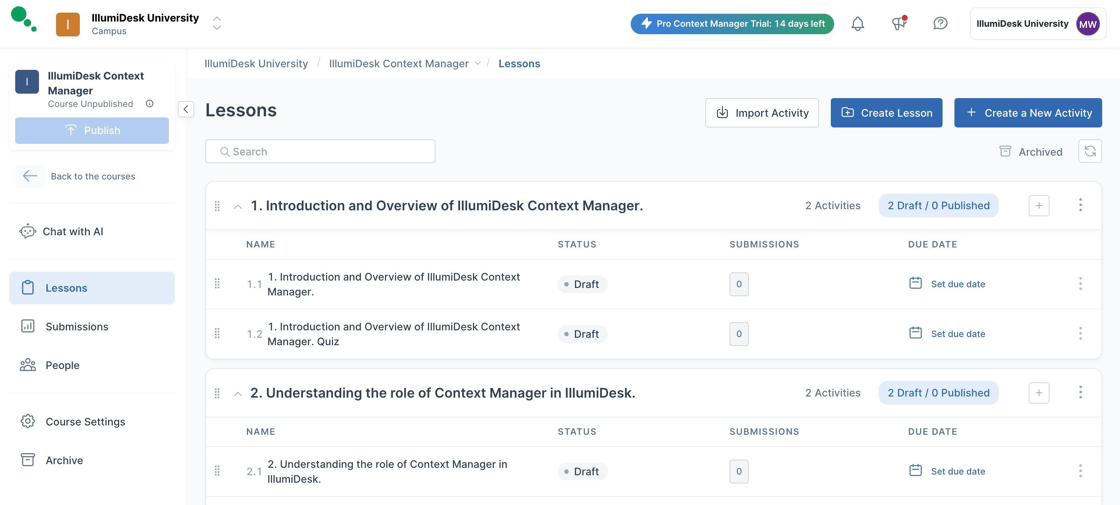
32. You will now see the Lessons page of your shiny new course generated by A.I. using your own documents!
