
This article explains how to manage and set CPU and Memory Limits for your Campus
Resources
Each IllumiDesk Studio Lesson that requires an interactive programming environment that will be using CPU and Memory resources. As the campus administrator, you have the ability to set the CPU and Memory Limits that an instructor can set for an IllumiDesk Studio Lesson.
How to Adjust Campus Resources
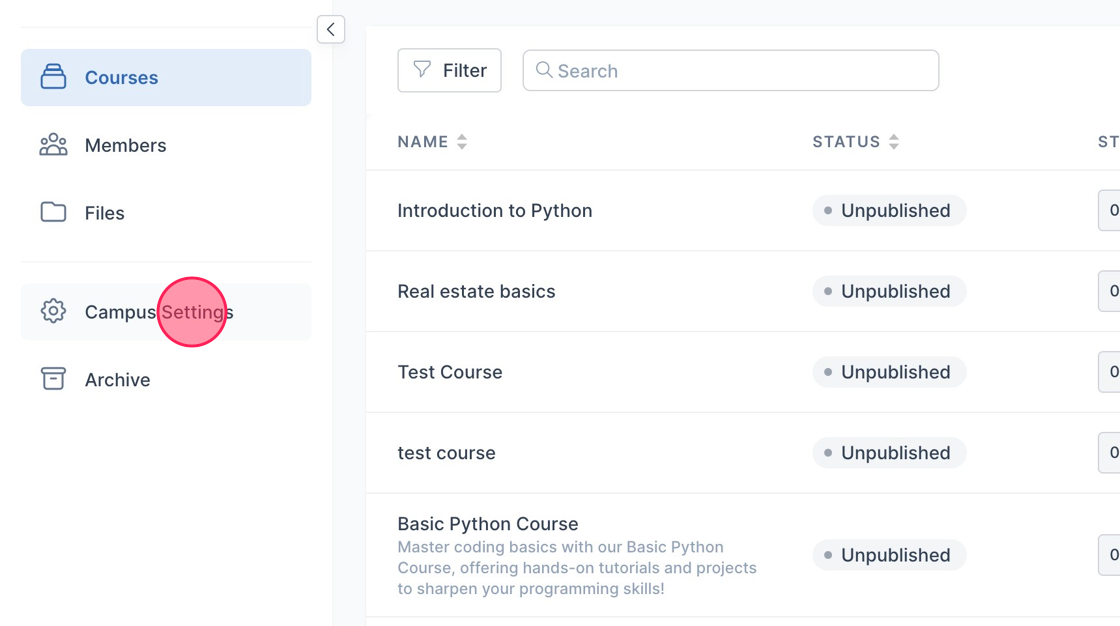
1. Navigate to your Campus homepage
2. From there click "Campus Settings" and navigate to the Resources tab. This is where you can adjust resource limits for the campus.
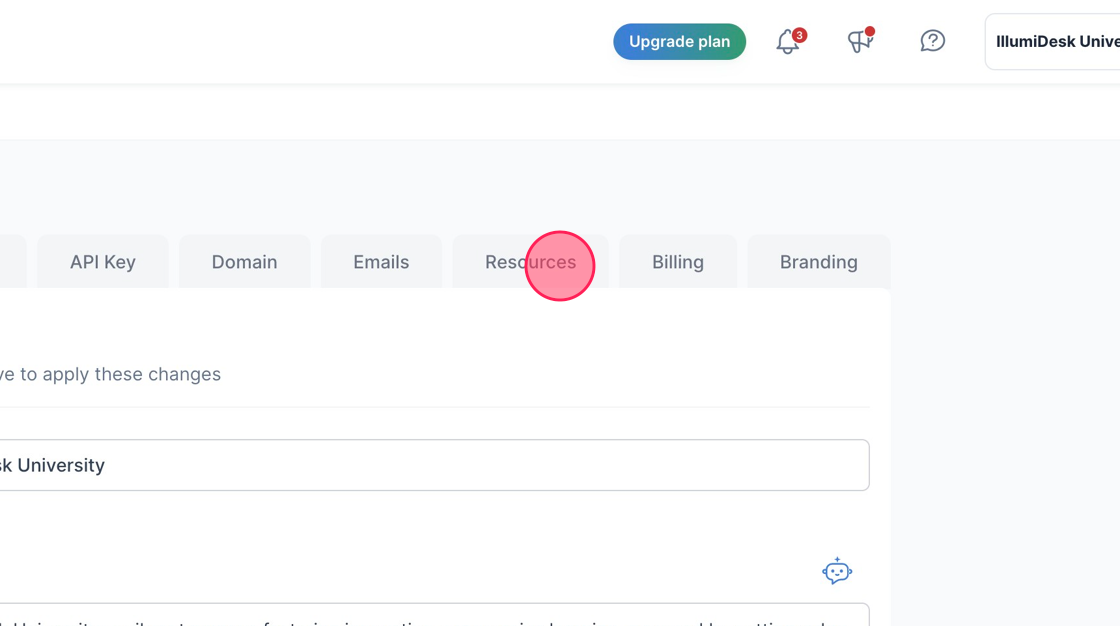
3. Click the "Resources" tab
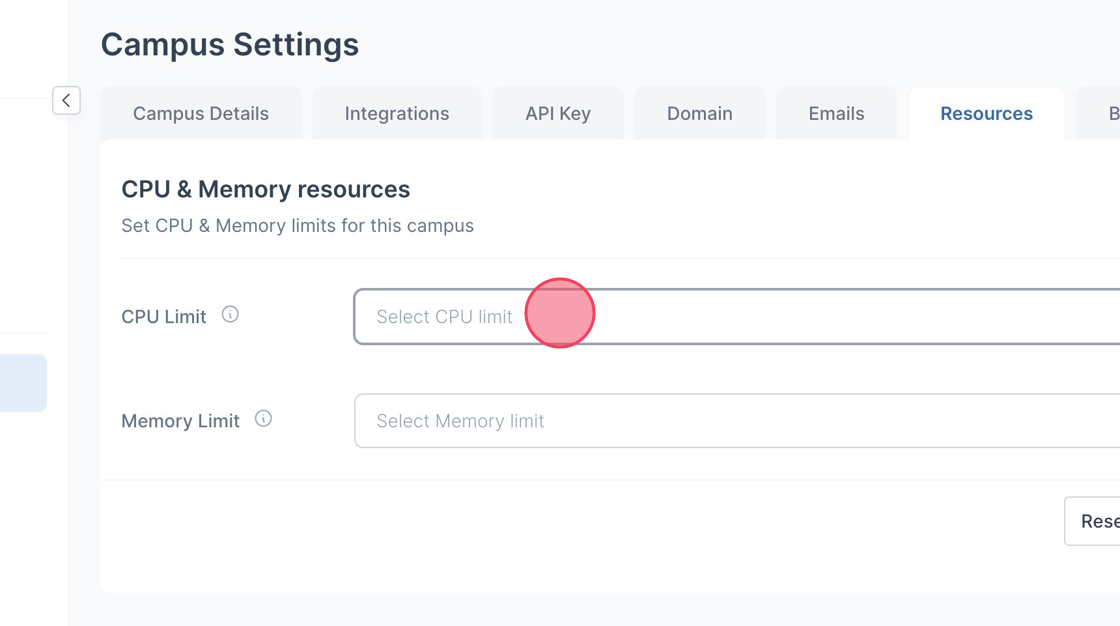
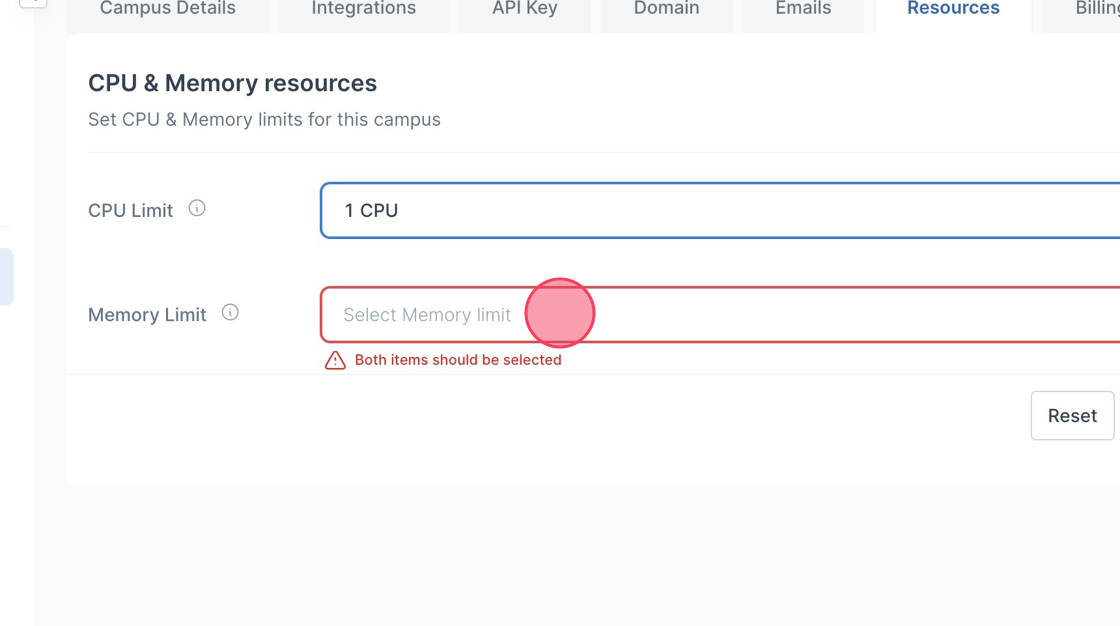
4. CPU Limit:
Find the "CPU Limit" option. This is where you can control how much CPU capacity is allocated to the campus.
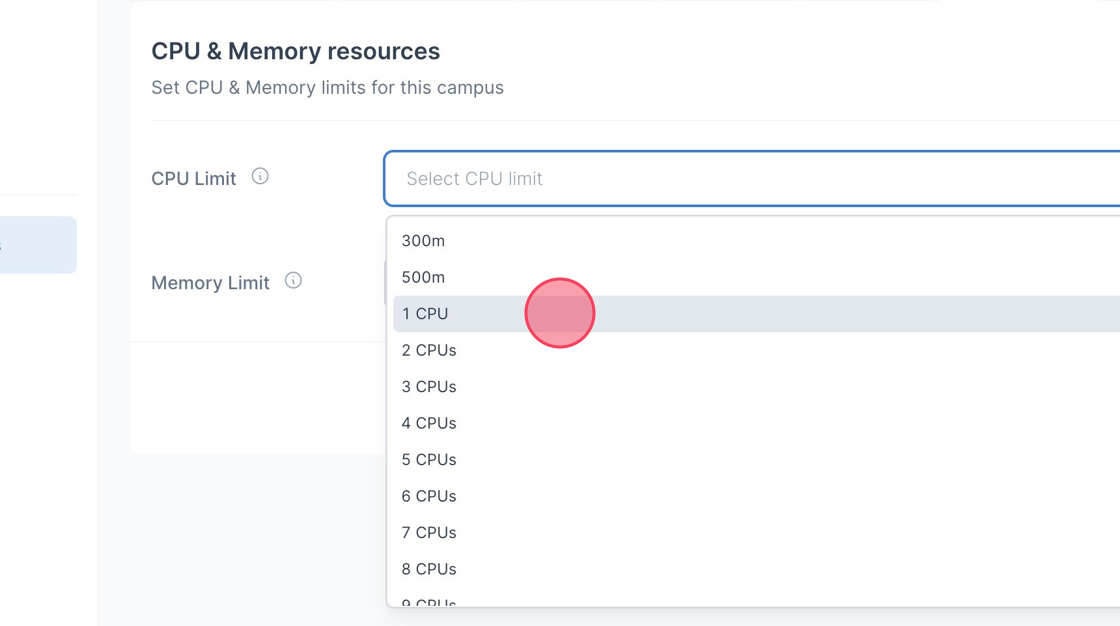
5. Select the dropdown arrow to choose the amount of CPU you wish to use.
- The highest CPU limit a user can set is 12 CPU cores.
6. Memory Limit:
- Locate the "Memory Limit" option. This is where you can set the maximum amount of memory that the campus can use.
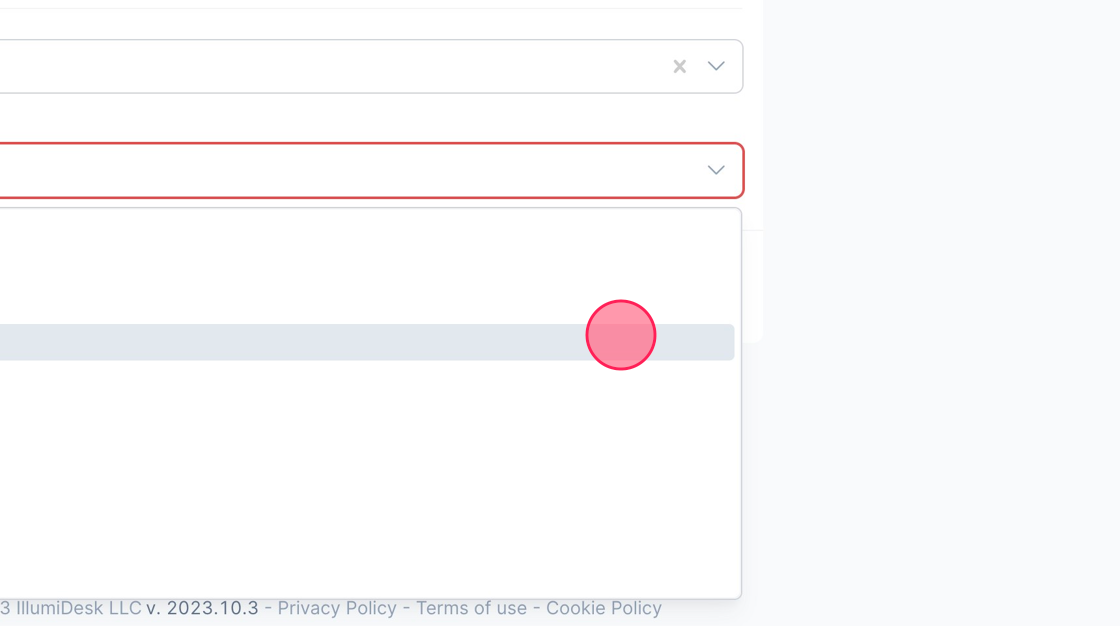
7. Select the dropdown arrow to choose the amount of memory you wish to use. This is typically specified in megabytes (MB) or gigabytes (GB).
- The highest memory limit a user can set is 20 Gi.
8. Review and Adjust:
Double-check your settings to make sure you're comfortable with the allocated resources. Ensure that the limits you set align with the campus's requirements and your available resources.
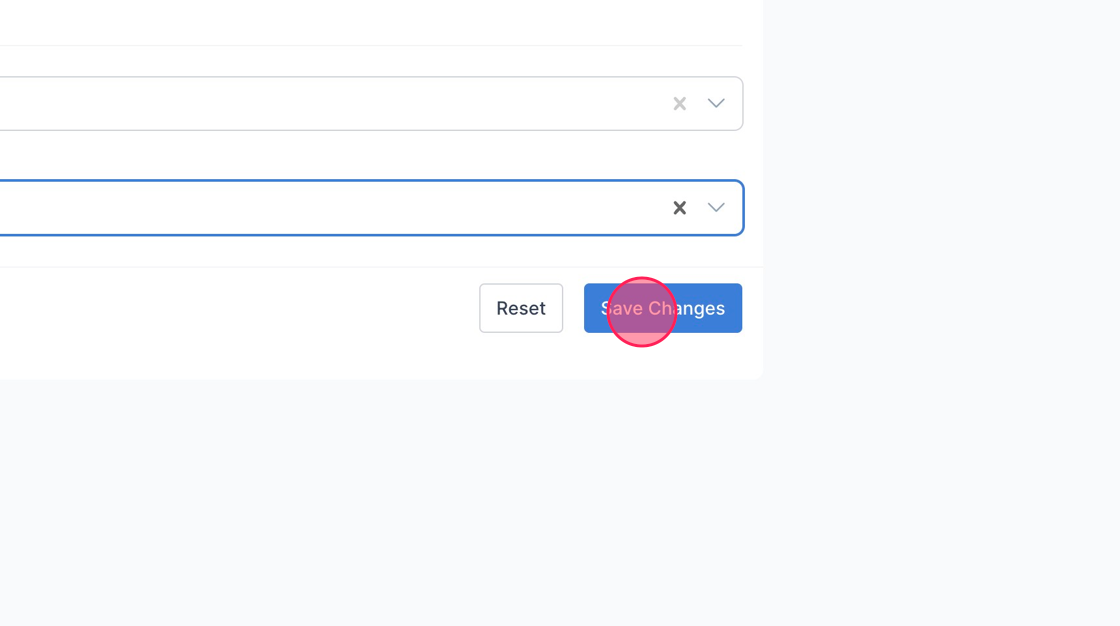
9. Once you're satisfied with the settings, locate the "Save Changes" button to confirm the new CPU and memory limits.
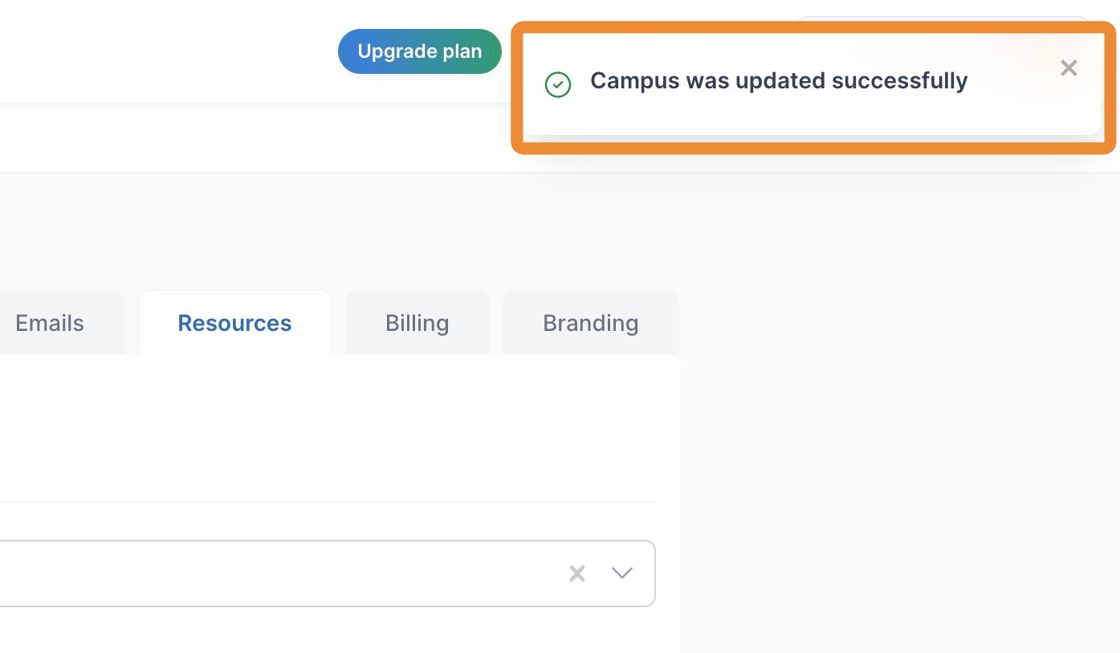
10. A toast message is displayed saying "Campus was updated successfully"
11. If you have a "Reset" button, it might be used to revert changes to default values. Use it if needed.
Tip: In a future iteration, IllumiDesk will support GPU limits where campus administrators can select GPU limits for high-performance computing