The purpose of this article is to guide administrators on updating Campus related settings
How to Update Campus Details and Generate an API Key
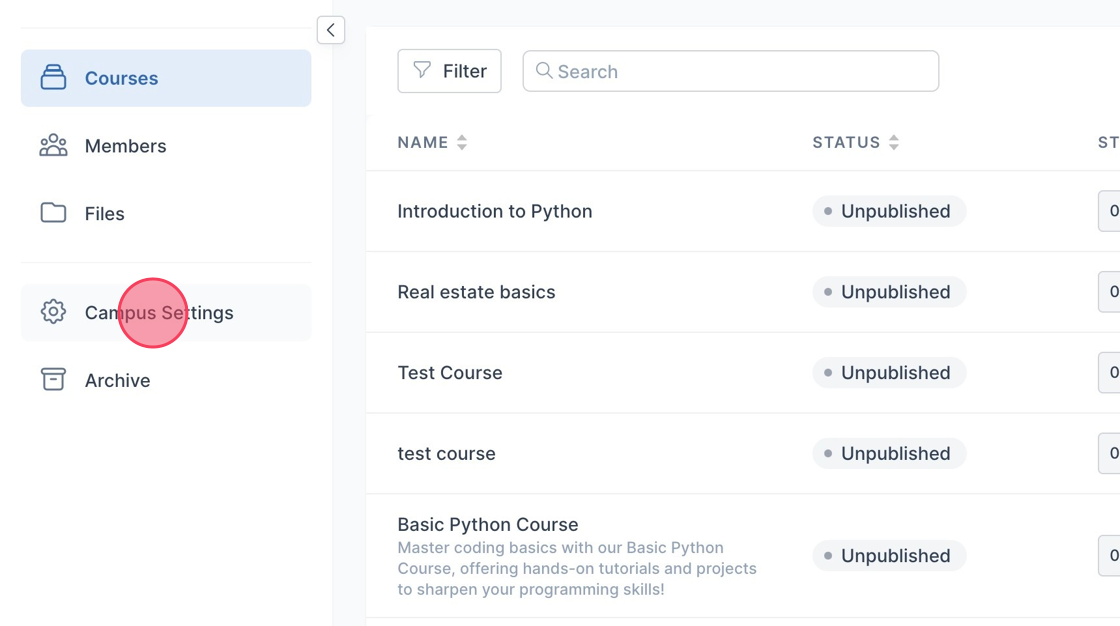
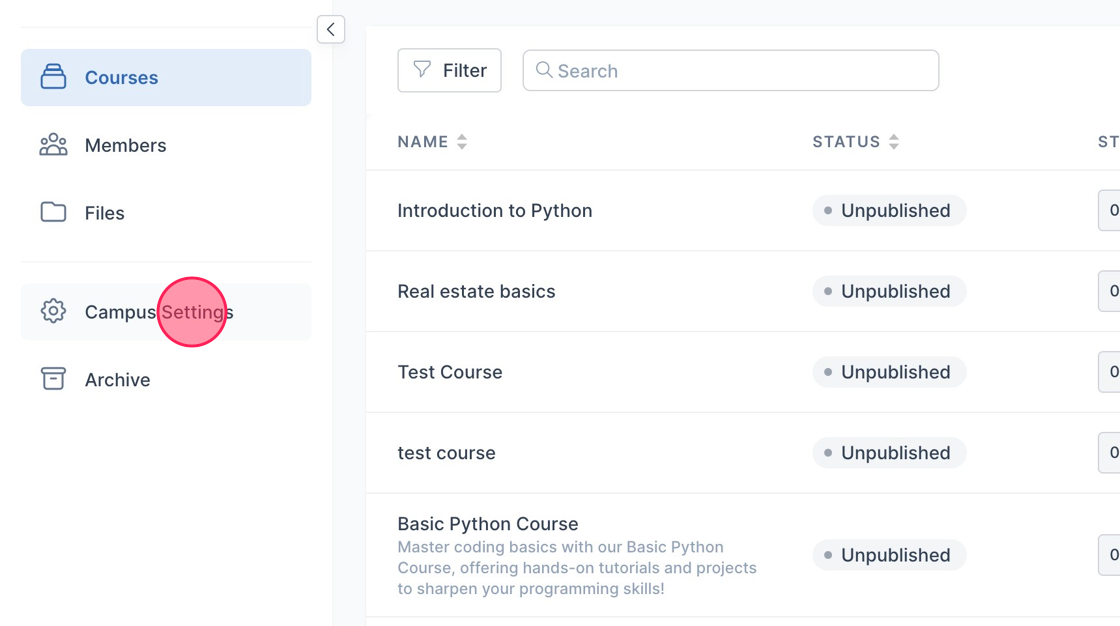
1. Navigate to your Course List page
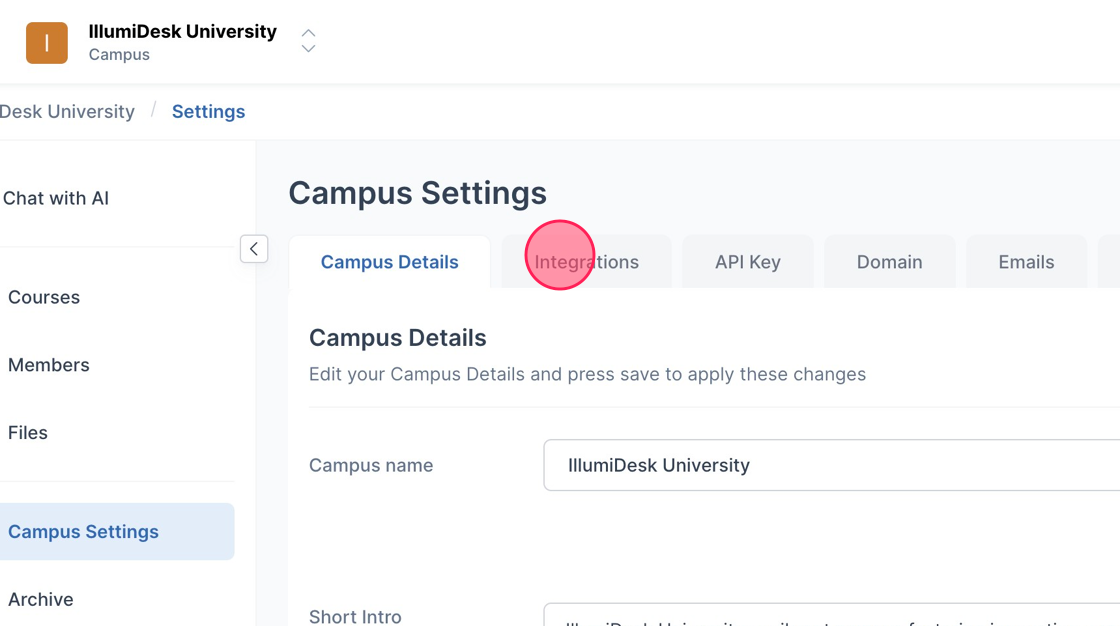
2. Click "Campus Settings"
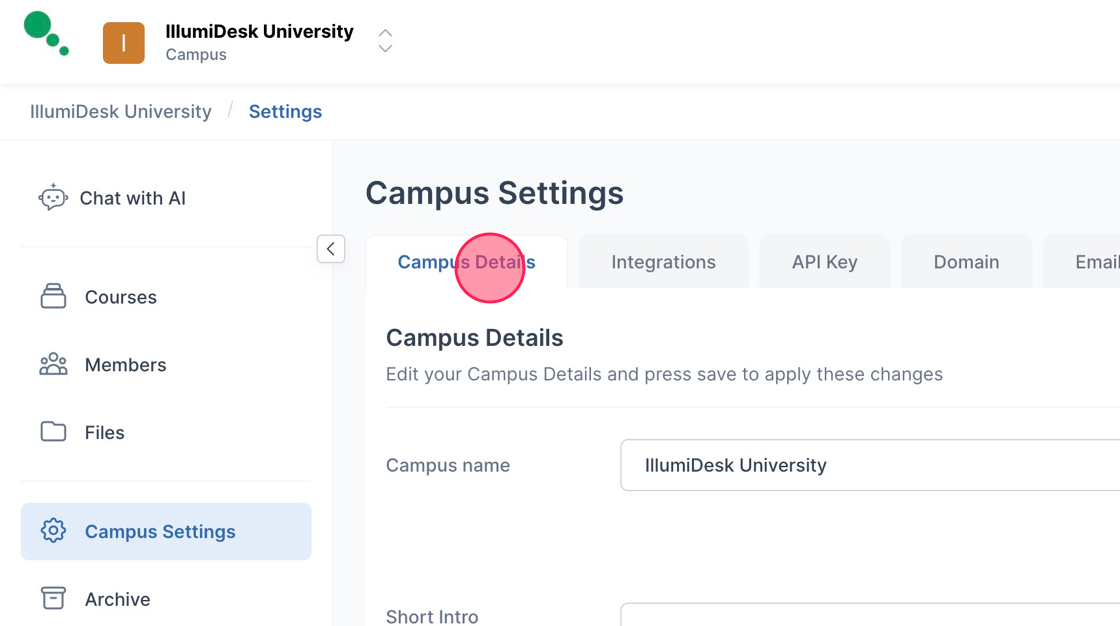
3. Click "Campus Details"
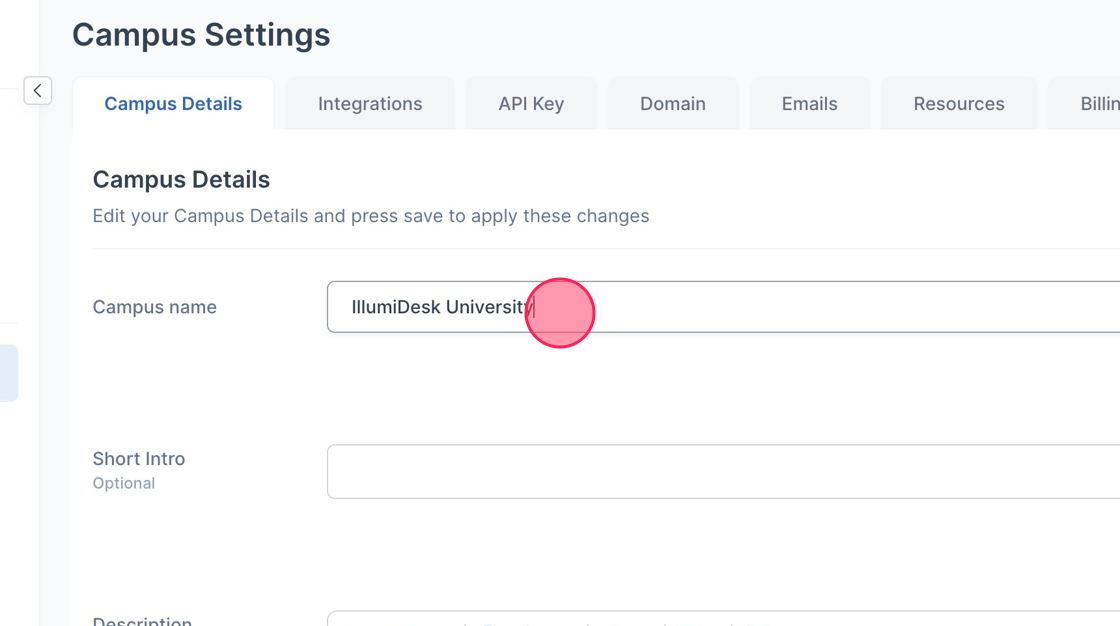
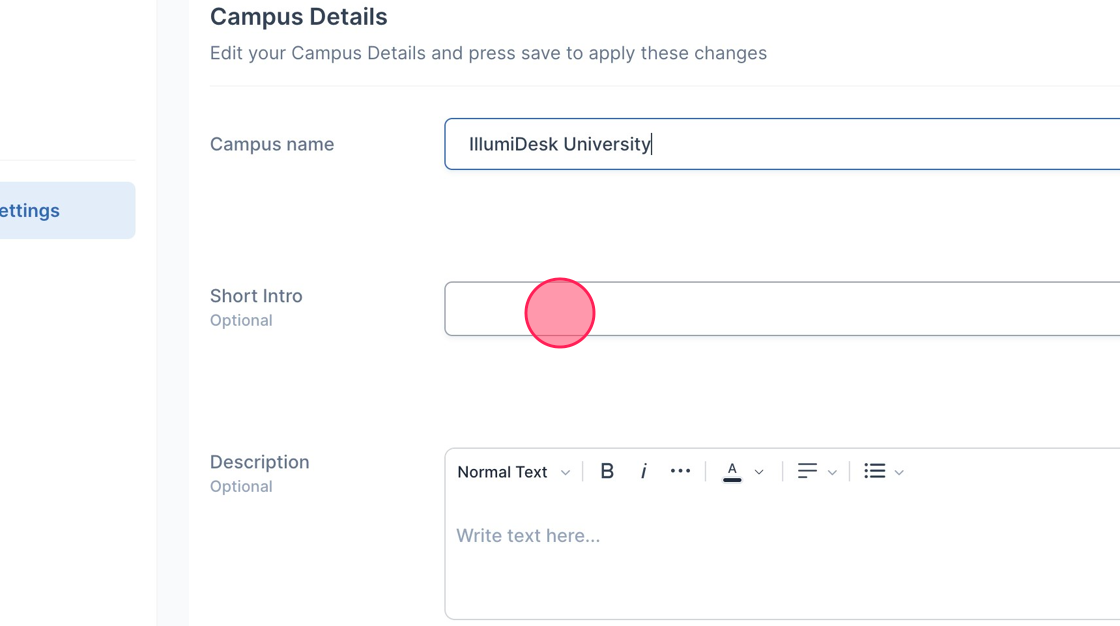
4. Edit campus name in "Campus name" field
5. Edit Short intro in this field
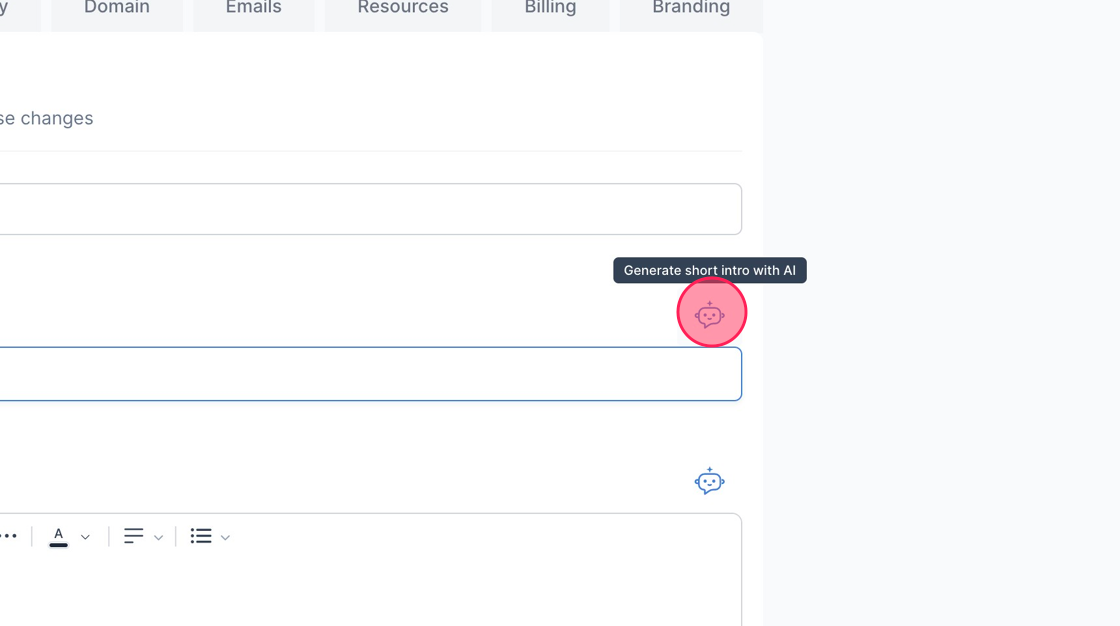
6. Generate a short intro with AI with Robot icon
7. Generate description with Robot icon
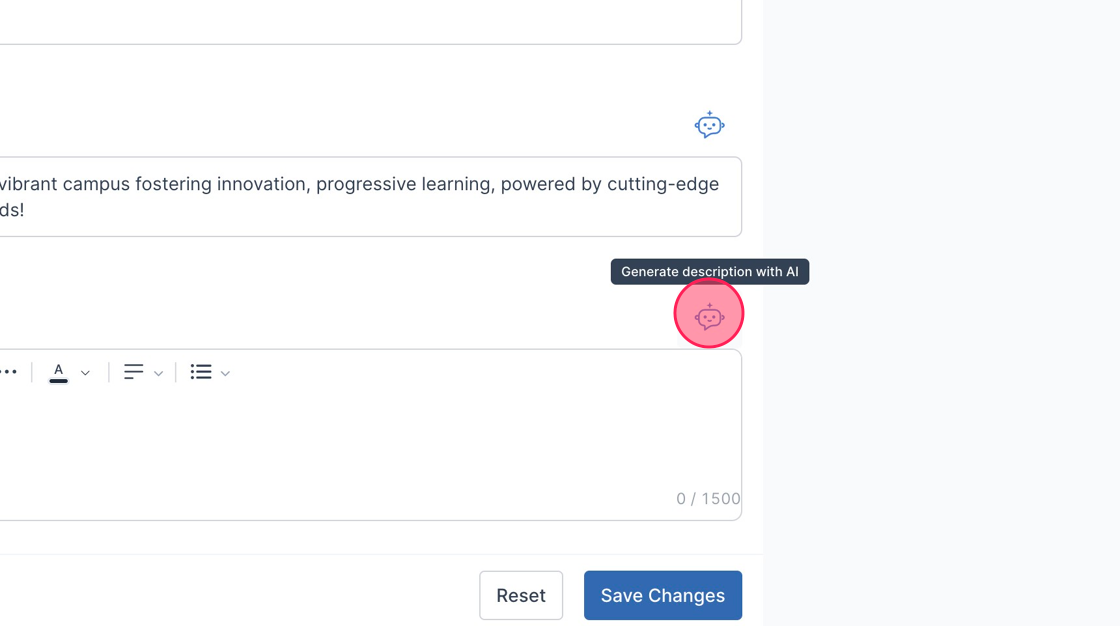
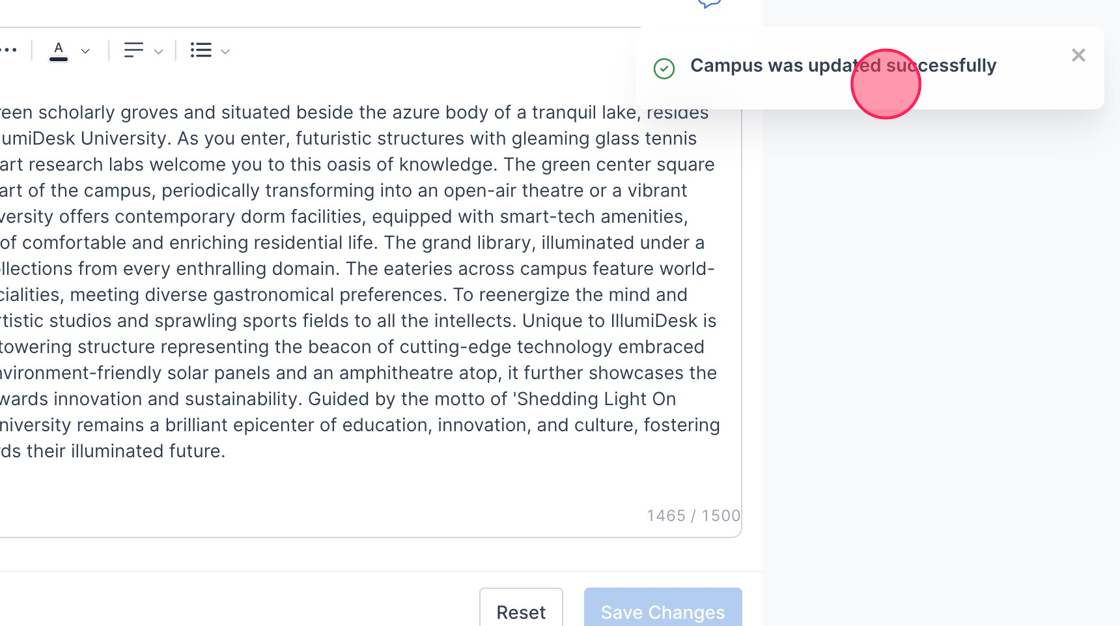
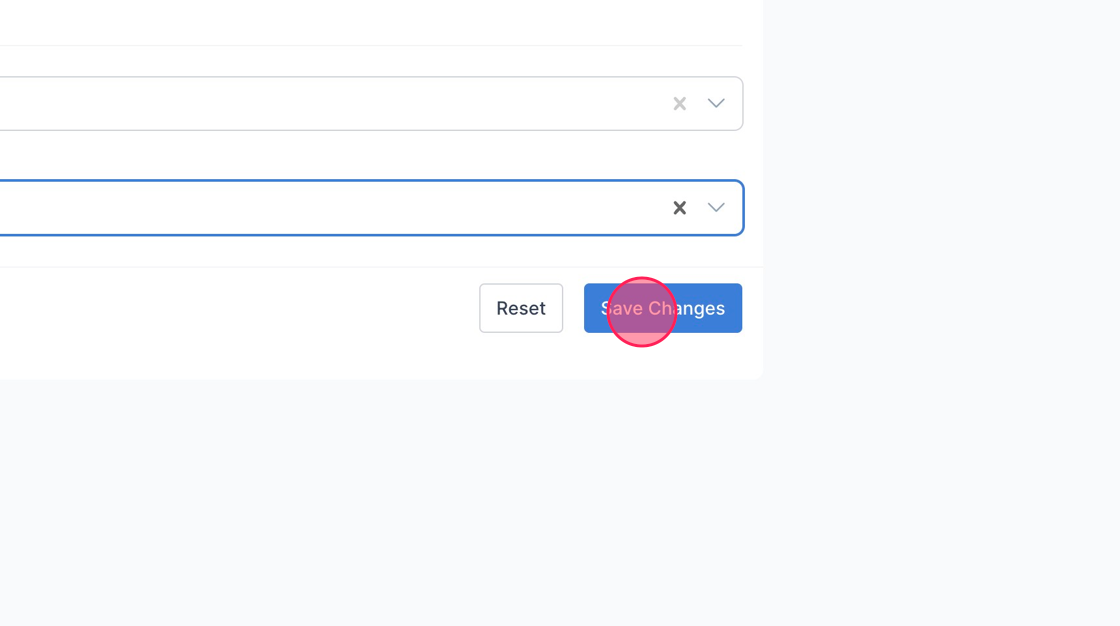
8. Click "Save Changes"
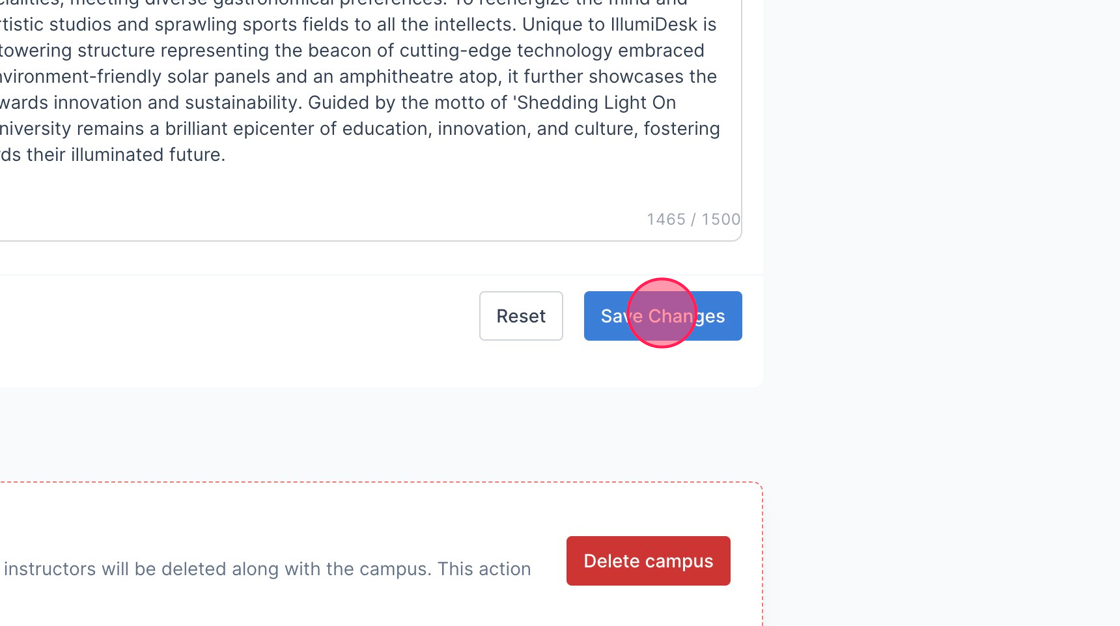
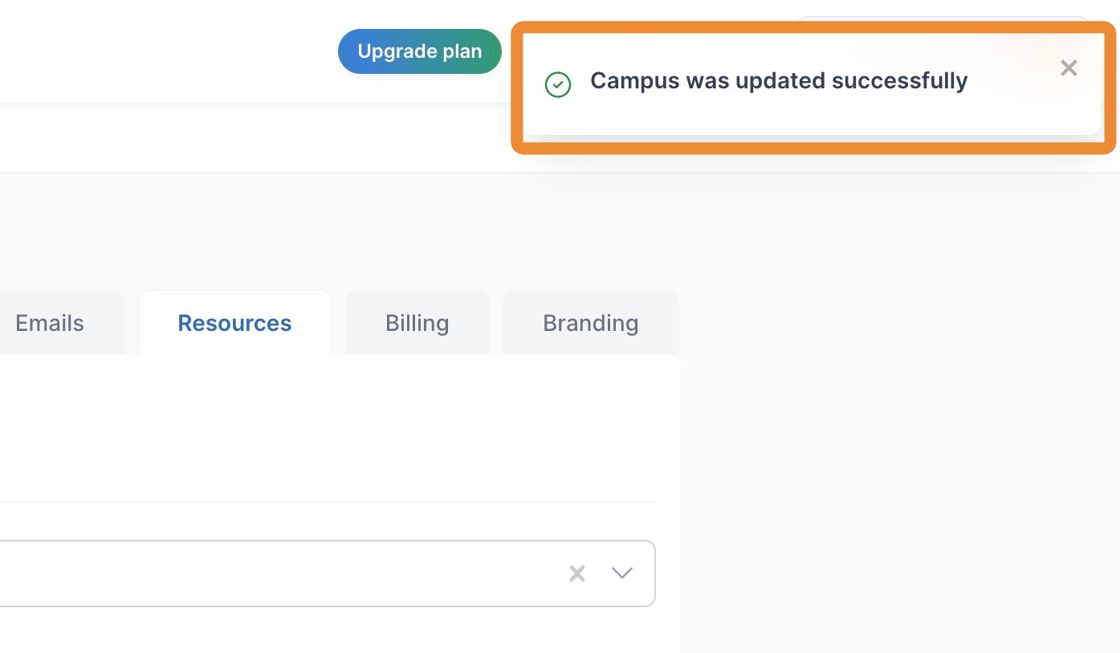
9. A toast message is displayed saying "Campus was updated successfully
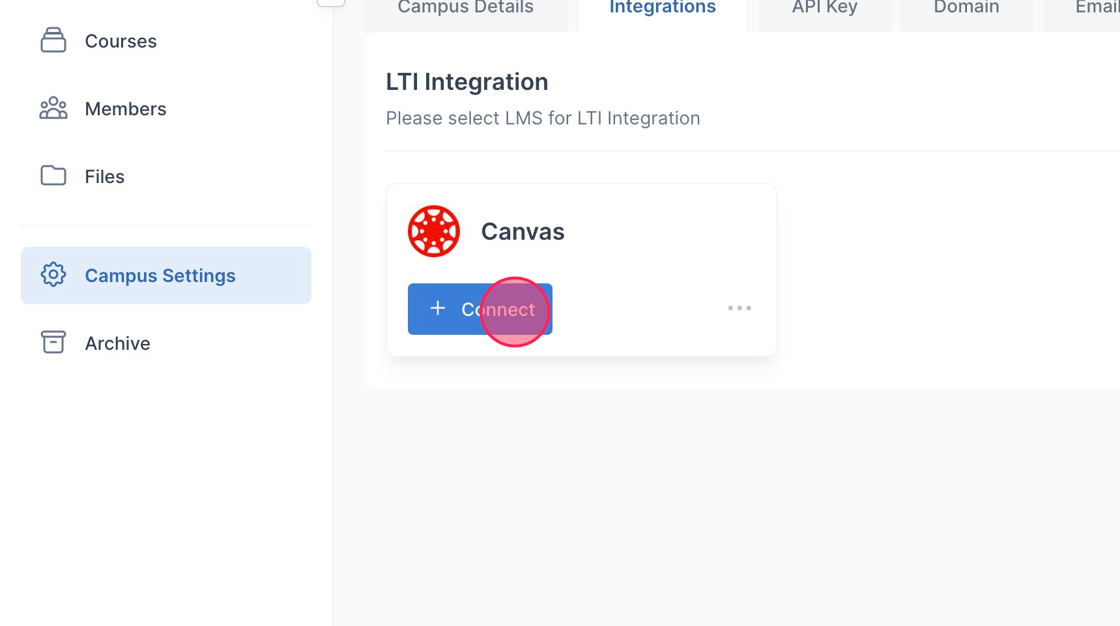
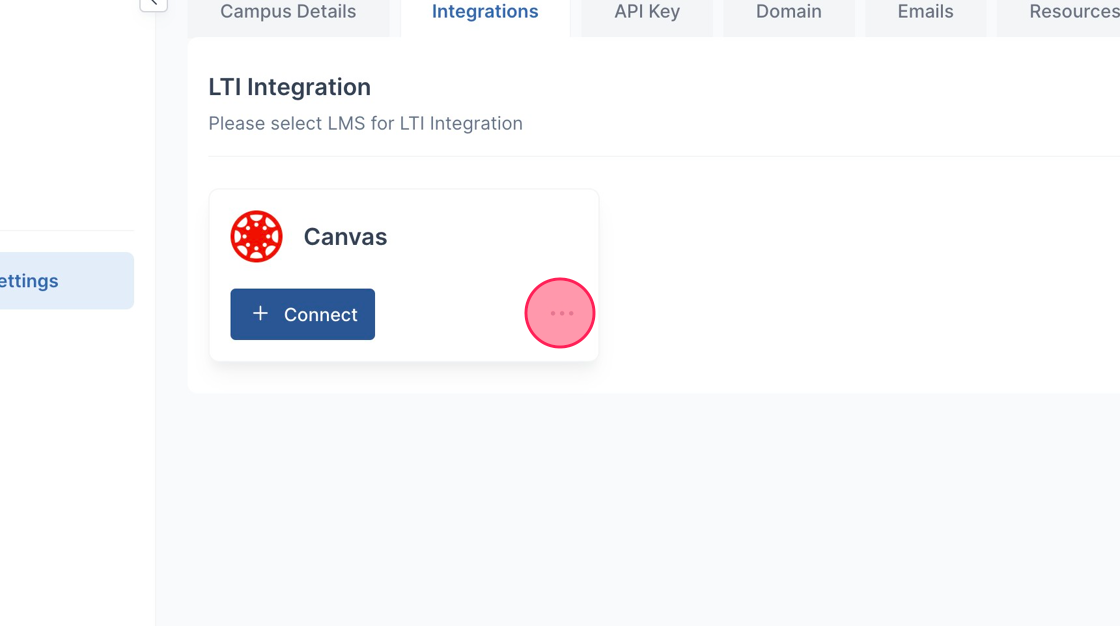
10. Click "Integrations" tab
11. Click "Connect" to connect your LMS
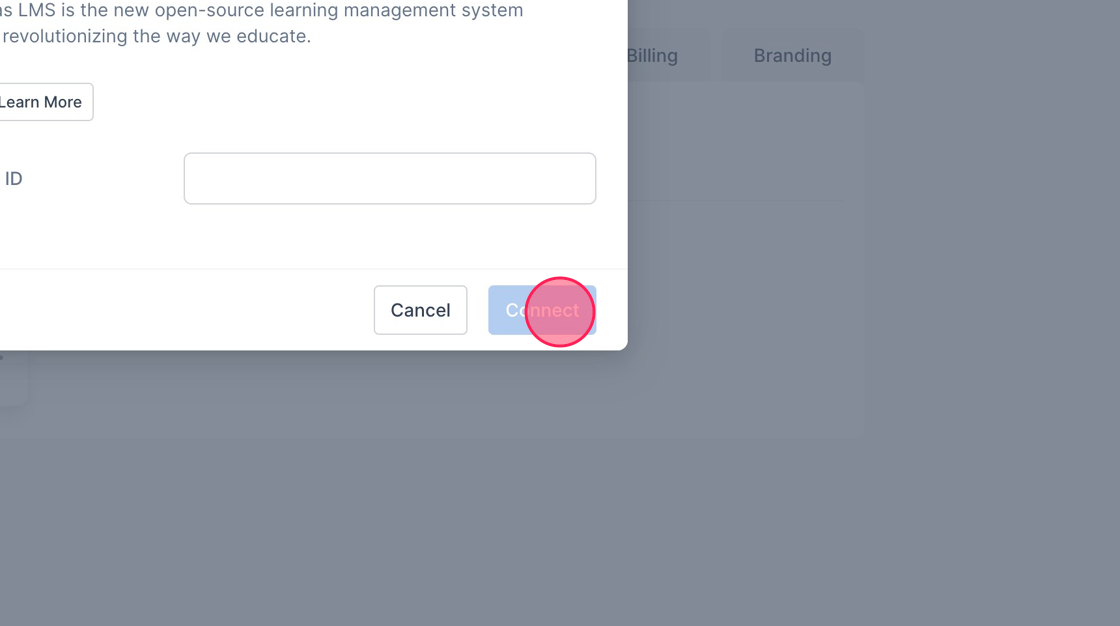
12. Fill in your Client ID
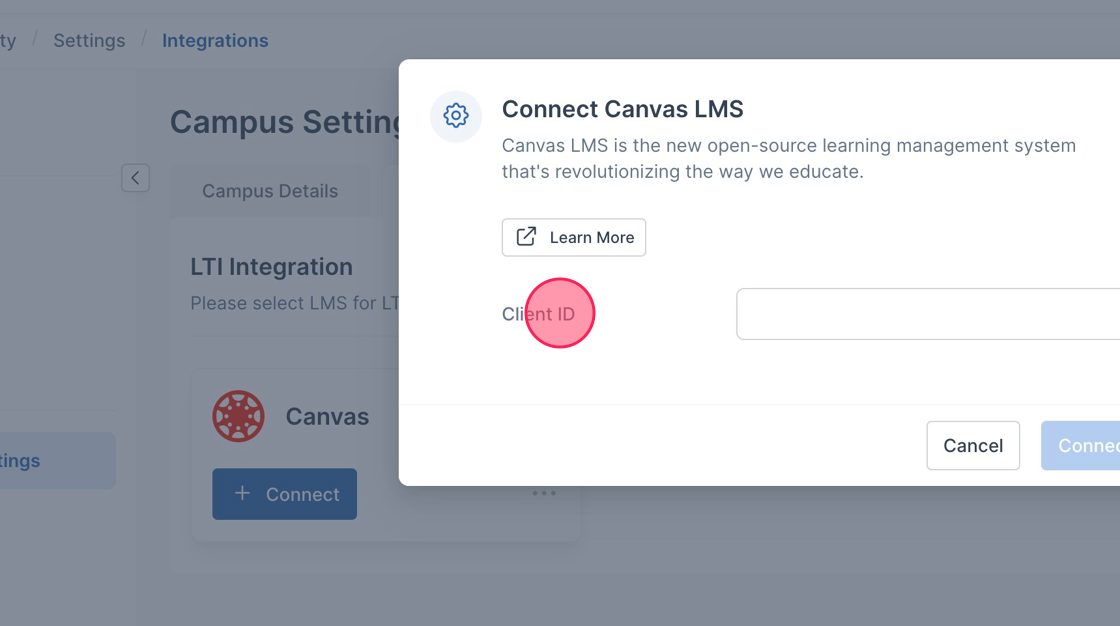
13. Click "Connect" once Client ID is filled in
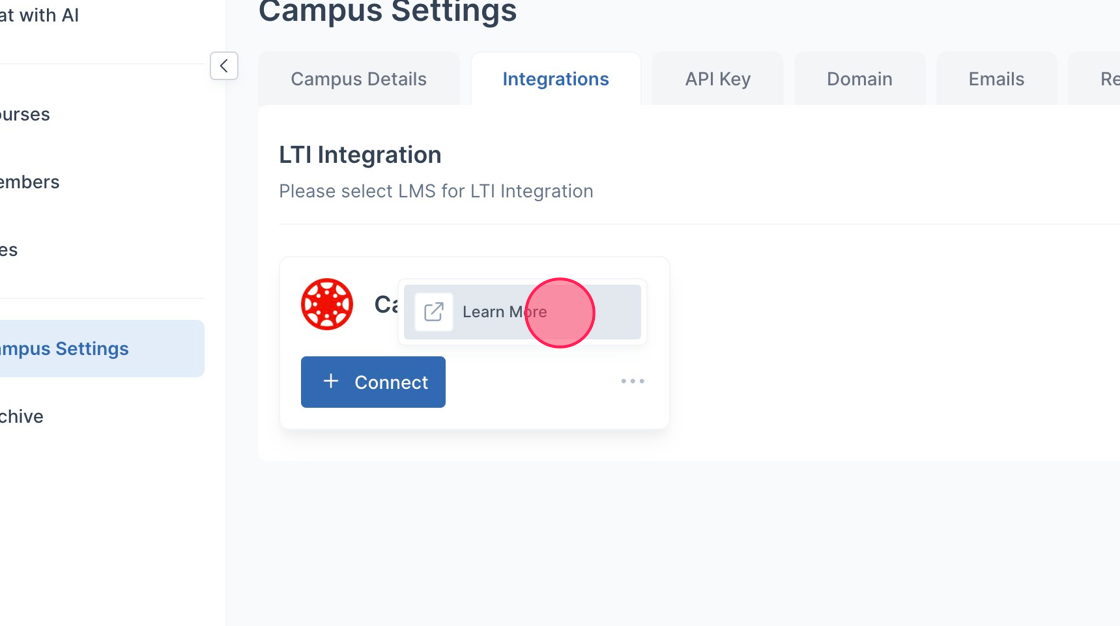
14. Click 3 dot menu to learn more about LTI integrations
15. Click "Learn More"
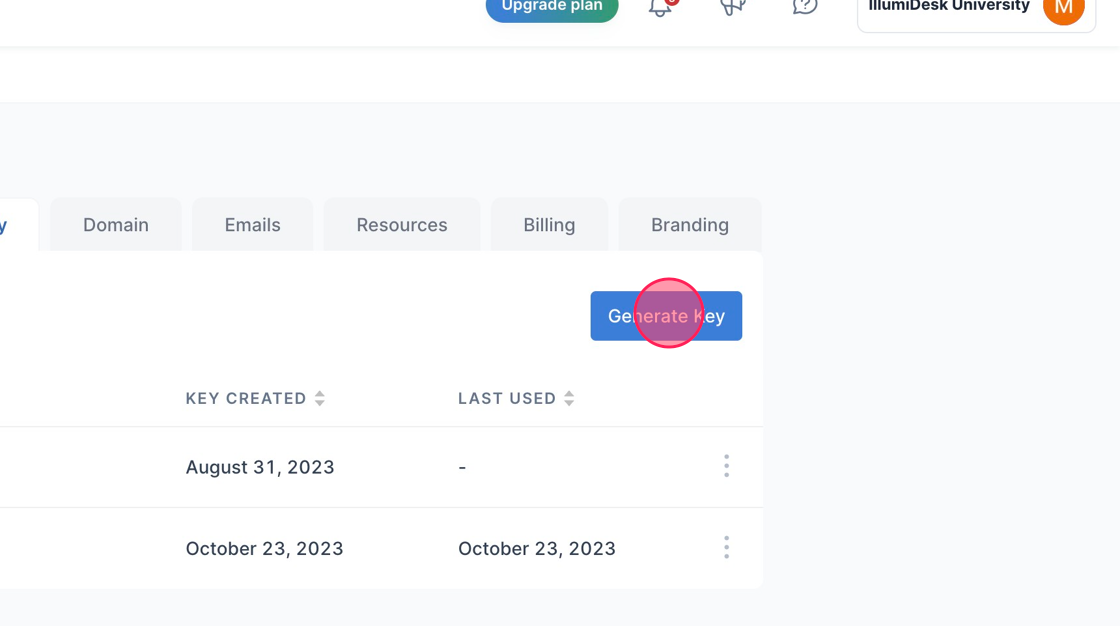
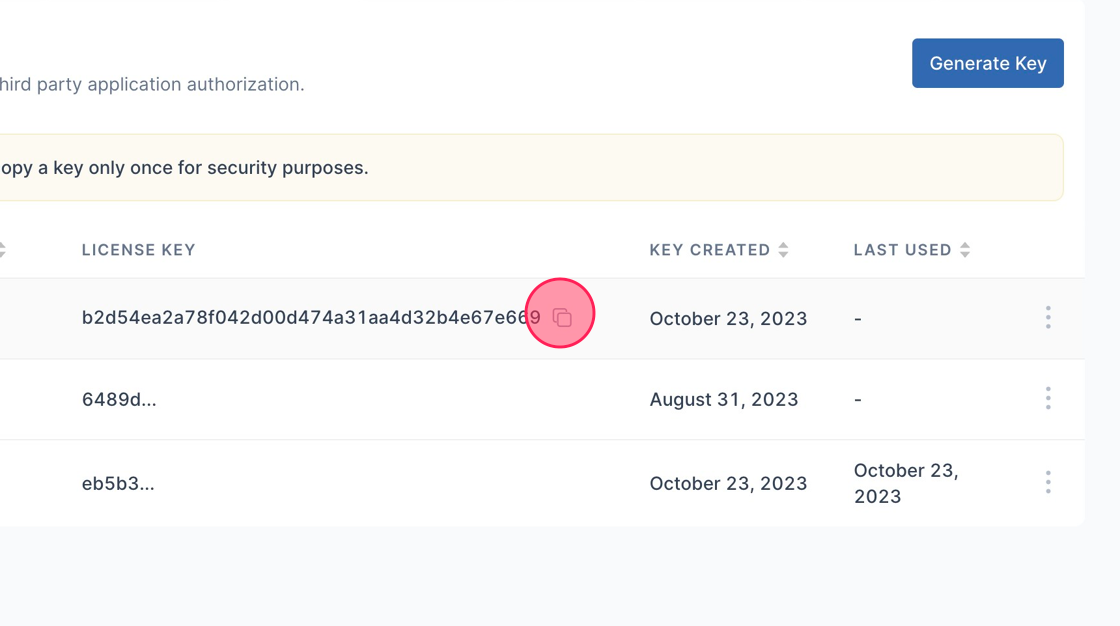
16. Click "API Key"

17. Click "Generate Key"
18. Click here to copy API Key
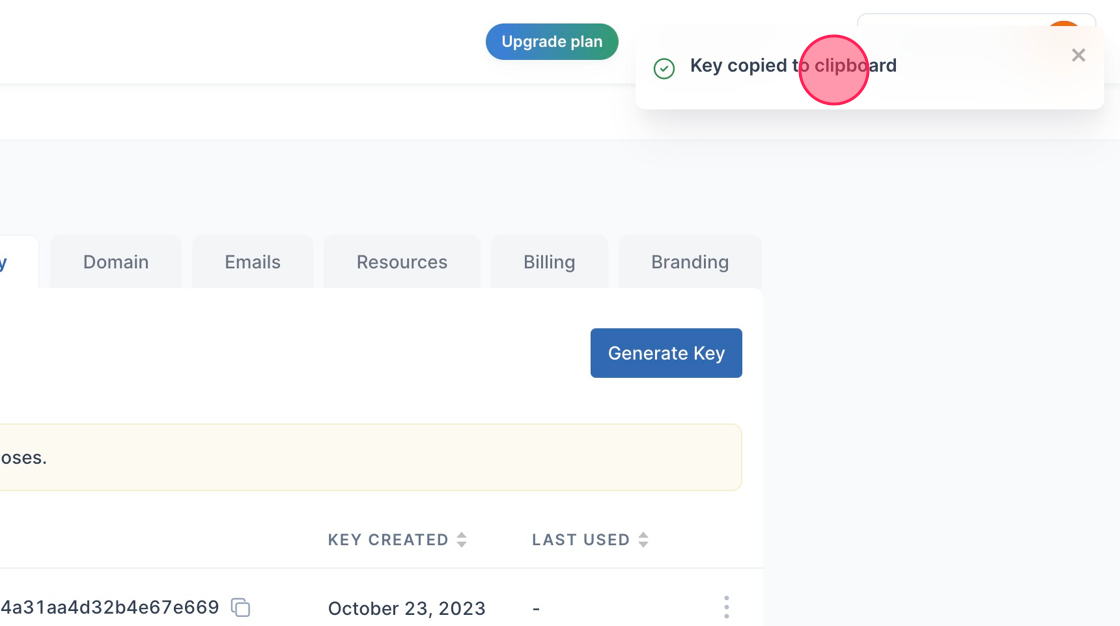
19. Toast message is displayed saying "Key copied to clipboard"
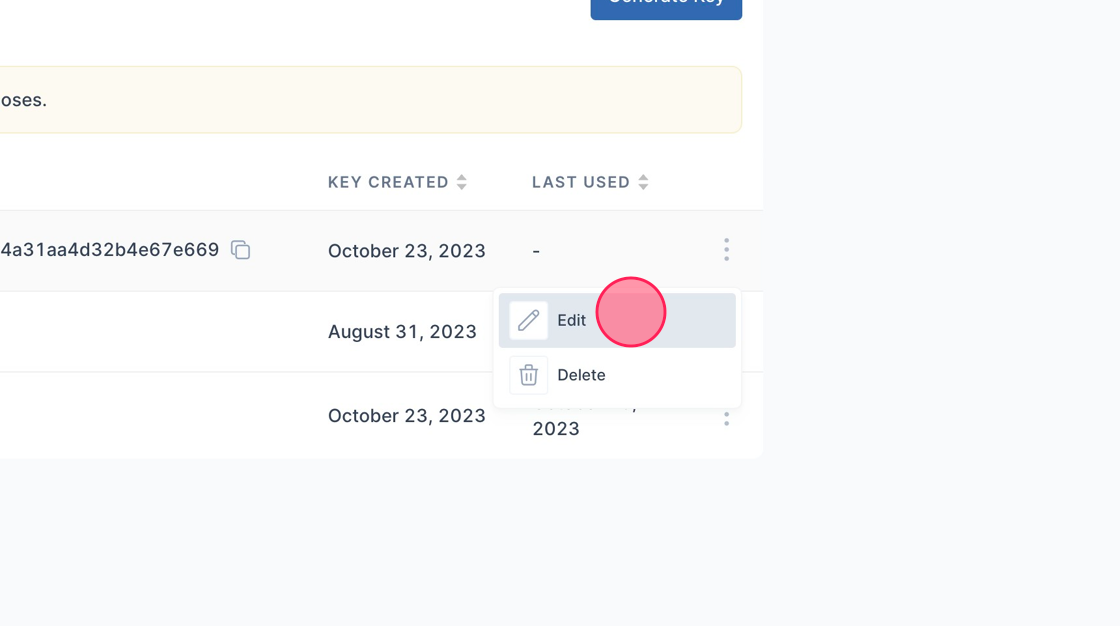
20. Click 3 dot menu to open menu dropdown

21. Click "Edit" to change the name of the key
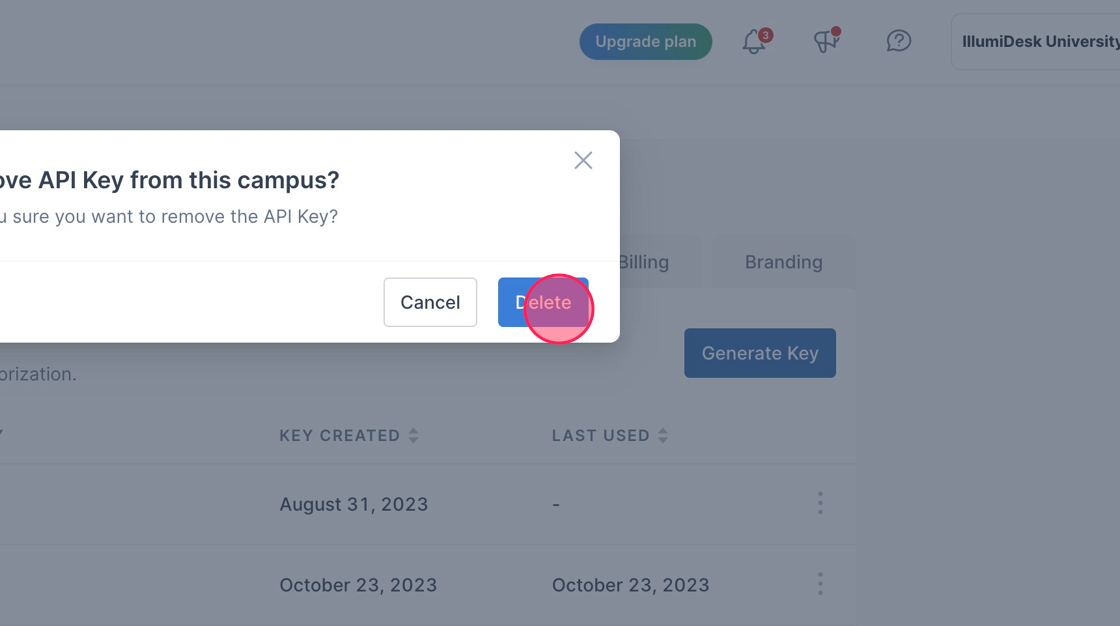
22. Click "Delete"
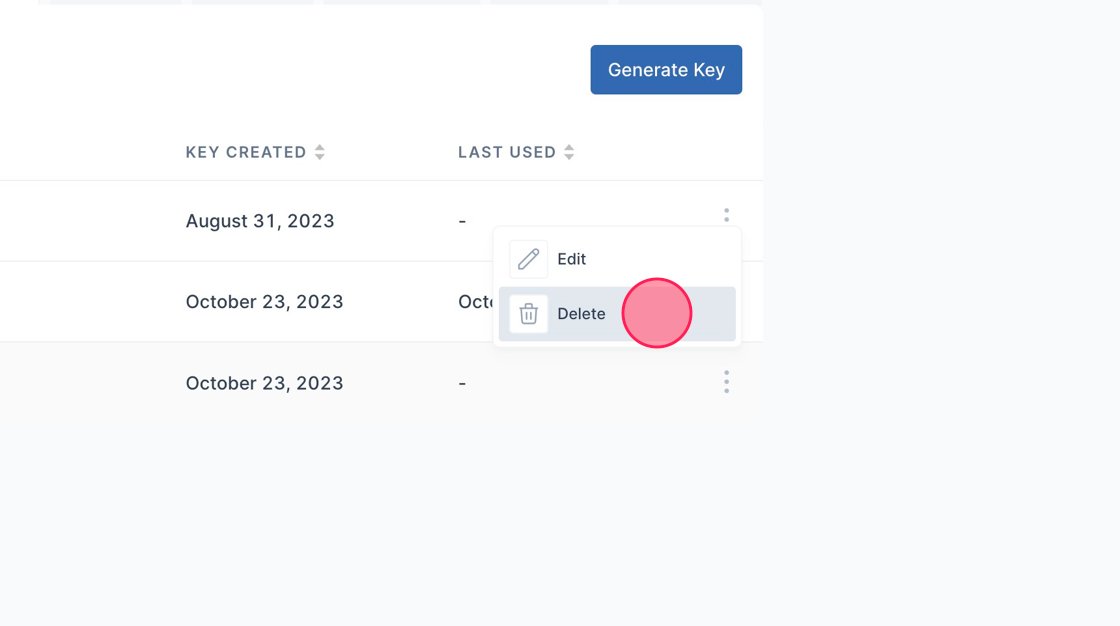
23. Click "Delete"
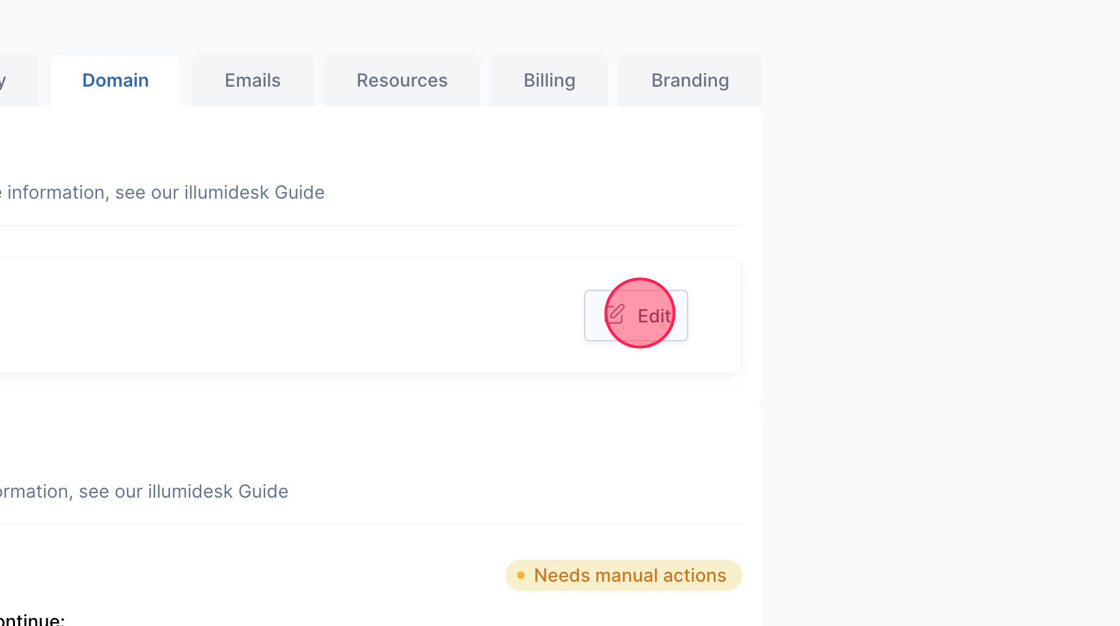
24. Click "Domain" tab

25. Click "Edit" to change the subdomain of the Campus
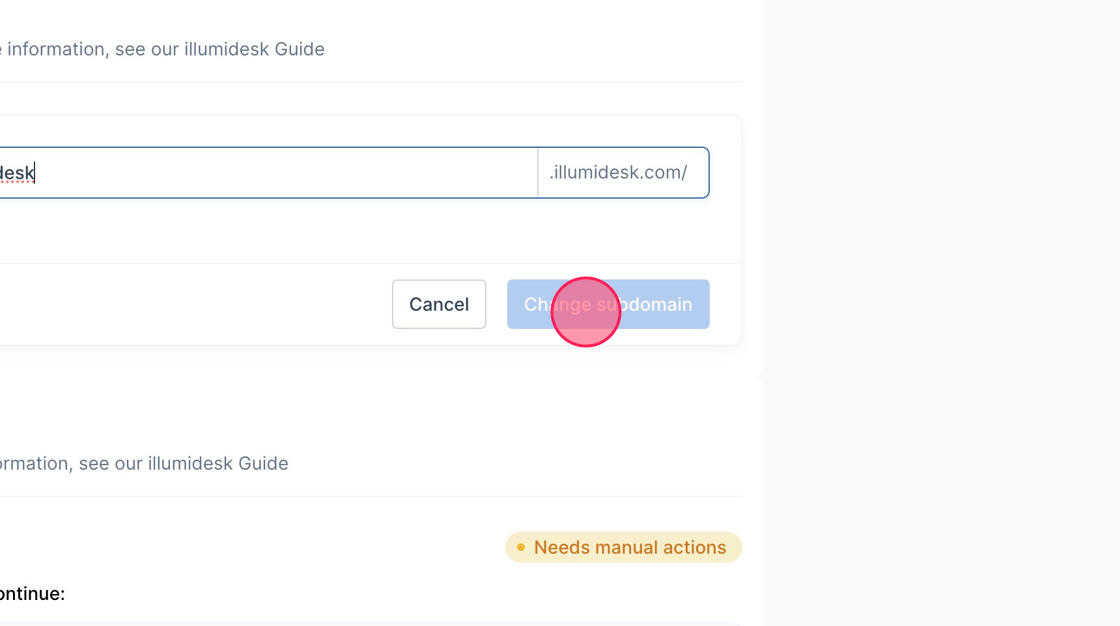
26. Edit name in this field
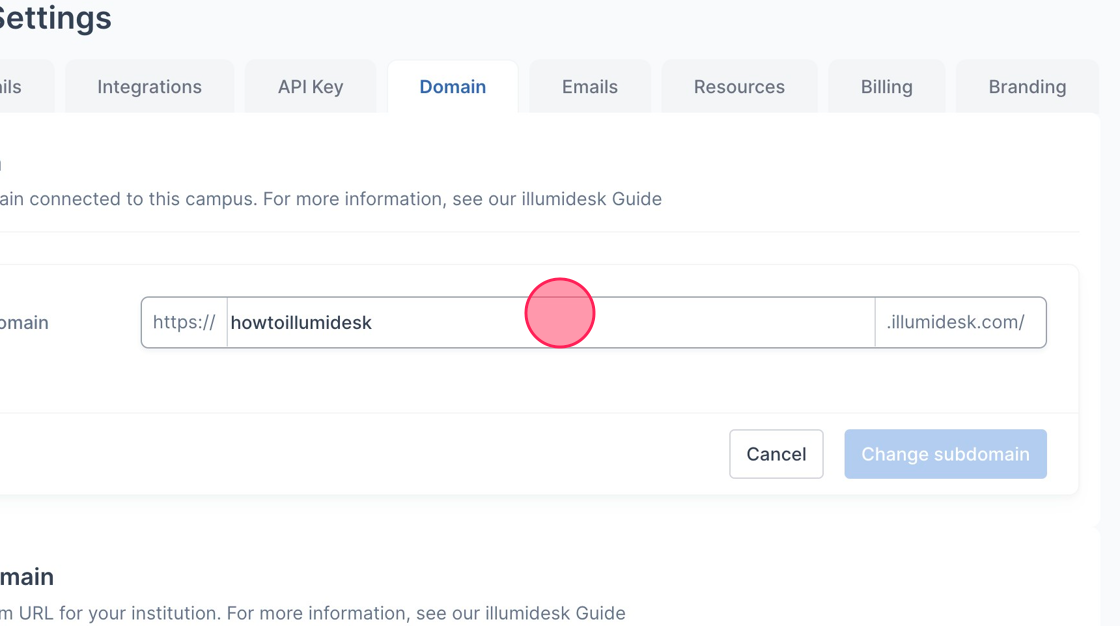
27. Click here to Change Subdomain
28. Custom Domain settings appear here

Email Settings
Configuring email settings for a specific IllumiDesk campus
1. Navigate to your Course List page
2. Click "Campus Settings"

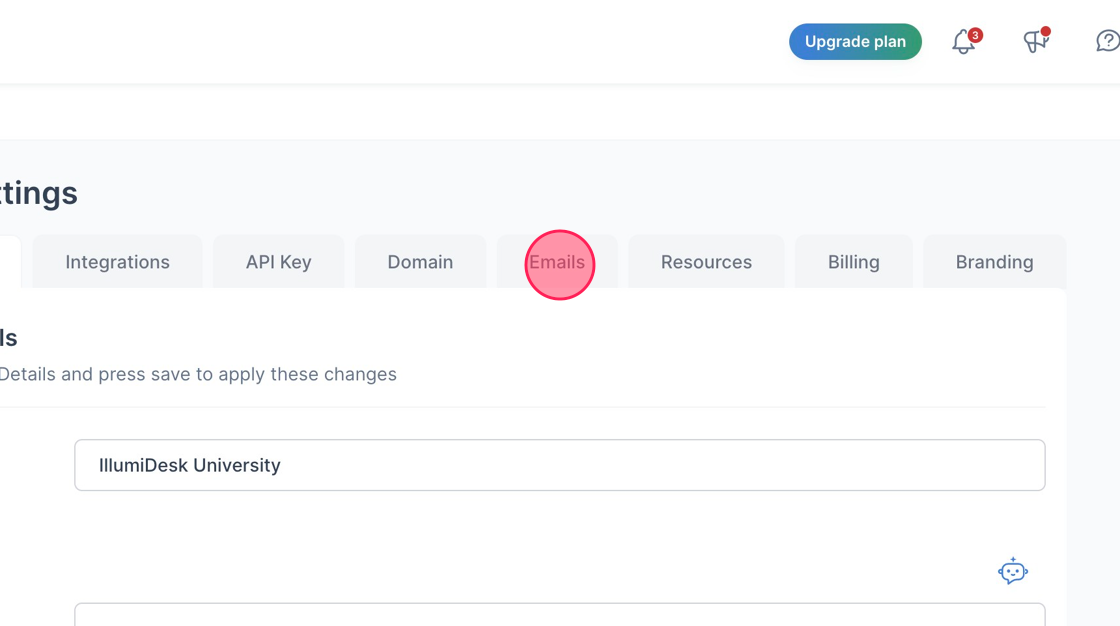
3. Click "Emails" tab
4. Click On/Off switch to turn On
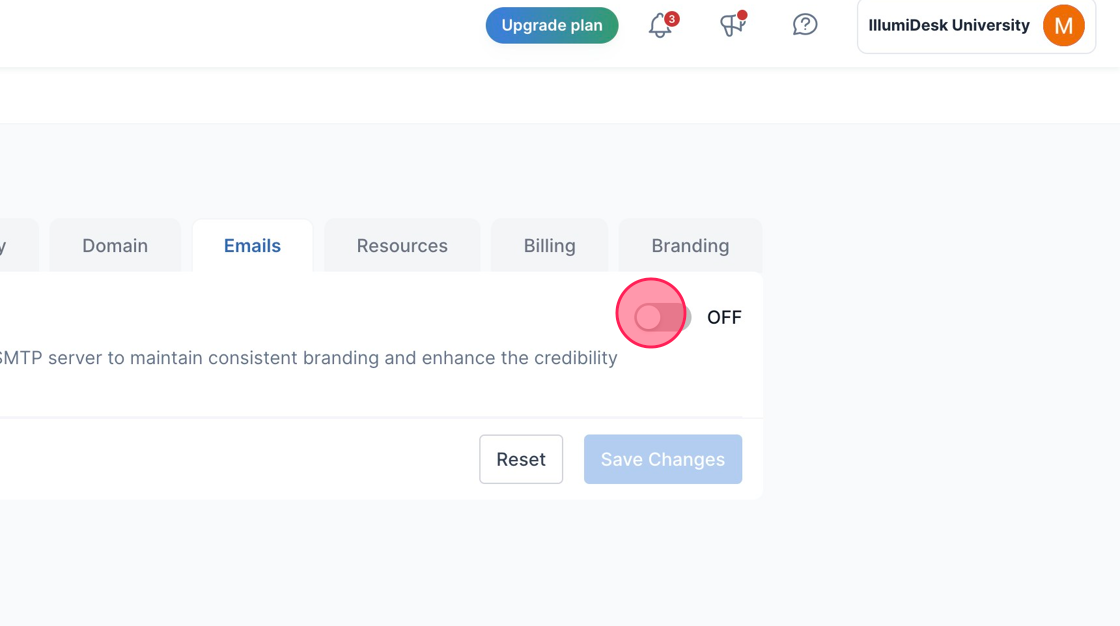
5. From this tab you can change:

-
Configure From Address:
- In the "Default from address for email" field, enter the email address you want to use as the sender's address. This should ideally be from your custom domain, such as email@mail.com.
-
SMTP Server Configuration:
- In the "Host" field, enter the hostname or IP address of your SMTP server. This is the server that will handle sending emails on your behalf. For example, your.smtp.host.com
- Port Configuration
- In the "Port" field, enter the appropriate port for your SMTP server. You've mentioned common ports like 25, 465, and 587. Use port 587 if possible, as it's widely used for secure email communication.
-
SMTP Authentication:
- In the "Username" field, enter your SMTP username. This is the username associated with your SMTP server's credentials.
- In the "Password" field, enter your SMTP password. This password authenticates your platform with the SMTP server.
- Testing the Configuration:
- Before saving changes, it's a good practice to test the email configuration.
-
- Use the "Send test email" option to send a test email to yourname@email.com (or any email address you prefer).
-
Branding and Credibility:
- With this custom email setup, your communications will be sent from your specified custom domain (e.g., email@mail.com), enhancing your brand's credibility.
- The consistency in branding helps recipients recognize and trust your emails.
-
Reset and Troubleshooting:
- If you encounter issues, you can use the "Reset" option to revert the settings to their previous state.
- If you continue to experience problems, double-check the accuracy of your SMTP server details, including the hostname, port, username, and password.
Resources
Each IllumiDesk Studio Lesson that requires an interactive programming environment that will be using CPU and Memory resources. As the campus administrator, you have the ability to set the CPU and Memory Limits that an instructor can set for an IllumiDesk Studio Lesson.
How to Adjust Campus Resources
1. Navigate to your Campus homepage
2. From there click "Campus Settings" and navigate to the Resources tab. This is where you can adjust resource limits for the campus.
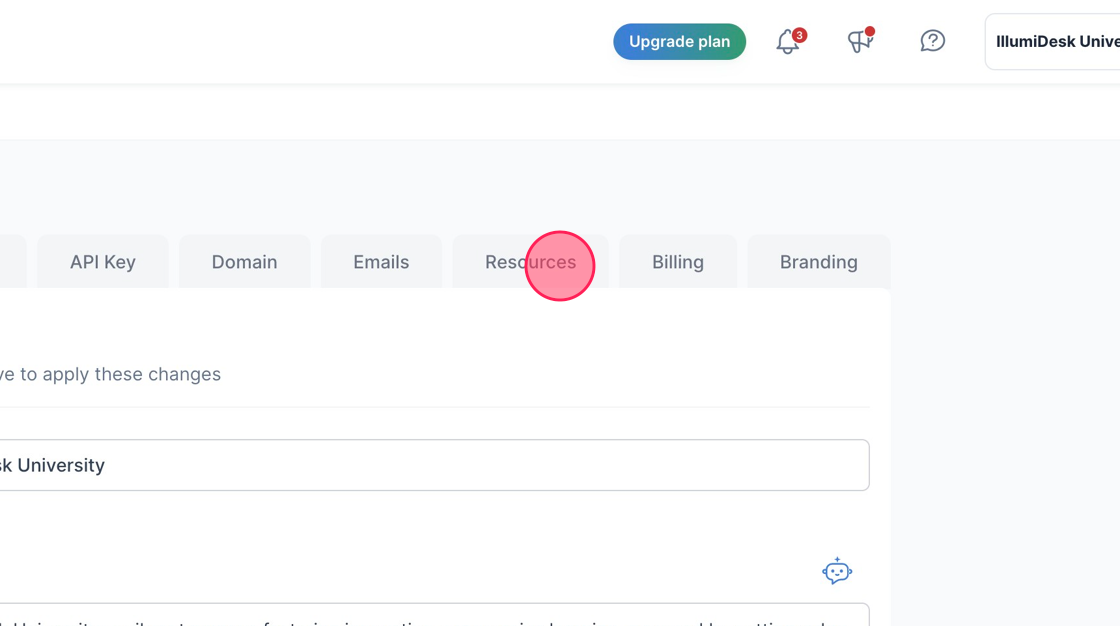
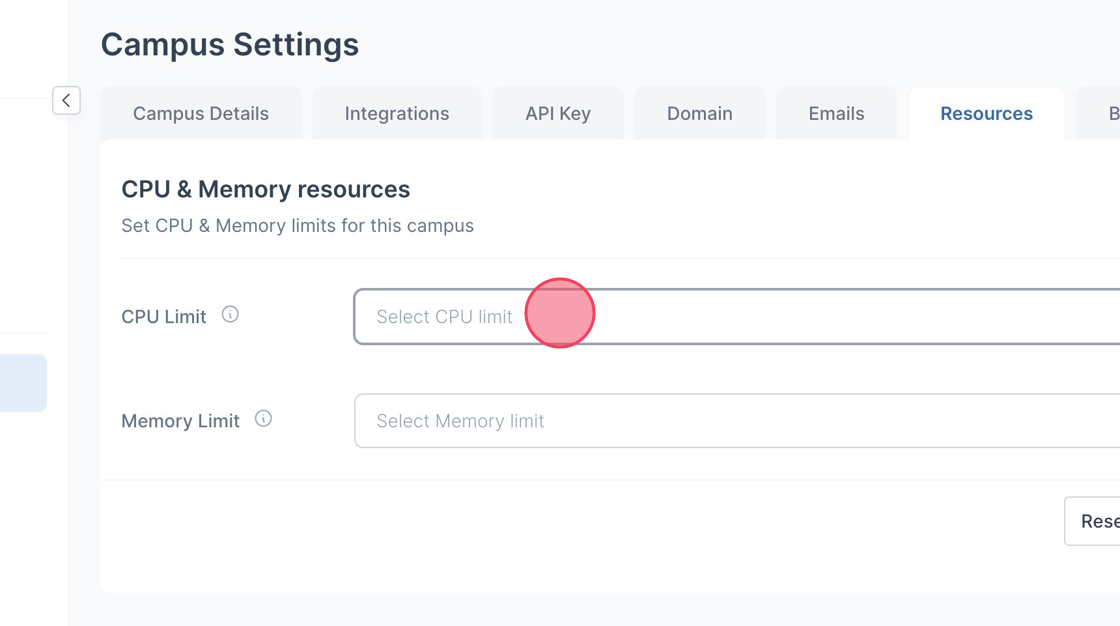
3. Click the "Resources" tab
4. CPU Limit:
Find the "CPU Limit" option. This is where you can control how much CPU capacity is allocated to the campus.
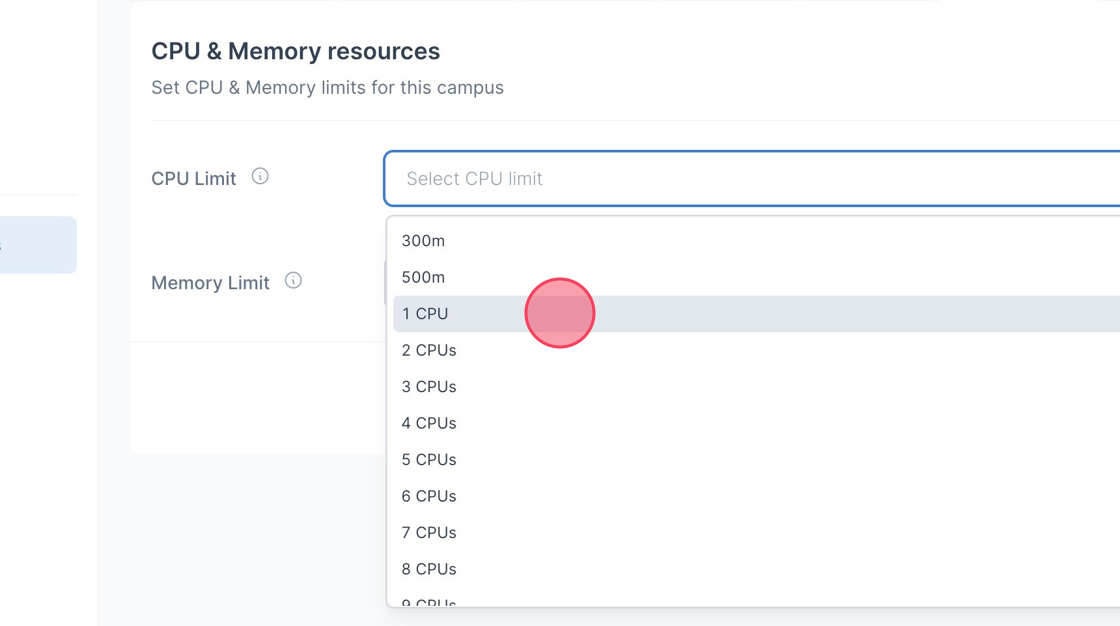
5. Select the dropdown arrow to choose the amount of CPU you wish to use.
- The highest CPU limit a user can set is 12 CPU cores.
6. Memory Limit:
- Locate the "Memory Limit" option. This is where you can set the maximum amount of memory that the campus can use.
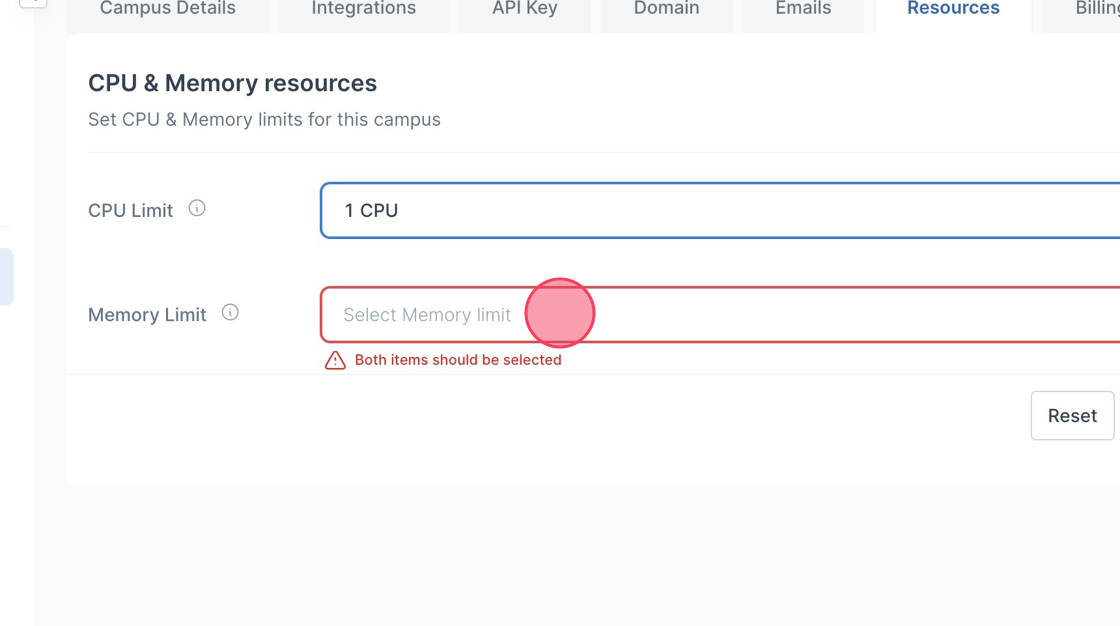
7. Select the dropdown arrow to choose the amount of memory you wish to use. This is typically specified in megabytes (MB) or gigabytes (GB).
- The highest memory limit a user can set is 20 Gi.
8. Review and Adjust:
Double-check your settings to make sure you're comfortable with the allocated resources. Ensure that the limits you set align with the campus's requirements and your available resources.
9. Once you're satisfied with the settings, locate the "Save Changes" button to confirm the new CPU and memory limits.
10. A toast message is displayed saying "Campus was updated successfully"
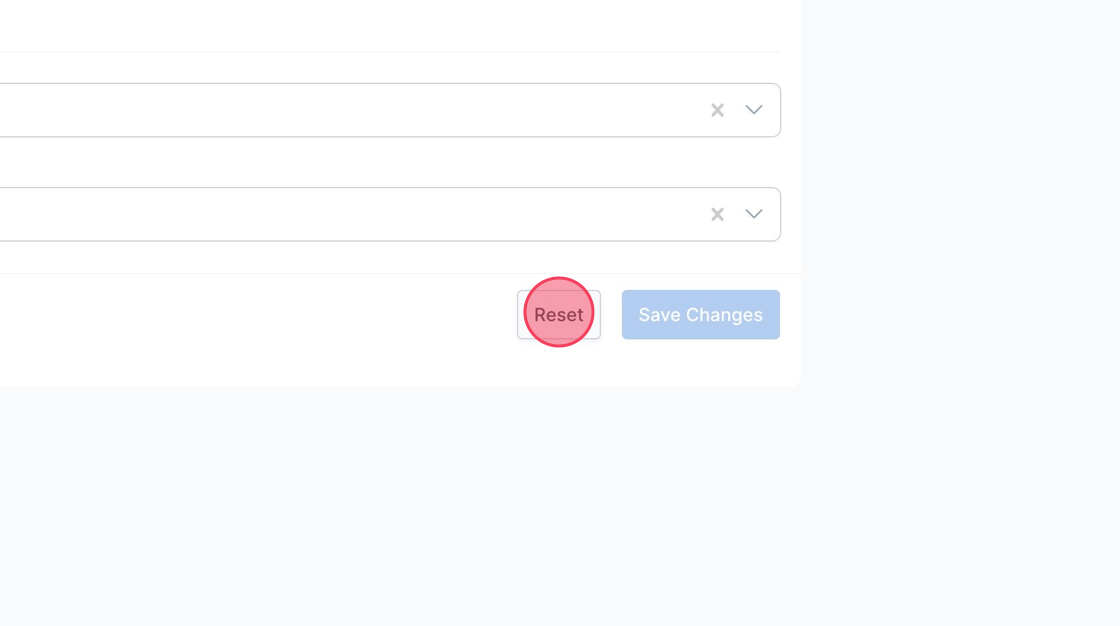
11. If you have a "Reset" button, it might be used to revert changes to default values. Use it if needed.
Tip: In a future iteration, IllumiDesk will support GPU limits where campus administrators can select GPU limits for high-performance computing
Billing
How to change and manage your billing plan
1. Navigate to your Campus homepage
2. Select Campus Settings and navigate to the Billing tab. This is where you can adjust resource limits for the campus.

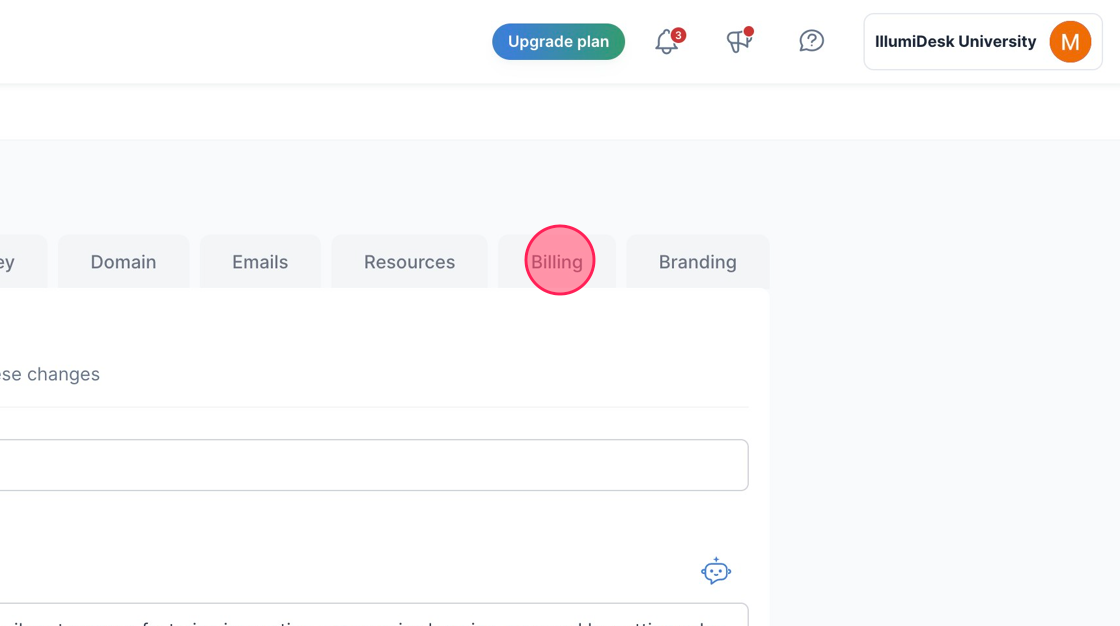
3. Click the "Billing" tab
4. Click "Manage plan" to change or update your current plan

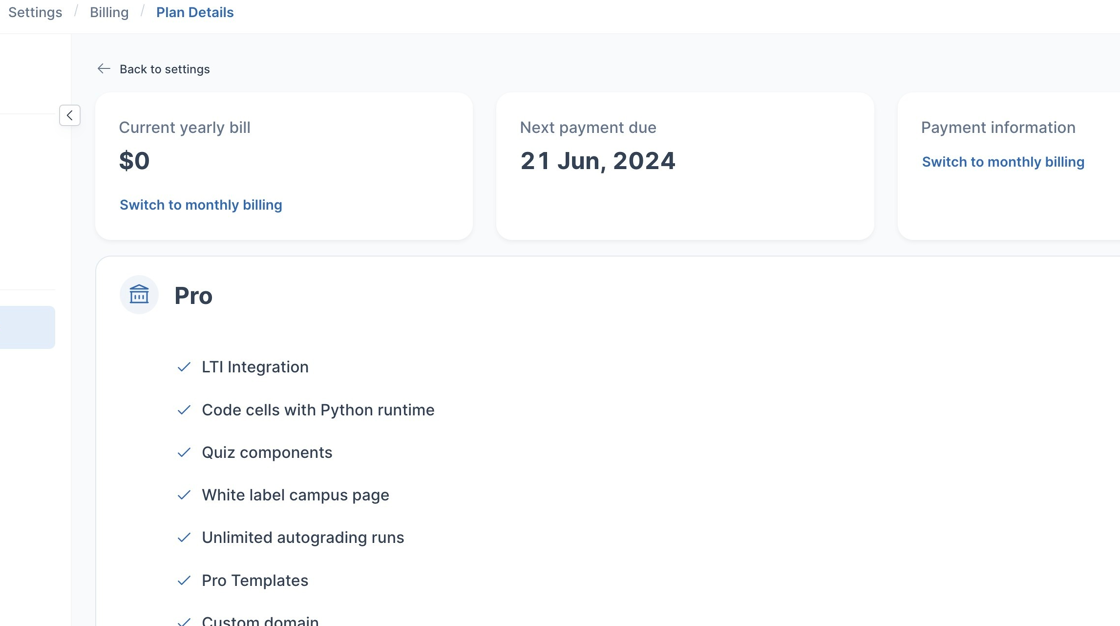
5. The "Plan Details" page is displayed
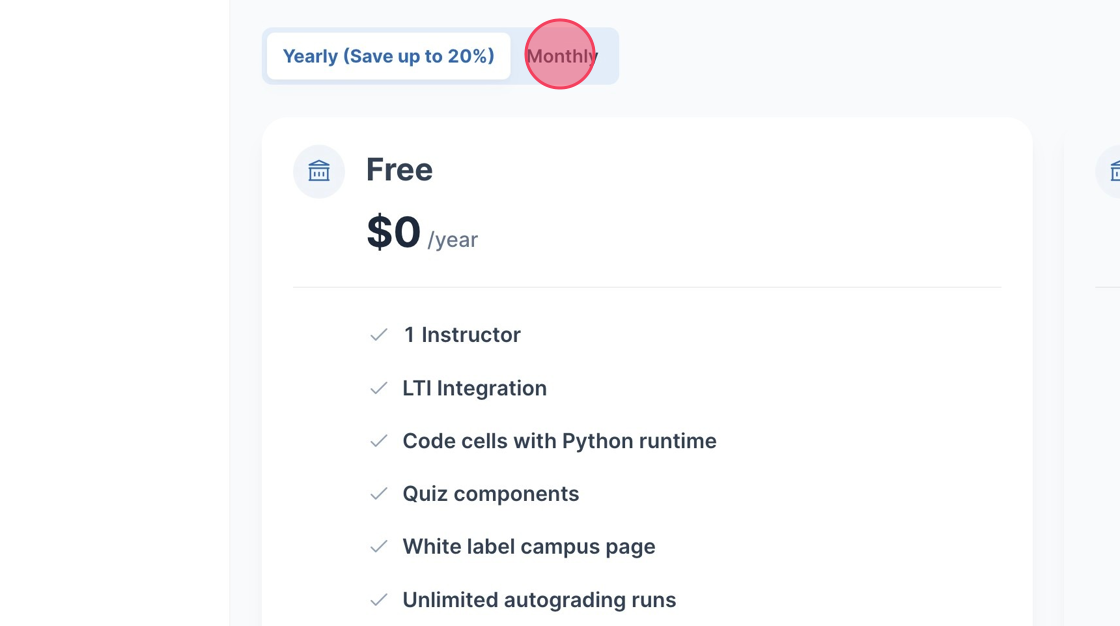
6. Click "Monthly" to display the monthly pricing
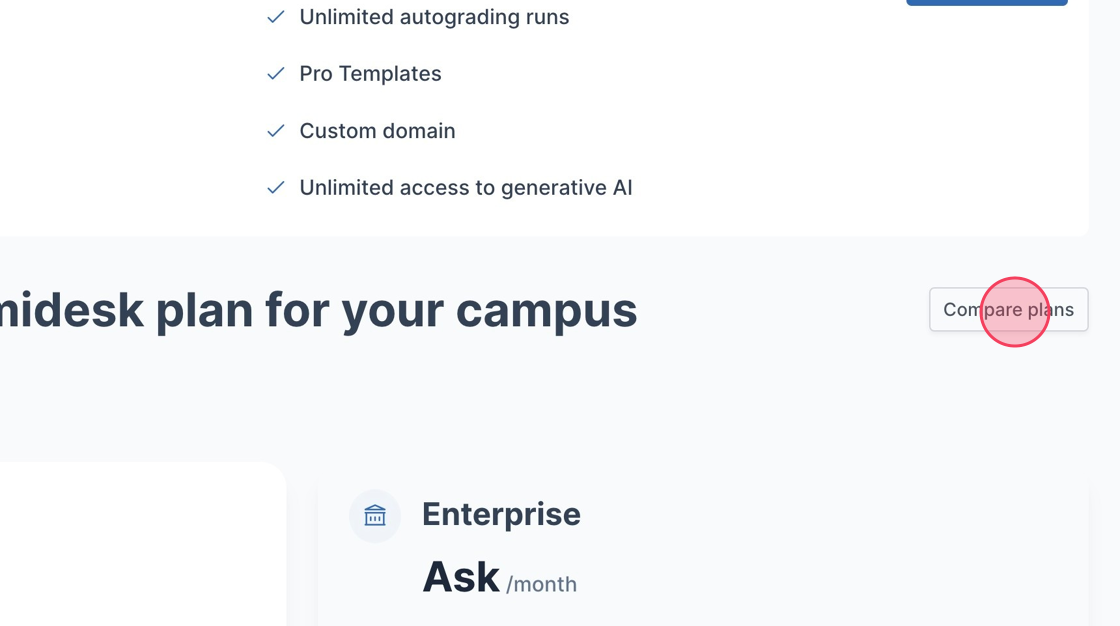
7. Click "Compare plans" to compare plans
8. Click "Back to plan details"

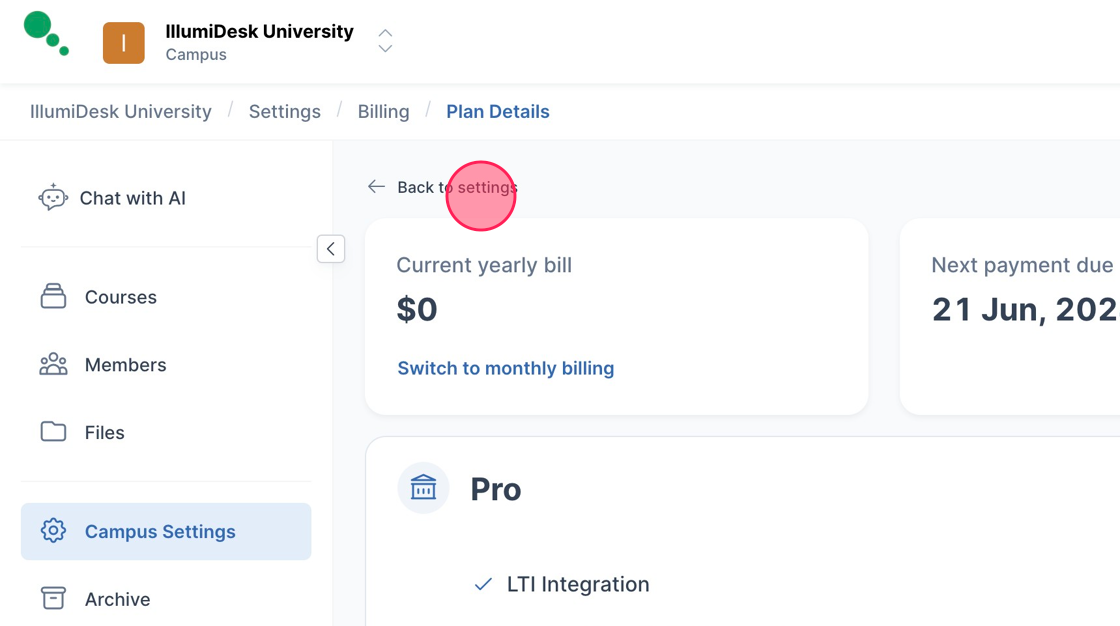
9. Click "Back to settings"
10. Click "Add card"
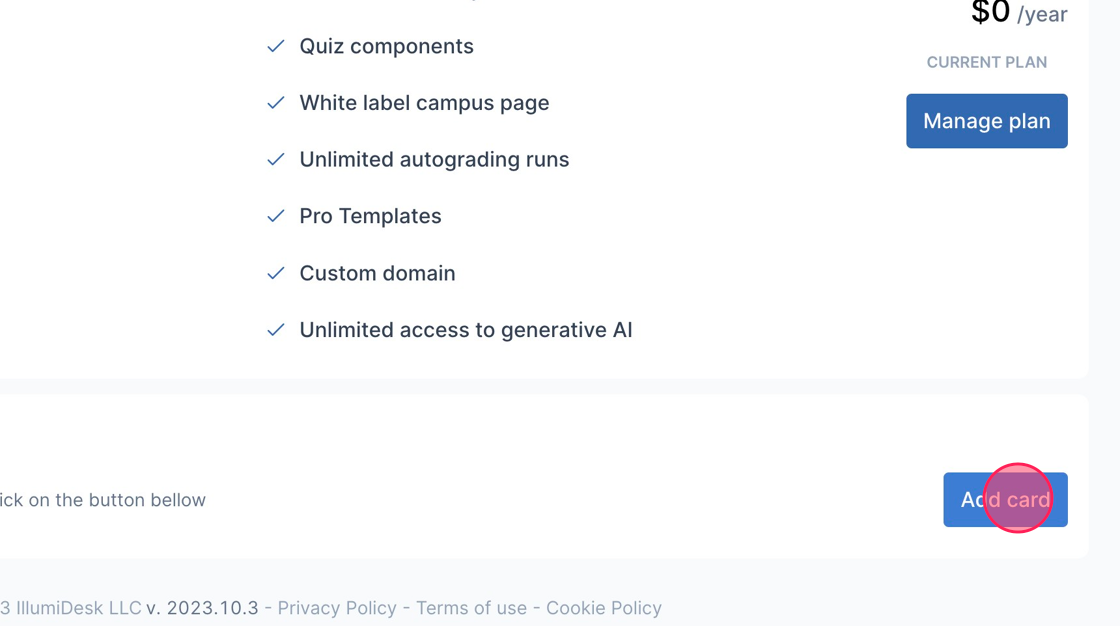
11. You will be redirected to the IllumiDesk billing page
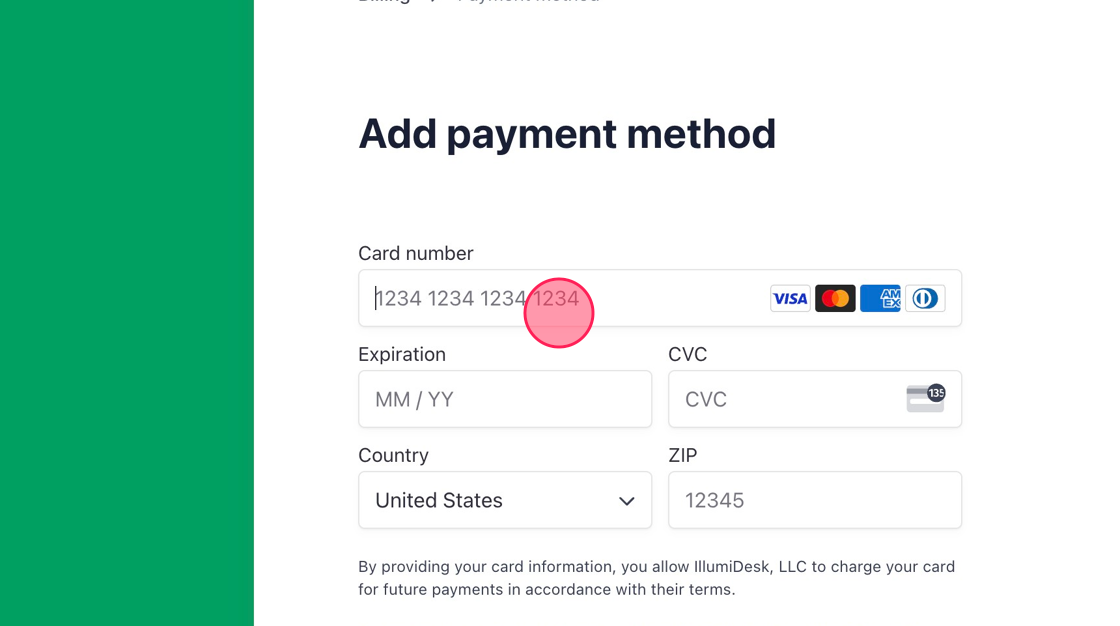
12. Click "Add payment method" to put in your credit card details
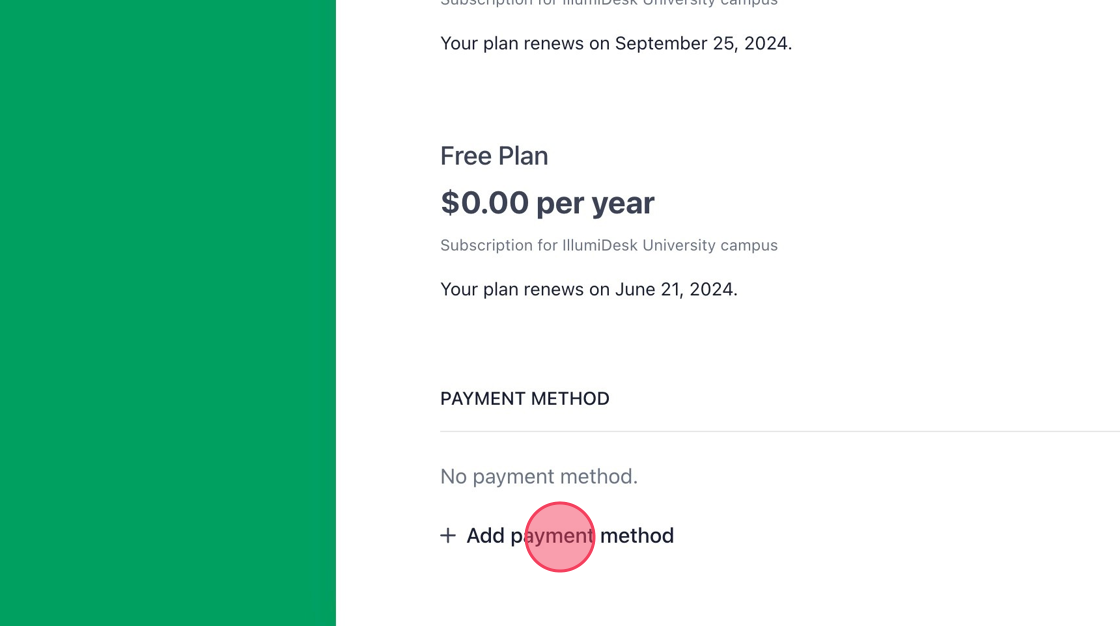
13. The "Add payment method" page is shown