This walkthrough is to guide an Instructor in creating a new activity in the IllumiDesk application and Canvas LMS
How to Create Activities in IllumiDesk
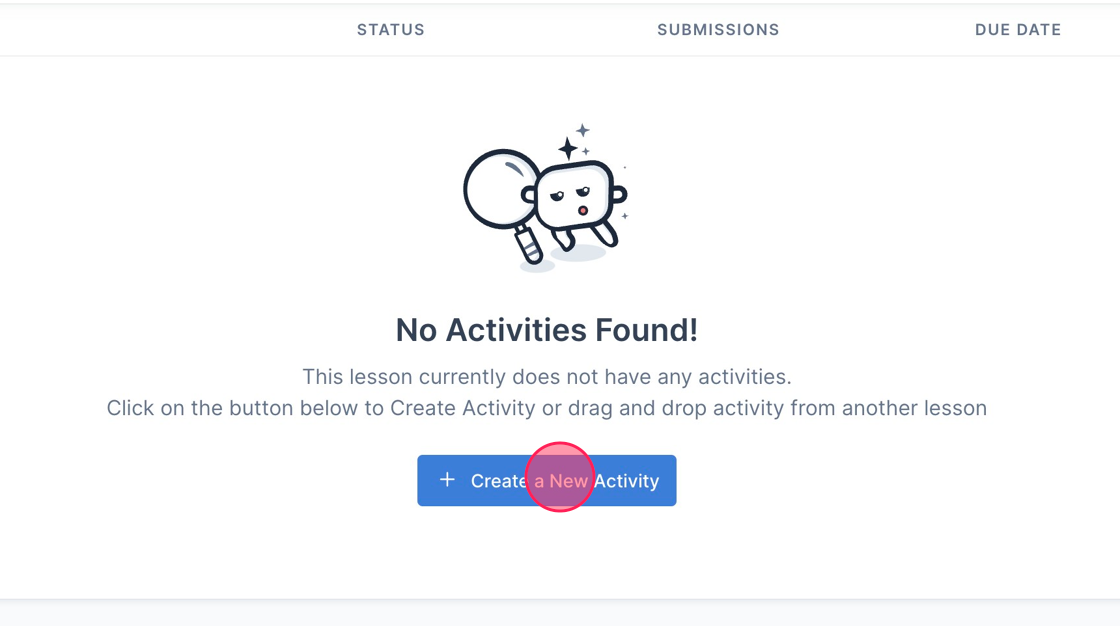
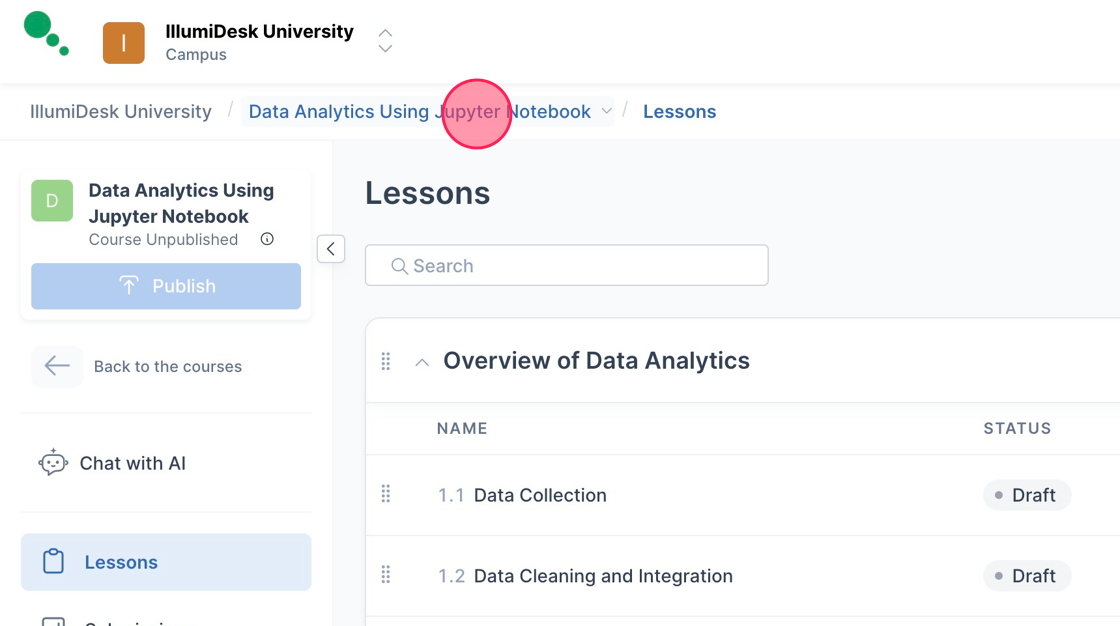
1. Navigate to the Course Lessons page.
2. Click "Create a New Activity".

3. Fill in the "Activity Name" field.
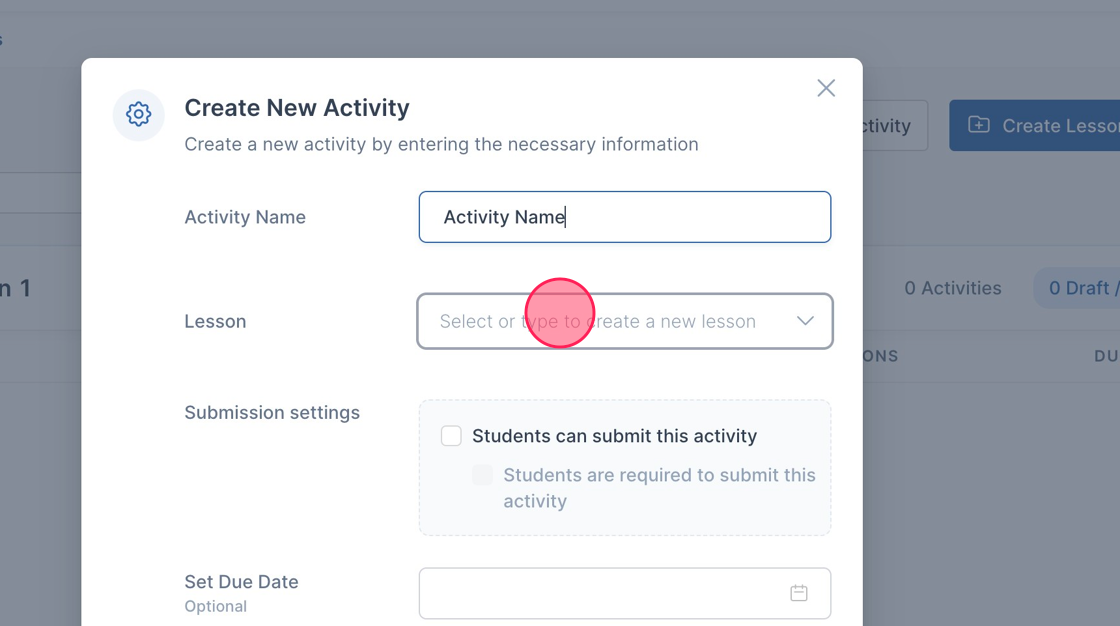
4. Click the Lesson you want the activity to be in by selecting the dropdown.

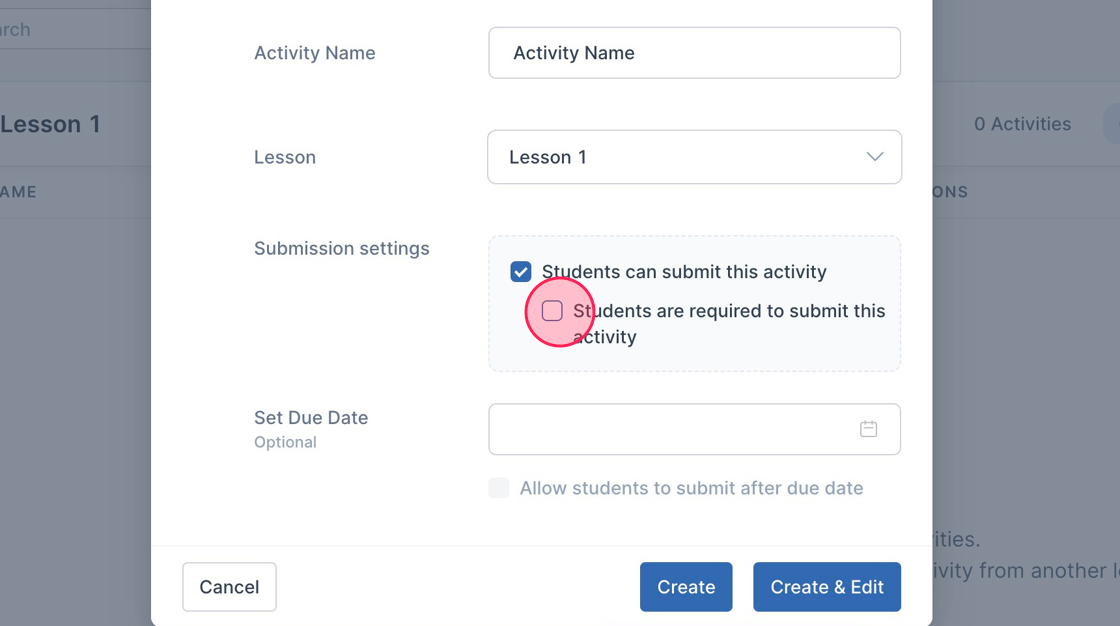
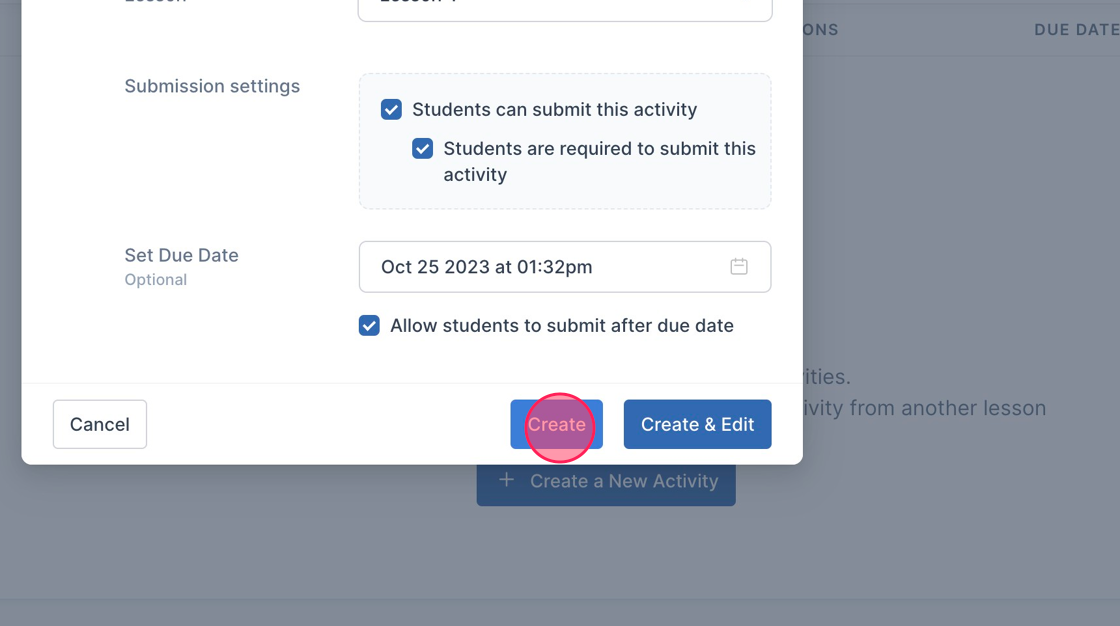
5. Adjust the Submission settings such as "Students can submit this activity" field.
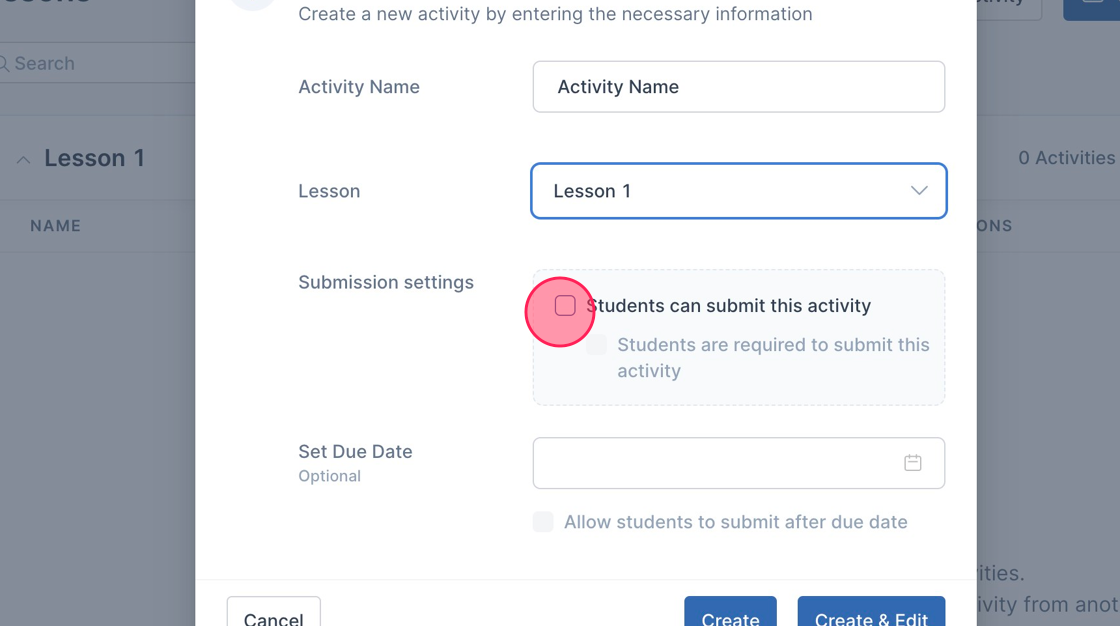
6. "Students are required to submit this activity" field.
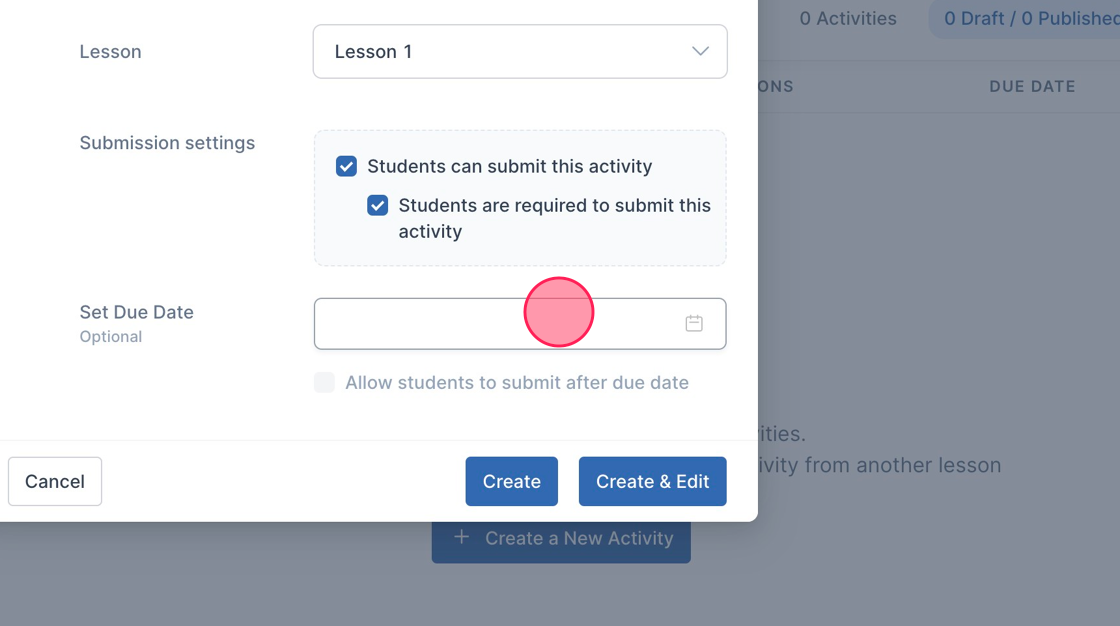
7. Open the "Set Due Date" calendar to set a date for the activity.
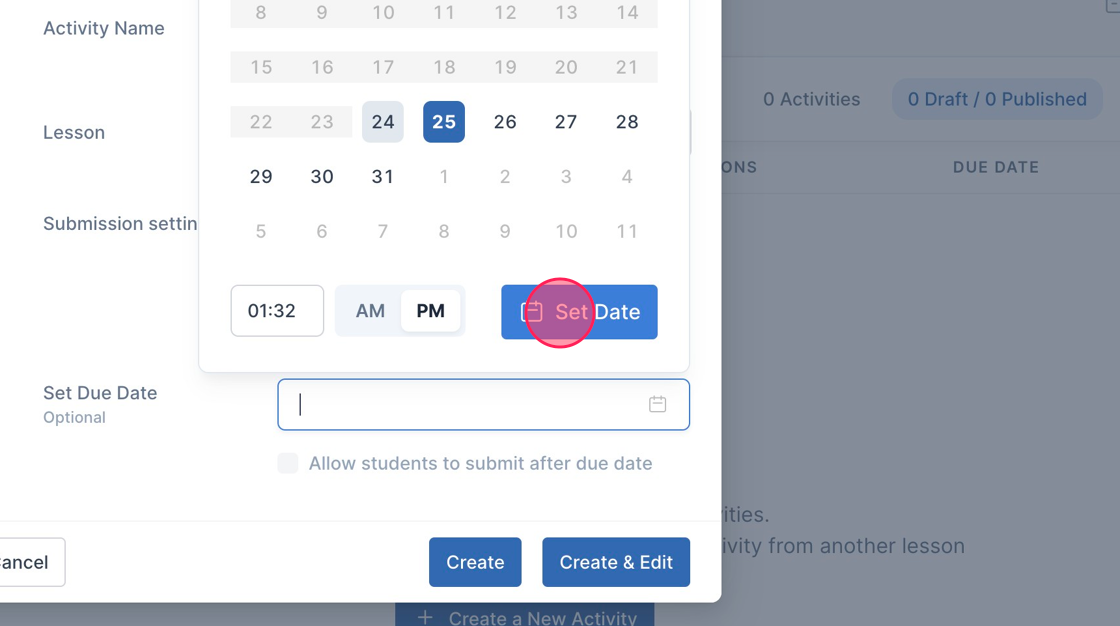
8. Click "Set Date" once you decide on a Due Date.
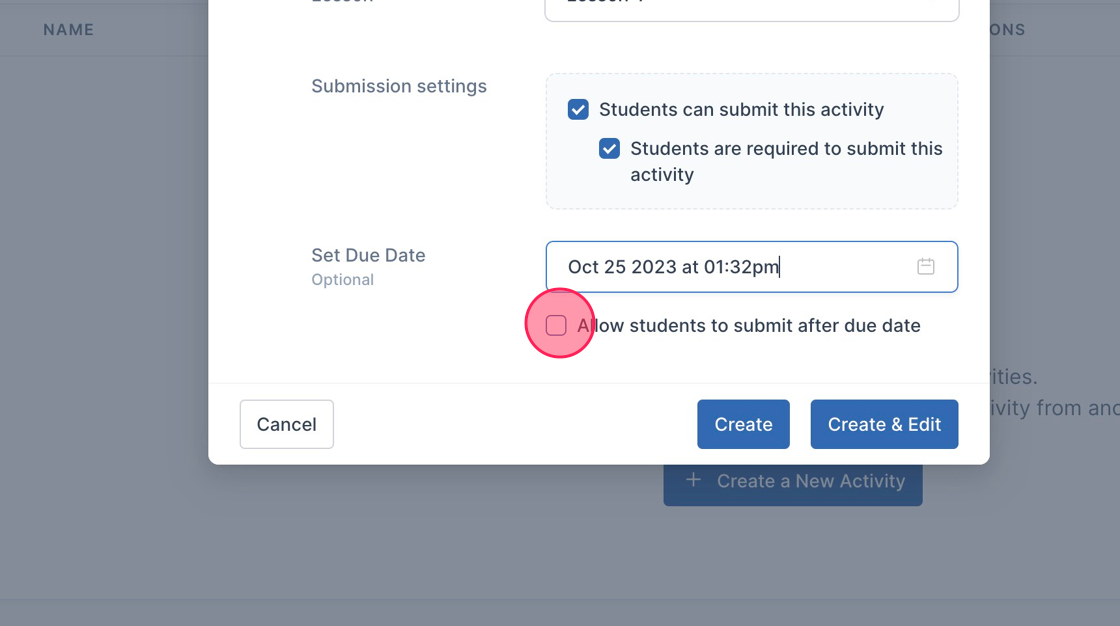
9. You can add the "Allow students to submit after due date" option.
10. Click "Create" to display the activity on your lessons page.
11. You can also select "Create a New Activity" under the lesson if no activities have been created.
12. Fill in the "Activity Name" field.
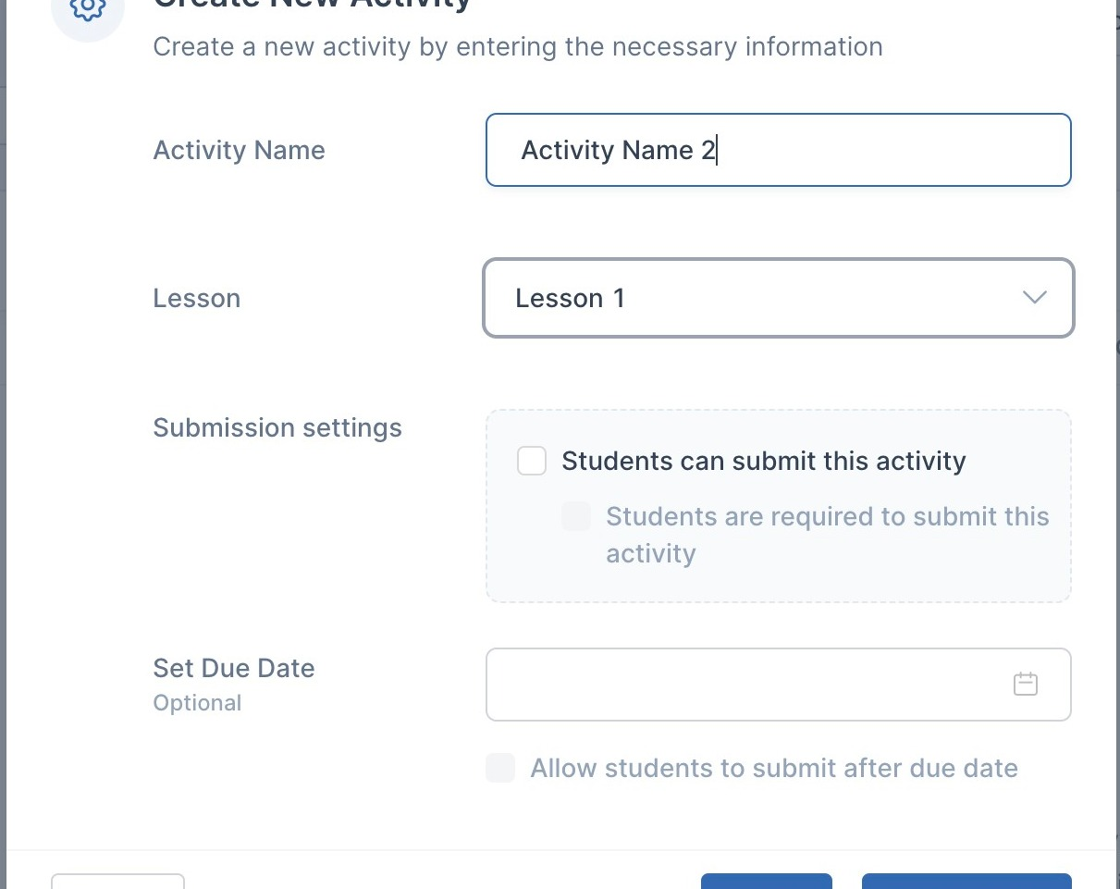
13. The lesson you chose to create the new activity in is selected by default.

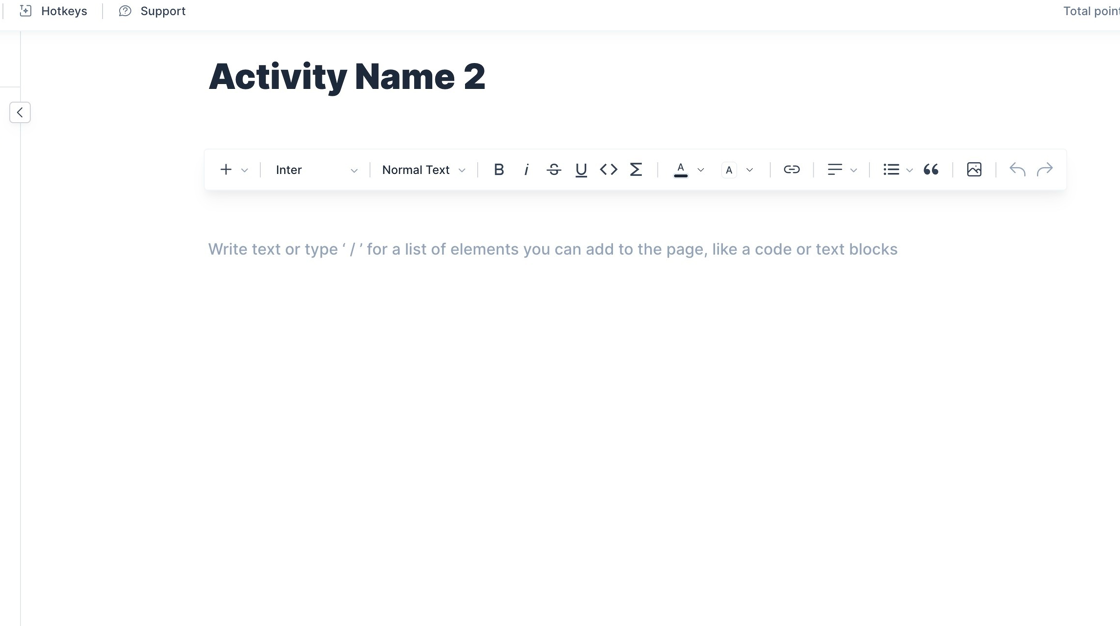
14. Click "Create & Edit".

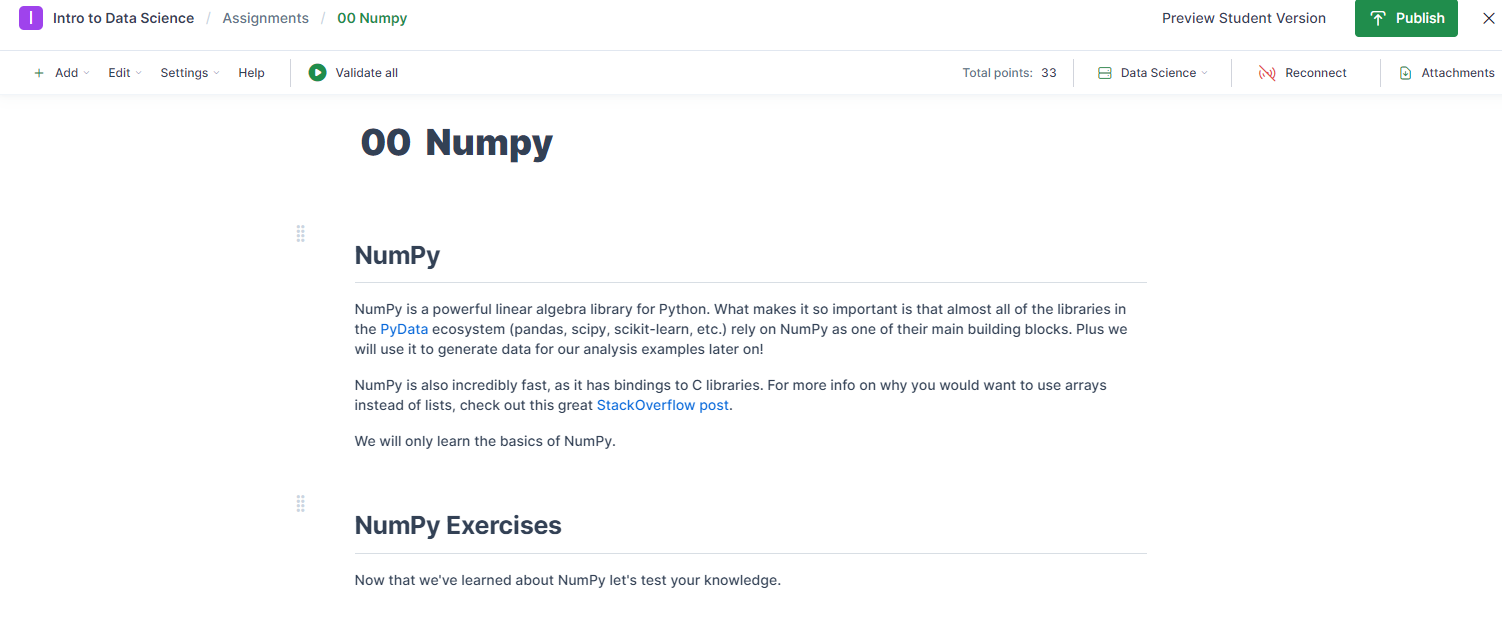
15. You will be redirected to the Activity Editor for that activity.
How to Import Activities in IllumiDesk
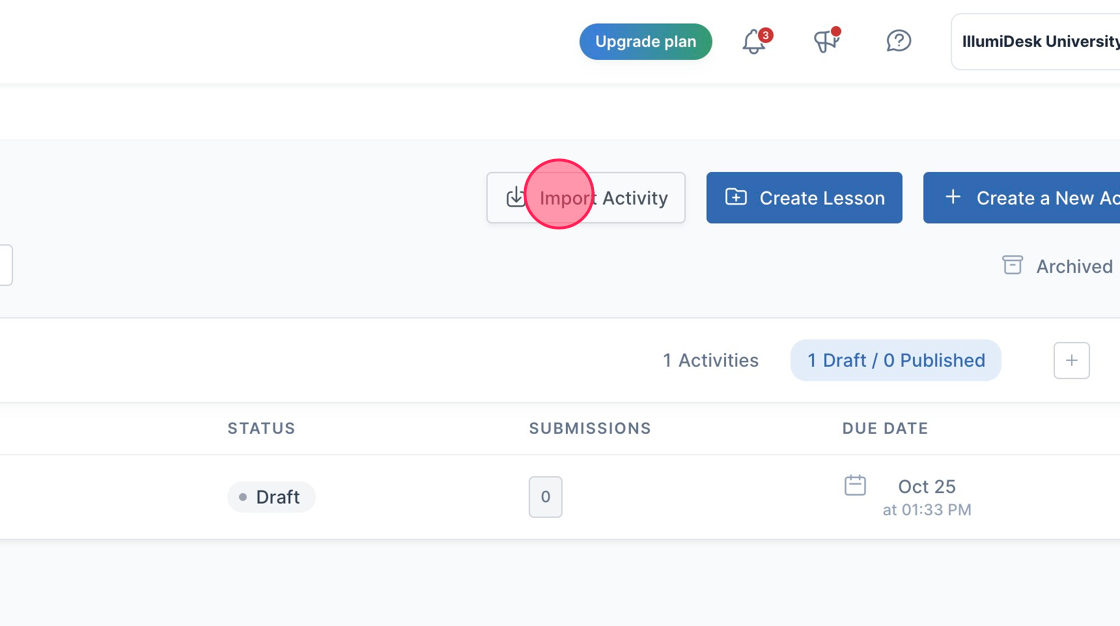
1. Navigate to your course lessons page.
2. Click "Import Activity".
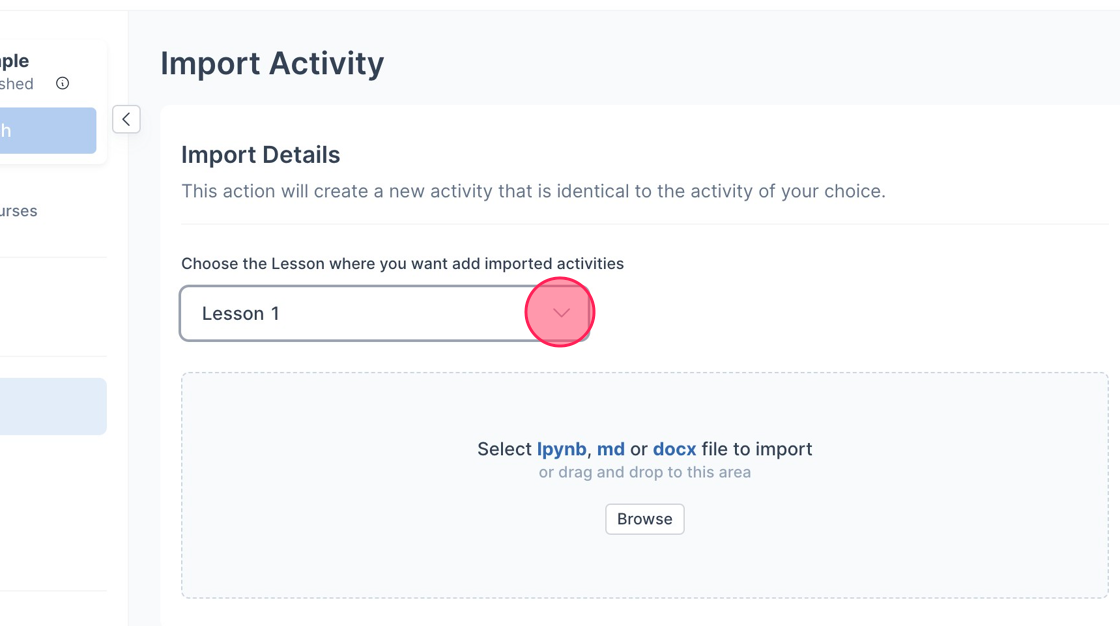
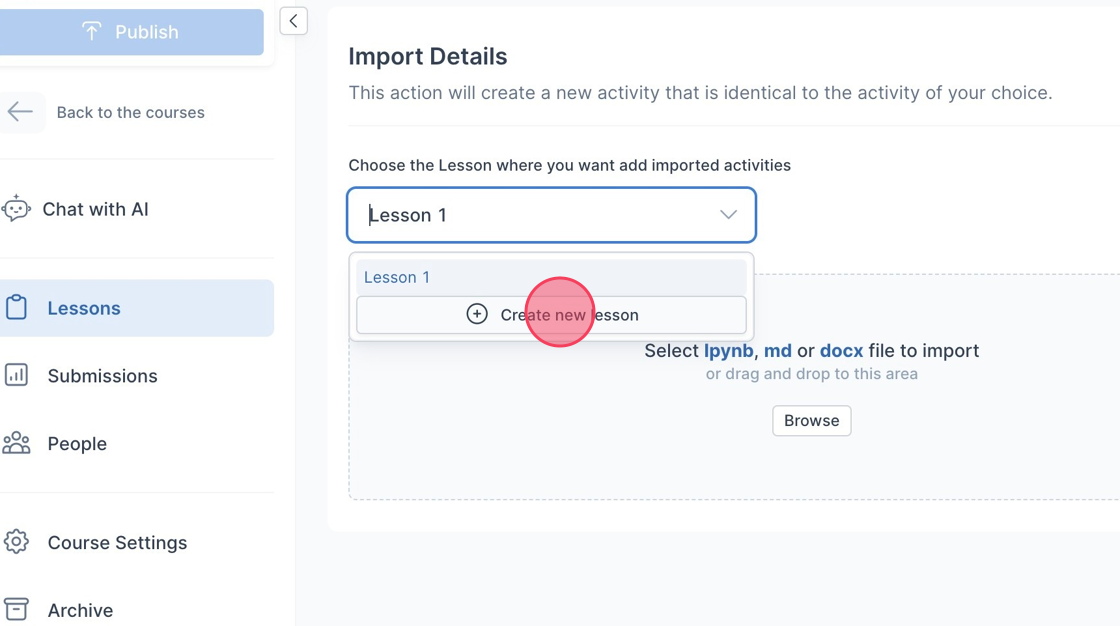
3. Choose the Lesson where you want to add imported activities.
4. Click "Create new lesson".
5. The "Create Lesson" modal is displayed.
- Fill in the "Lesson Name" field.
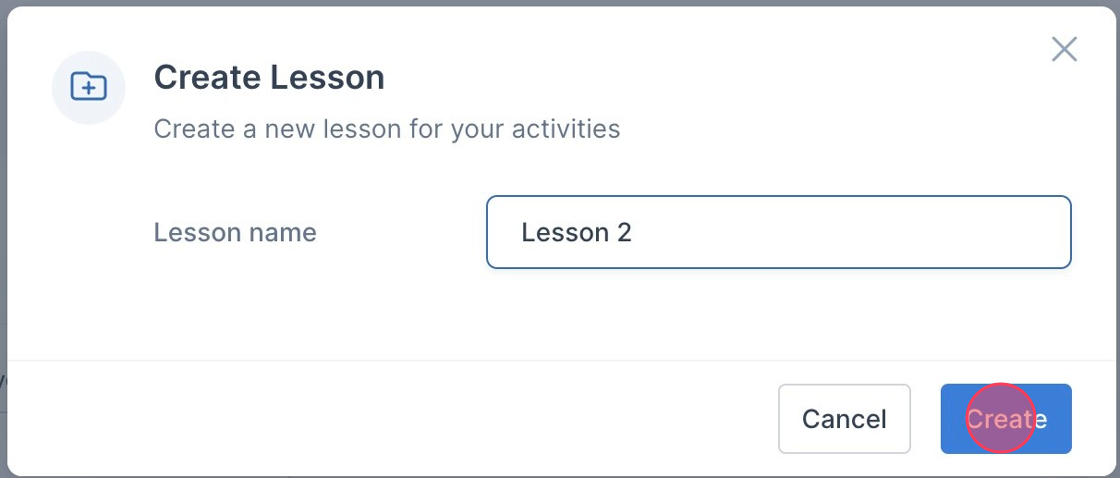
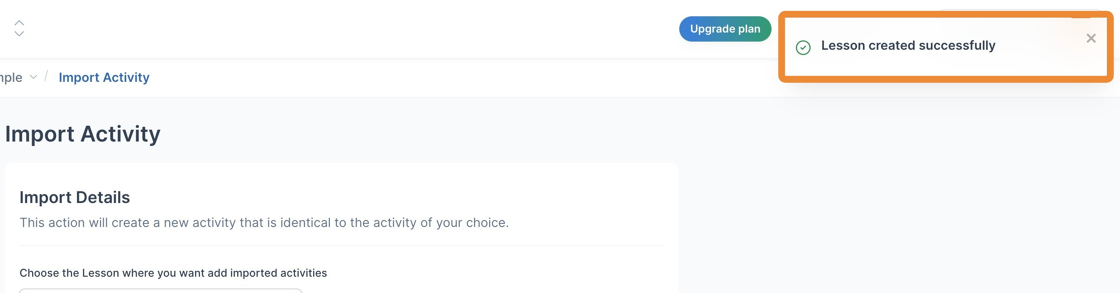
6. A toast message is displayed saying "Lesson created successfully".
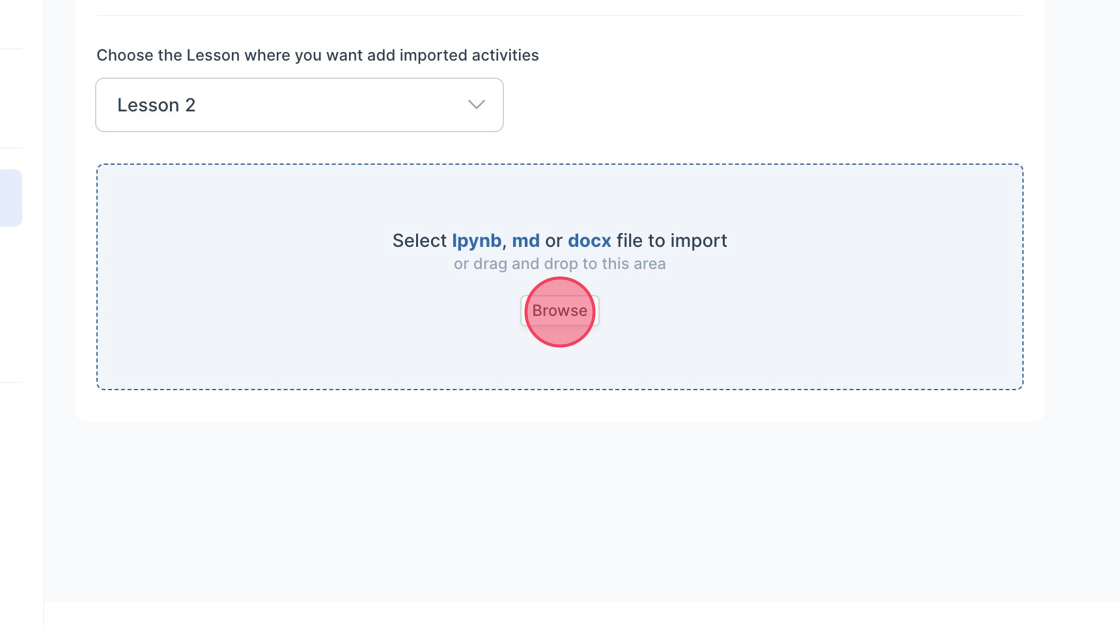
7. The "Import Activity" supports ipynb., md., and docx.
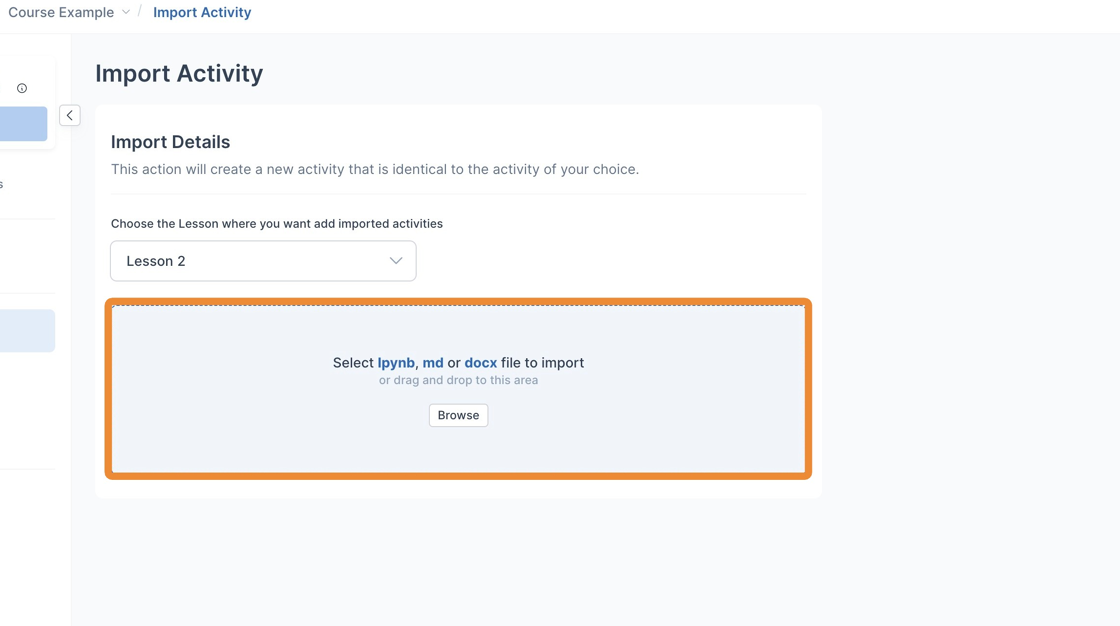
8. Click "Browse" to view files on your local device.
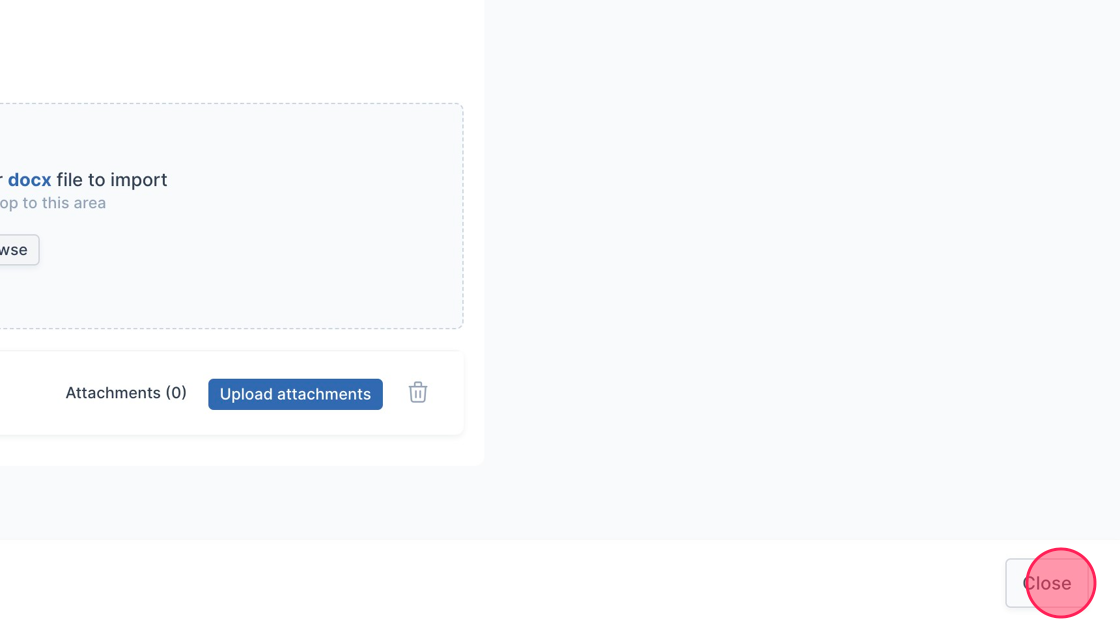
9. Click "Close" to exit the Import Activity page.
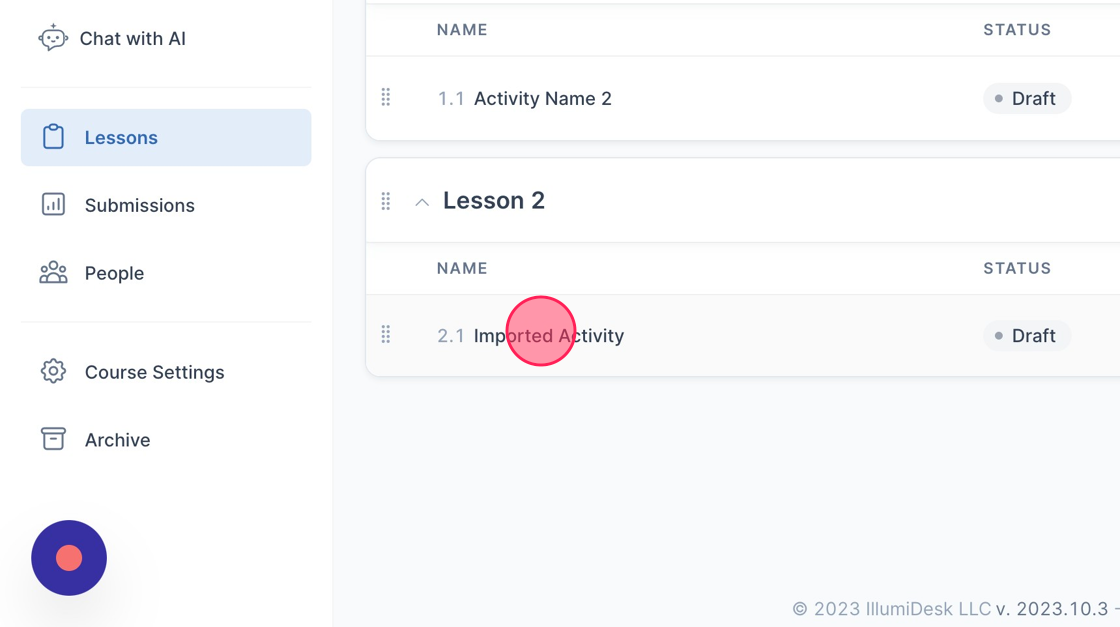
10. The imported activity appears under Lesson 2.
How to Edit an Activity in IllumiDesk Course
1. Navigate to your Course Lessons page.
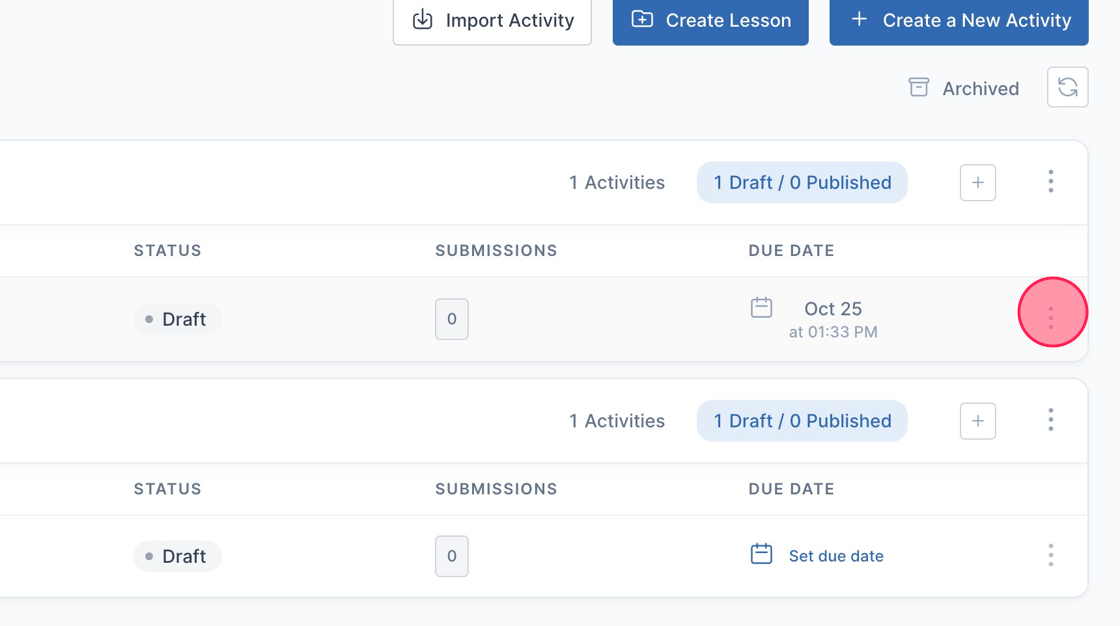
2. Click the 3 dot menu next to the Activity you want to Edit.
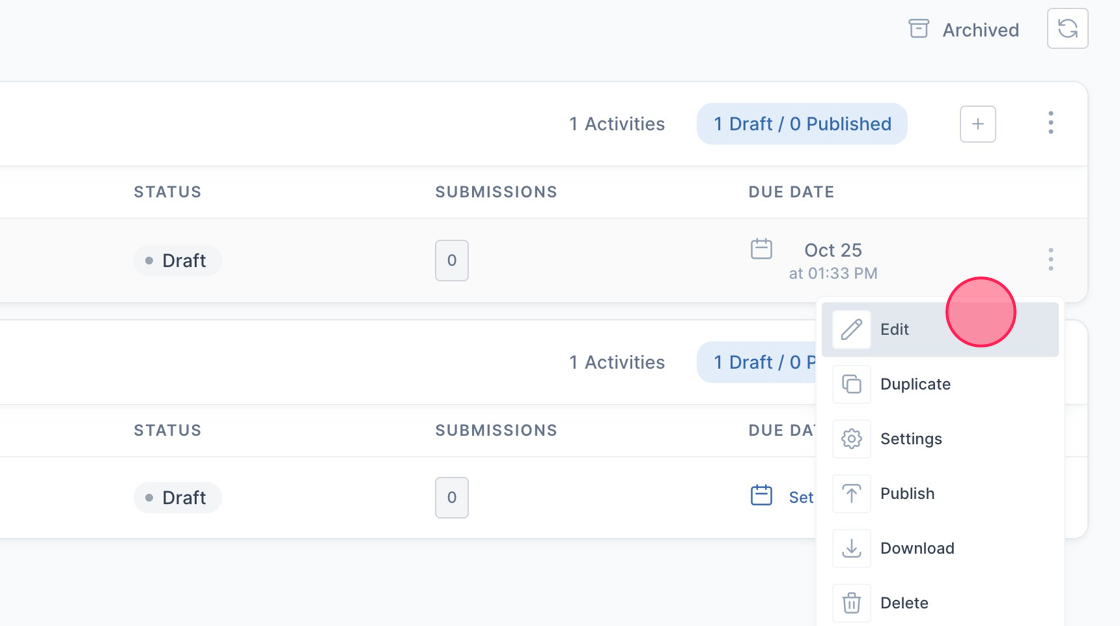
3. Click "Edit" from the dropdown menu.
How to Delete Activity?
1. Navigate to Course Lessons page.
2. Click the 3 dot menu next to the Activity you want to delete.

3. Click "Delete" from the dropdown menu

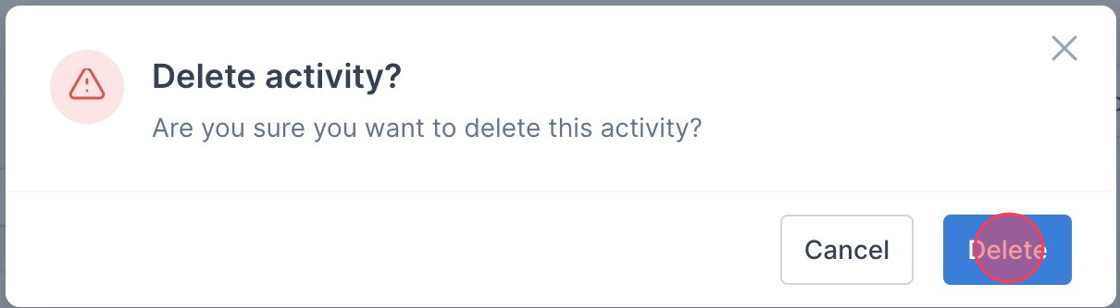
4. The "Delete activity?" modal is displayed.
- Click "Delete".
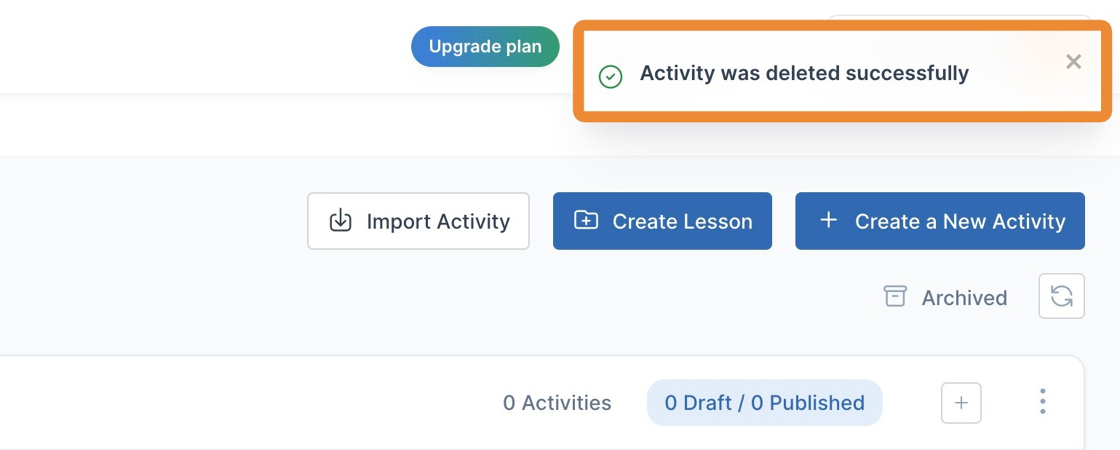
5. A toast message is displayed saying "Activity was deleted successfully".
How to Duplicate Activity from Activity Editor
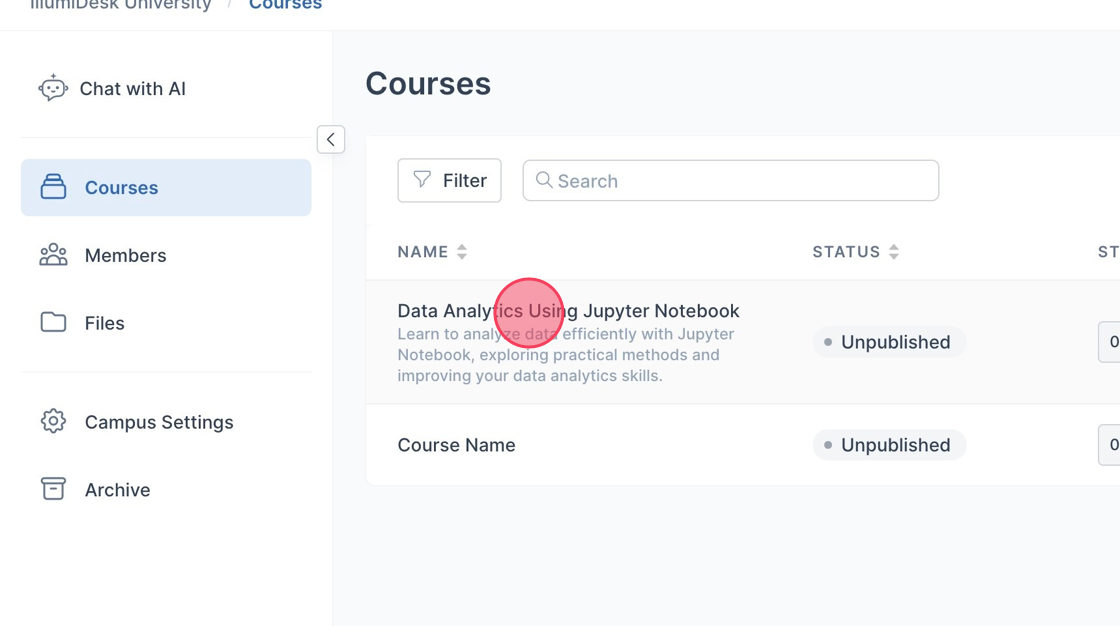
1. Navigate to your Course List Homepage.
2. Open the course with the Activity you want to duplicate.
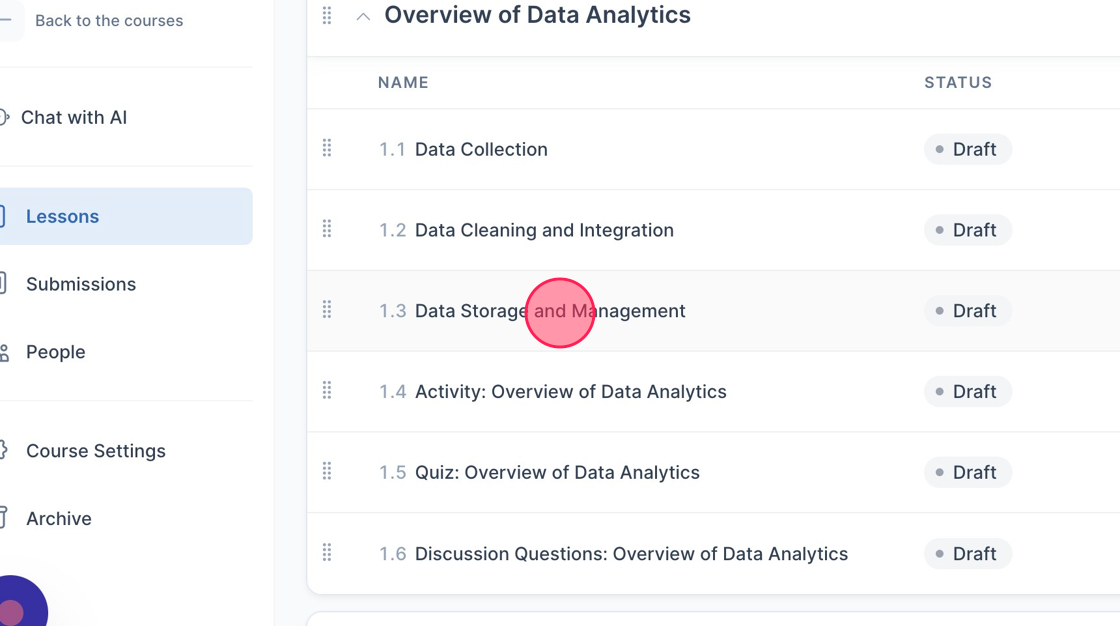
3. Open the Activity you want to duplicate.
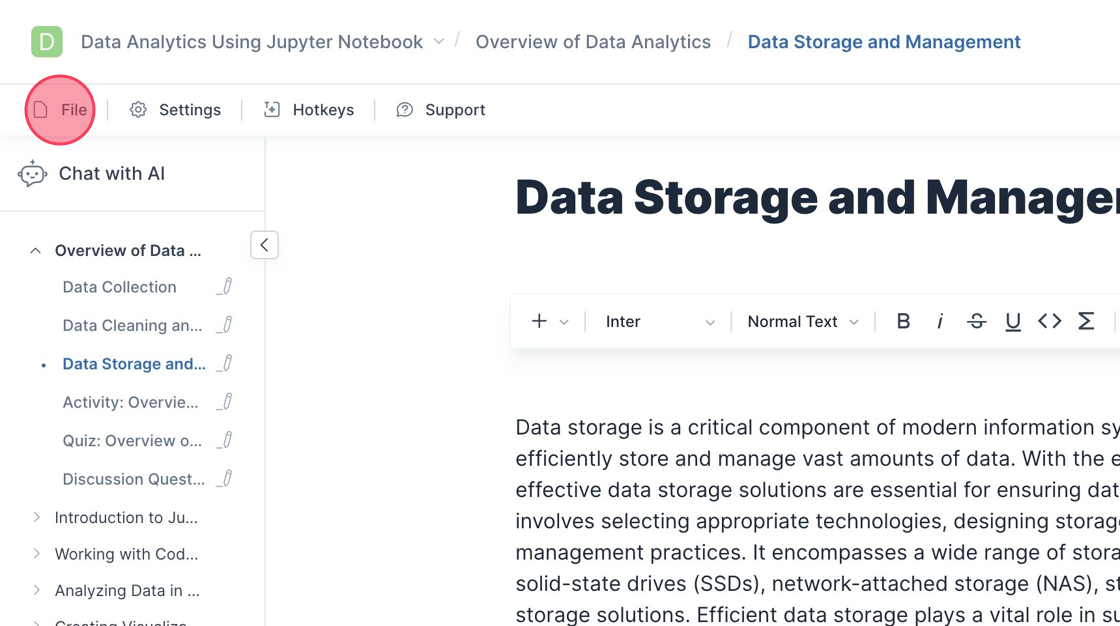
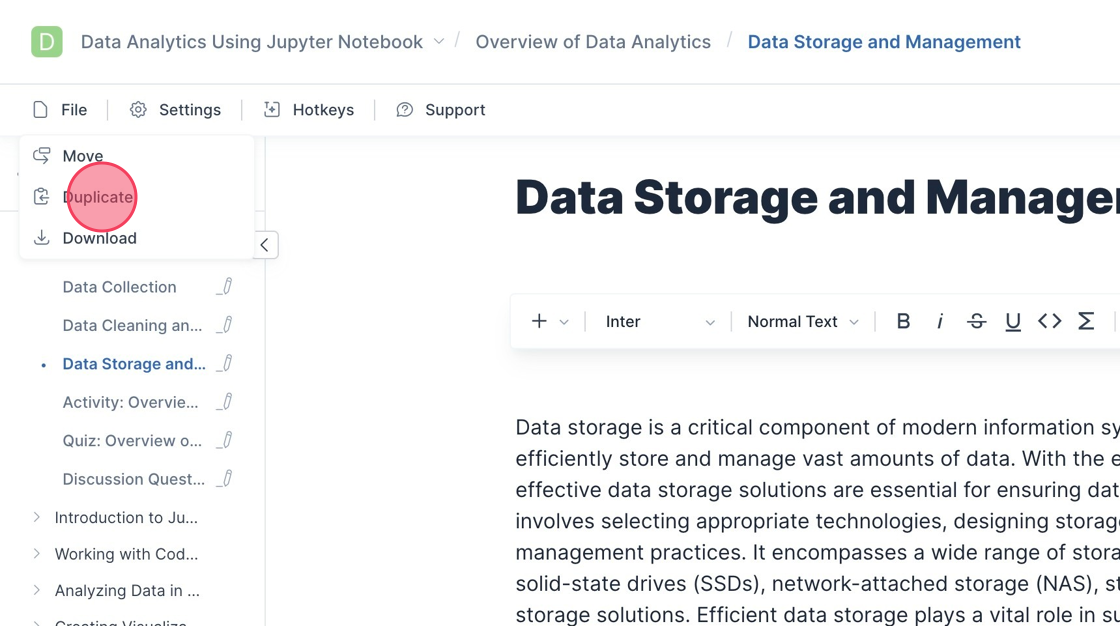
4. Click "File".
5. Click "Duplicate".
6. Open the Course that you want to Duplicate the Activity too.
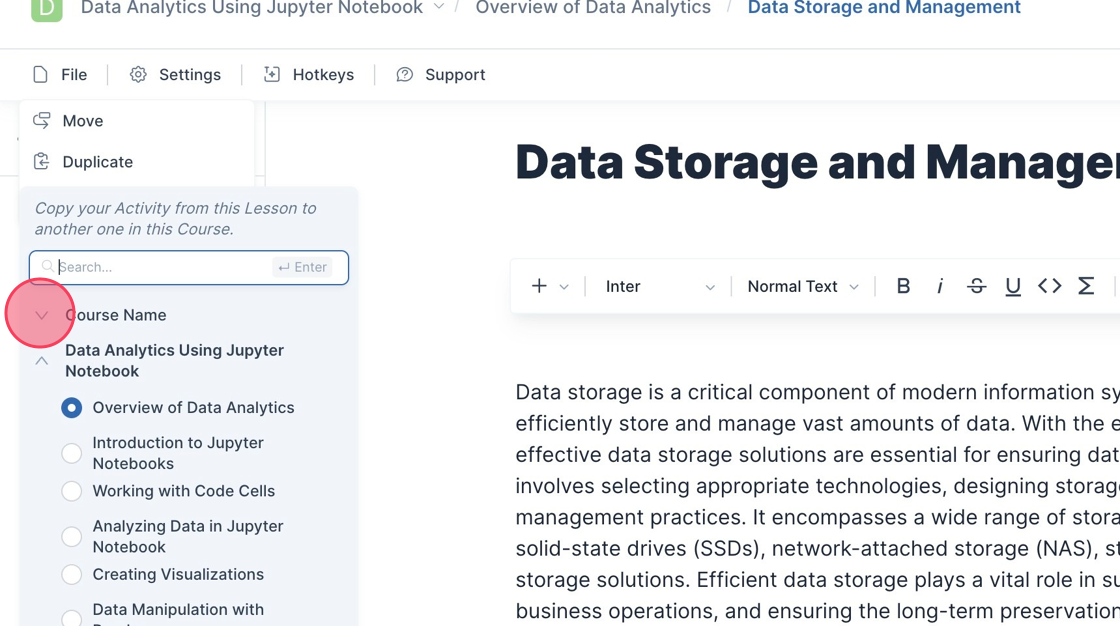
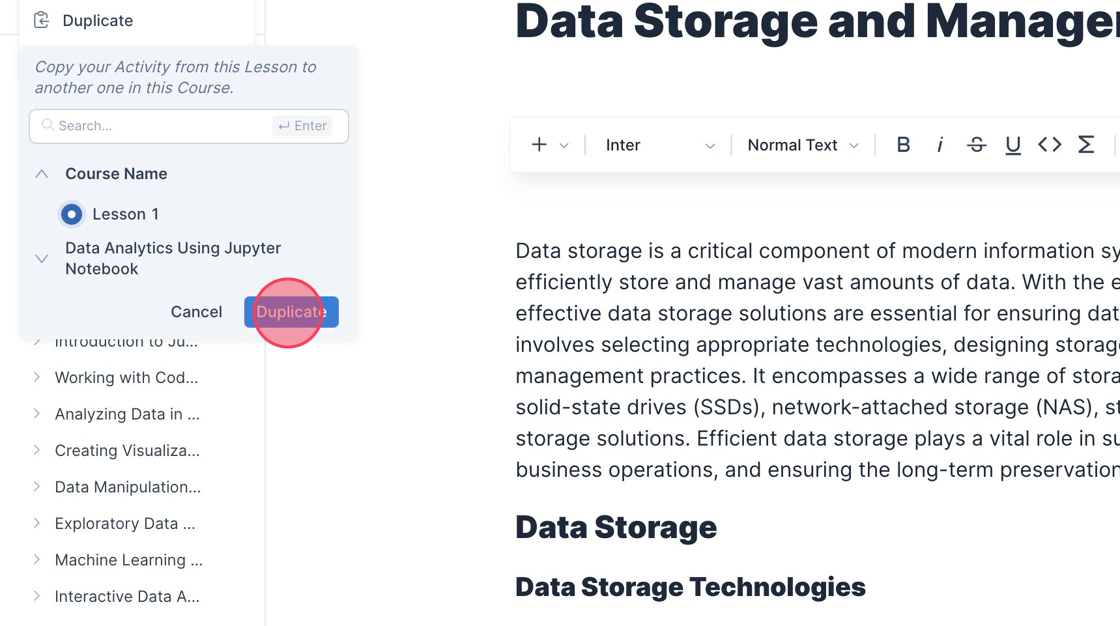
7. Select the lesson you want to duplicate the Activity to from the dropdown.

8. Click "Duplicate".
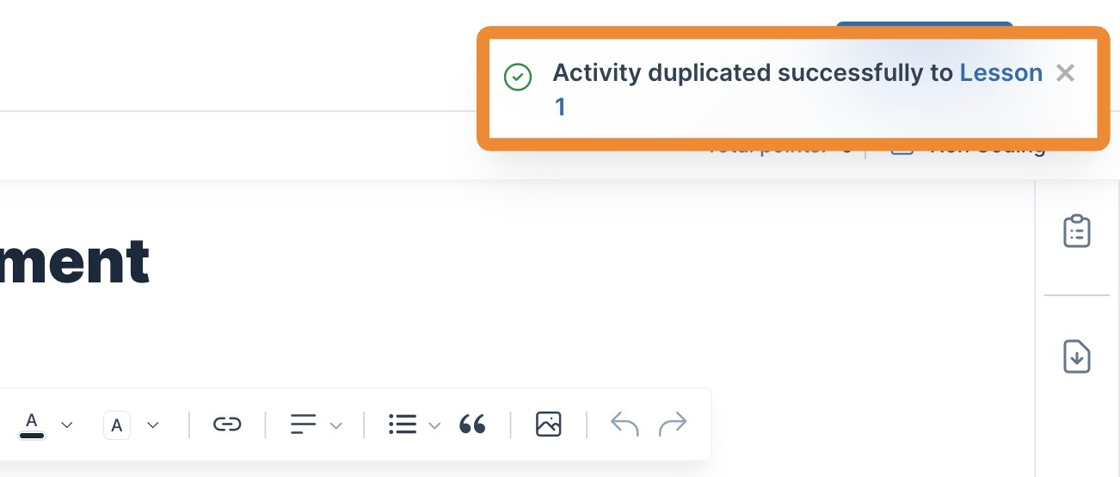
9. A toast message appears saying "Activity duplicated successfully to your Lesson".
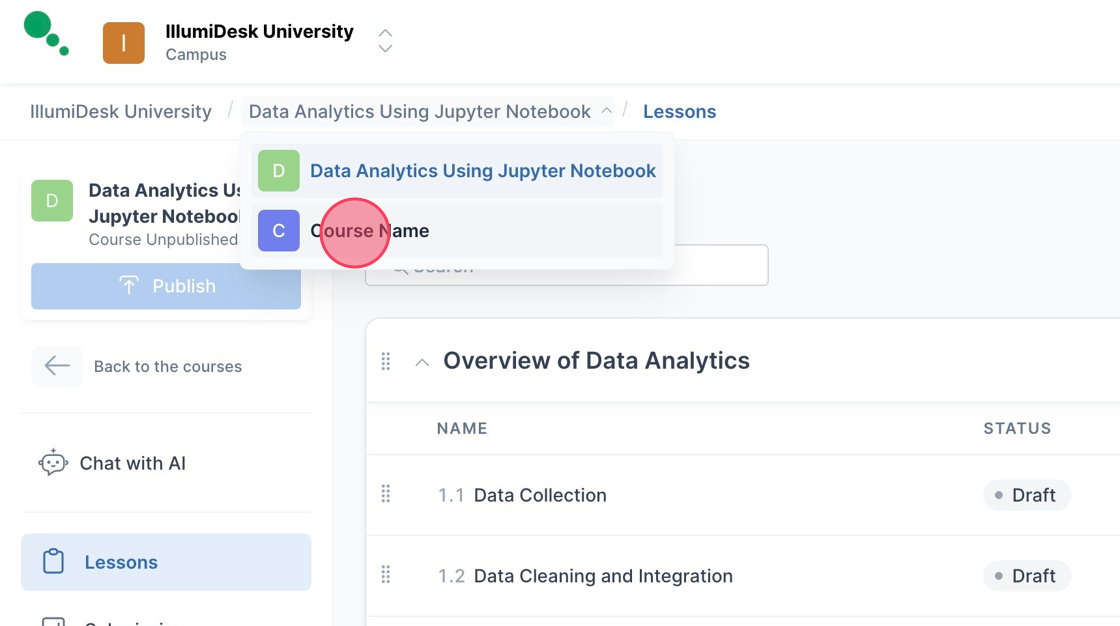
10. Open the Course dropdown menu to navigate the Course where the Activity was duplicated.
11. Click on the Course to open the Lessons page.
12. Your Activity copy now appears in the selected Lesson.
How to Move Activity?
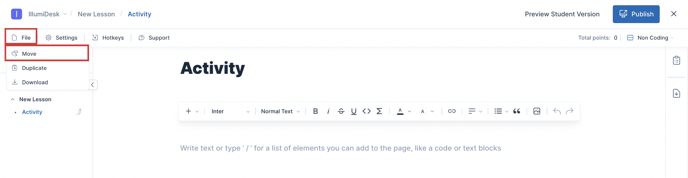
- Open an activity (both published or not published) in the activity editor.
- Click on the "Move" option in the header.
- Move dropdown is opened.
- Search field is empty.
- Lessons list from current course is displayed.
- Current lesson is checked.
- Move button is disabled.
- Select any lesson except the current > Move button is enabled
-1.png?width=688&height=191&name=Untitled%20design%20(39)-1.png)
- Click on the "Move" button.
- Activity is moved to selected lesson.
- Activity status is not changed.
- Lesson name is changed in breadcrumbs.
- Toast message "Activity moved successfully to <lesson_title>" is displayed.
How to Execute code in one cell?
-
Input code in the cell.
-
Click the “Execute code” icon to the left of the cell.
-1.png?width=688&height=253&name=Untitled%20design%20(41)-1.png)
- The code is executed and the output is displayed.
How to Validate Activity?
-
Click the “Validate all” button.
-1.png?width=688&height=287&name=Untitled%20design%20(44)-1.png)
-
The toast message “Validation Success! You passed all the tests” is displayed.
How to Publish Activity?
-
Click the “Publish” button.

-
The toast message “Activity was published successfully” appears and the published Activity is displayed in the list of Activities with “Published” status.
How to Set Due Date in the Activity Editor?
- Click Settings button on the left side.
-2.png?width=688&height=202&name=Untitled%20design%20(1)-2.png)
- Set Date and Time (AM/PM).
- Save changes.
-2.png?width=688&height=432&name=Untitled%20design%20(2)-2.png)
- The toast message "Due Date is updated successfully" is displayed.
- Selected Due Date is displayed in the Due date column on the Activities list page.
-2.png?width=688&height=152&name=Untitled%20design%20(3)-2.png)
How to Set Due Date in the Activity List?
-
Navigate to the Activities list.
-
Click Set Due Date.
-2.png?width=688&height=283&name=Untitled%20design%20(4)-2.png)
-
Set Date and Time (AM/PM).
-2.png?width=688&height=343&name=Untitled%20design%20(5)-2.png)
-
Click "Set Date".
-
The toast message "Due Date is updated successfully" is displayed.
-
Selected Due Date is displayed in the due date column.
-2.png?width=688&height=149&name=Untitled%20design%20(6)-2.png)
How to Allow auto grading Submission?
-
Settings in the Activity Editor.
-
Enable checkbox “Allow auto grading submission”.
-
Save changes.
How to Allow students to submit after due date?
-
Settings in the Activity Editor.
-
Enable the checkbox “Allow students to submit after the due date”.
.png?width=688&height=431&name=Untitled%20design%20(7).png)
-
Save changes.
How to Add an Attachment to an Activity?
- Open Activity Editor to edit activity.
- Click "Attachments" on the right side of the screen.
.png?width=688&height=160&name=Untitled%20design%20(8).png)
- Upload attachments.
-2.png?width=688&height=370&name=Untitled%20design%20(9)-2.png)
- Upload attachment modal is displayed
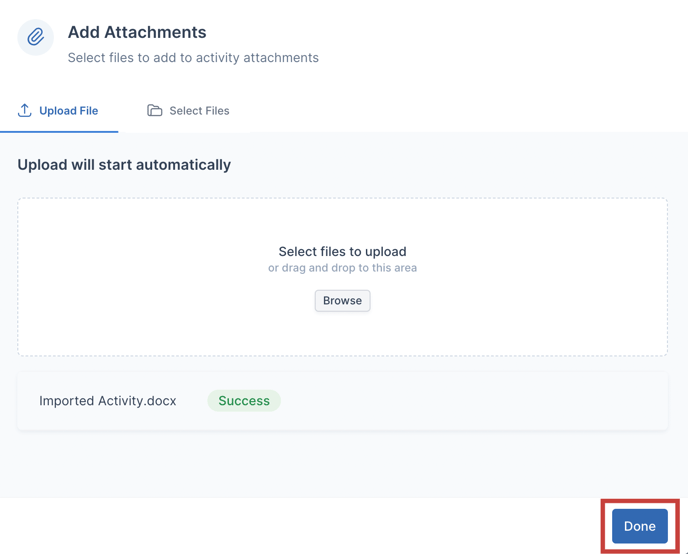
- Click "Done to close the modal
How to Add Files as Attachment?
- Open Activity Editor to edit activity.
- Click "Attachments" on the right side of the screen.
- Upload attachments.
- The Add Attachments modal is displayed
- Click on the "Select Files" tab to view uploaded files to your campus

- Choose the file you want to add by selecting the box
- Click "Done" to finish adding your file to the activity
How to Remove Attachment?
-
Select an attachment.

-
Click the "Remove" button.
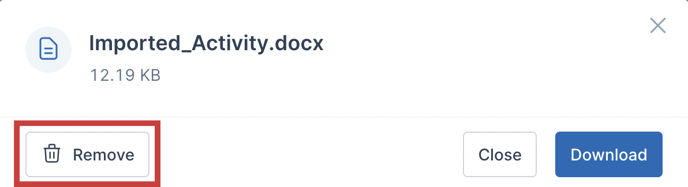
How to Download an Attachment?
- Select an attachment.
- Click the “Download” button.
.png?width=688&height=188&name=Untitled%20design%20(10).png)
How to Create an Assignment in Canvas
If your course and organization have been integrated with Canvas. You can use the following steps in the Canvas LMS. For more information on how to integrate Canvas, follow the LTI Integration Guide
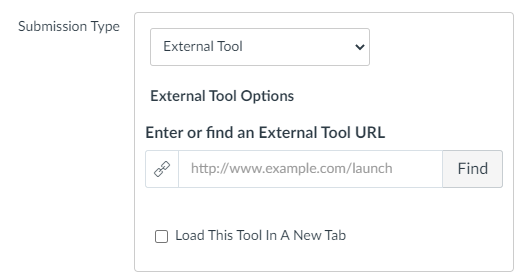
-
Navigate to your Course in Canvas LMS-> Assignments and click the +Assignment button
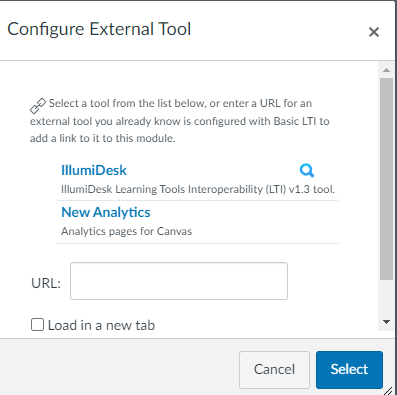
4. After clicking the Magnifying glass button, the Link Resource from External Tool modal will pop up which will list the assignments listed under the linked Course in the IllumiDesk Application

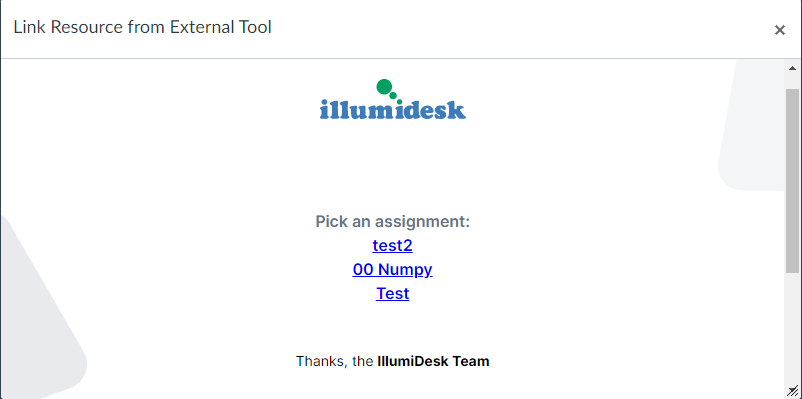
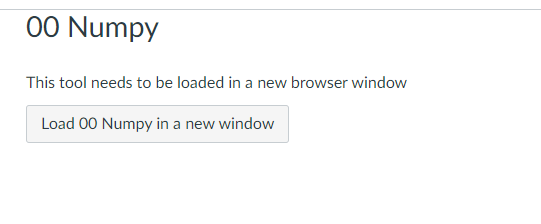
5. Select the appropriate assignment and select Load assignment in a new window button

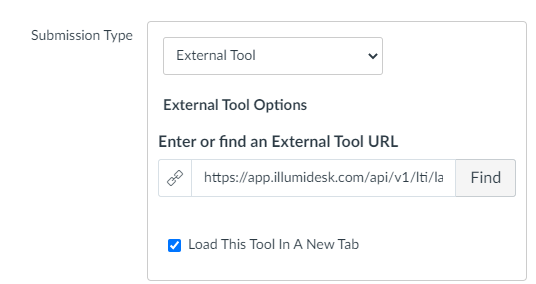

8. Select the activity and Click the Load Assignment in a new window button